

Why Create a Paid Membership Site with WordPress?
If you are looking for a way to monetize your WordPress site in a sustainable way, creating a paid membership site might be exactly what you need. Whether you’re selling online courses, exclusive content, or premium services, a membership model can help you build a steady stream of recurring revenue.
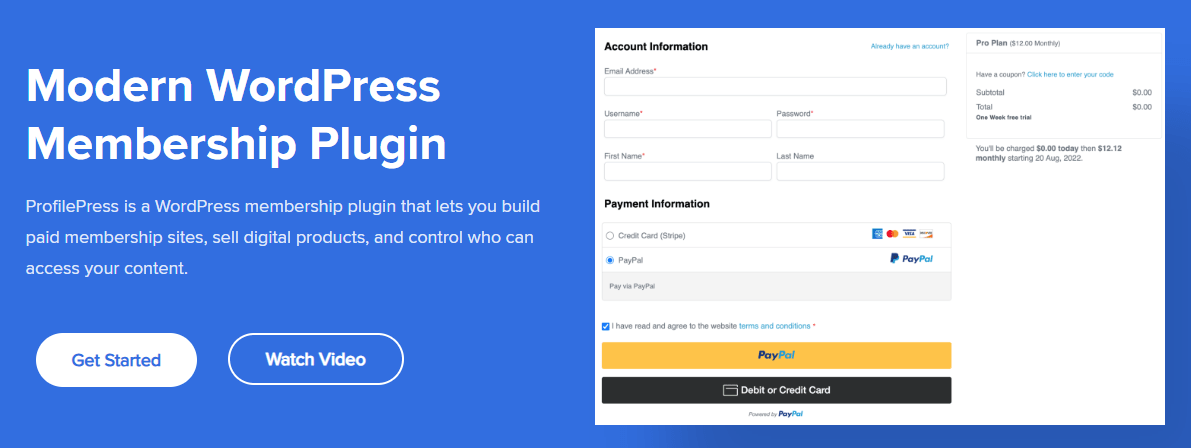
You don’t need coding skills or to hire expensive developers. WordPress and the right plugin make it simple to create a professional membership site. This guide will show you how to turn your WordPress site into a membership platform using ProfilePress.
Install ProfilePress
ProfilePress is a powerful membership plugin that simplifies the whole process. This free plugin makes it easy to set up membership plans, control visitor access, and collect payments through popular gateways like Stripe, PayPal, Mollie, and RazorPay.
What makes ProfilePress stand out is its beginner-friendly interface. Even if you’re new to WordPress, you’ll find it intuitive to use. Plus, it comes with detailed documentation to help you navigate any challenges along the way.
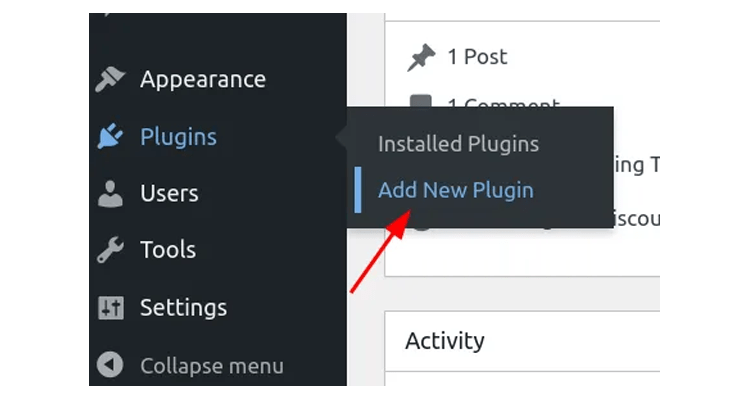
Getting started with ProfilePress is easy. First, head over to your WordPress dashboard and click on ‘Plugins → Add New’.
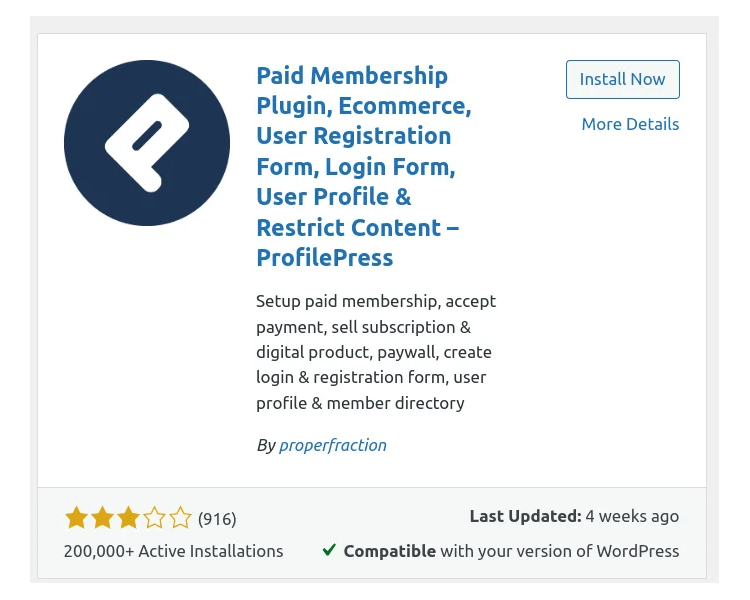
In the search bar, type ‘ProfilePress’ and hit enter. Look for the ProfilePress plugin and click the Install button.
Once the installation is complete, click Activate to enable the plugin.
Enable User Registration
Before diving into membership settings, there’s one quick WordPress option you need to handle. By default, WordPress keeps user registration locked down. Let’s change that.
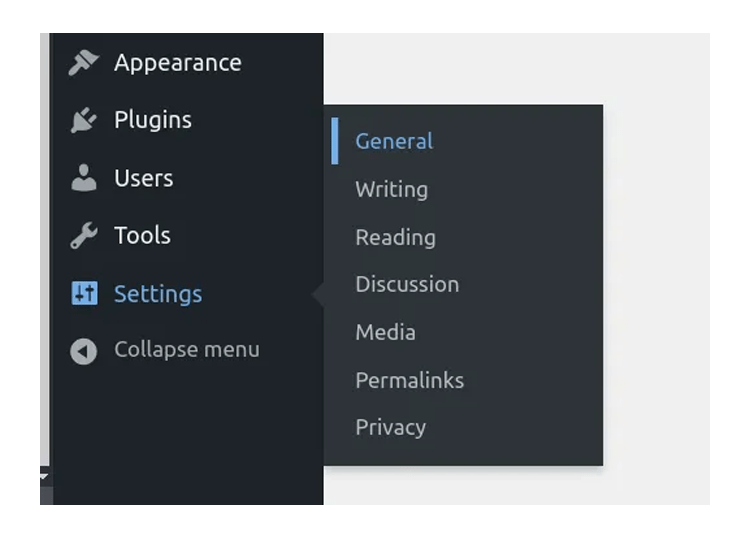
Head over to ‘Settings → General’ in your WordPress dashboard. Look for the ‘Membership’ section and check the box next to ‘Anyone can register.’
That’s it! Your site is now ready to welcome new members.
Create a New Membership Plan
ProfilePress offers flexible options for setting up your membership plans. Whether you want to charge monthly, weekly, yearly, or just once, you’ve got all the tools you need. One-time payments work great for digital products like courses or ebooks that don’t need frequent updates.
Let’s set up your first plan. Head over to ‘ProfilePress → Membership Plans’ and click the Add New Plan button.

Now it’s time to fill in your plan details. Here’s what each field means:
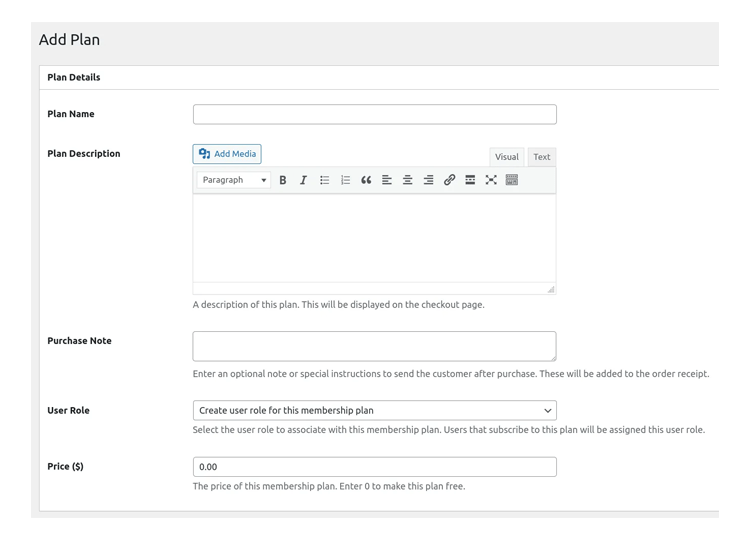
- Plan Name: Give your plan a clear, descriptive name. This is what your potential members will see. Below that, write a compelling description outlining all the benefits and features of the membership.
- Plan Description: This will be displayed under the plan name. Describe everything this plan gives access to.
- Purchase Note: Add a purchase note if you want to share specific instructions or set expectations after purchase. This is perfect for explaining the next steps or mentioning any processing time.
- User Role: Create a custom user role for this membership level – it’s crucial for managing access permissions later. Set your price point, keeping your target audience and value proposition in mind.
In the plan settings, you’ll find several powerful options:
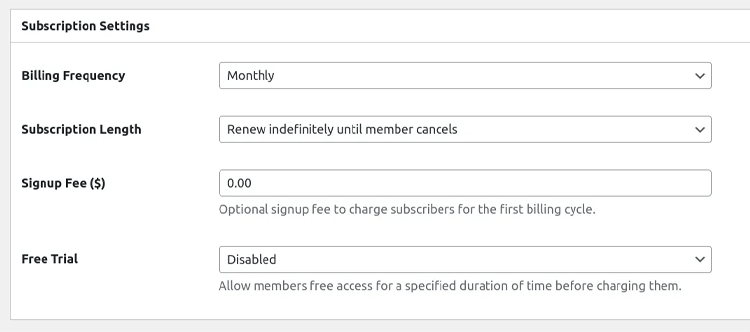
- Billing Frequency: Choose between recurring payments or one-time charges
- Subscription Length: Set a specific number of billing cycles for recurring plans
- Sign-Up Fee: Cover your setup costs by charging an initial fee
- Free Trial: Let members test your premium content before buying (use with caution)
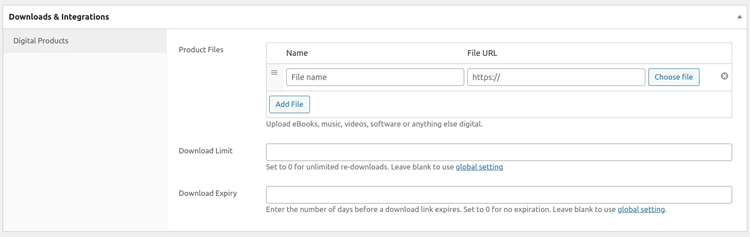
Selling digital products? ProfilePress has you covered with its Digital Product Delivery feature. Simply upload your files, and members get instant access after purchase.
Restrict Access To Pages
Time to put those membership plans to work by protecting your premium content. ProfilePress makes it easy to control exactly who sees what on your site.
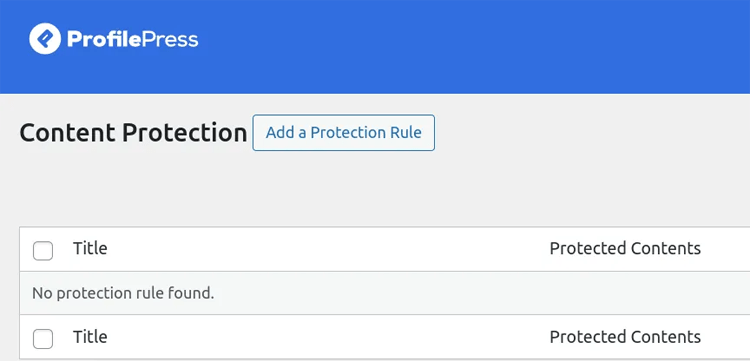
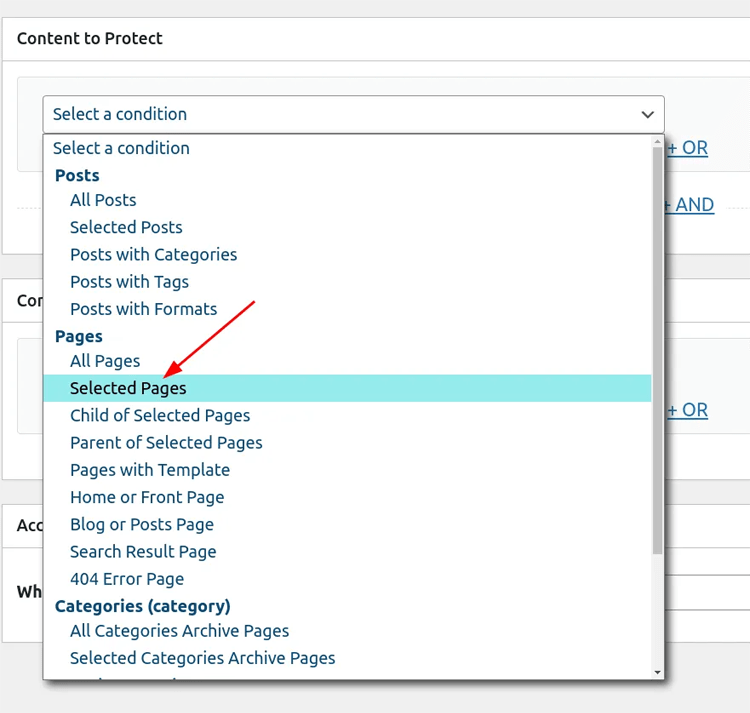
Let’s set up your first content restriction rule. Navigate to ‘ProfilePress → Content Protection’ and click the Add Protection Rule button.
Here’s where ProfilePress really shines. You can create sophisticated access rules using AND/OR conditions to both include and exclude content. The interface makes this process straightforward.
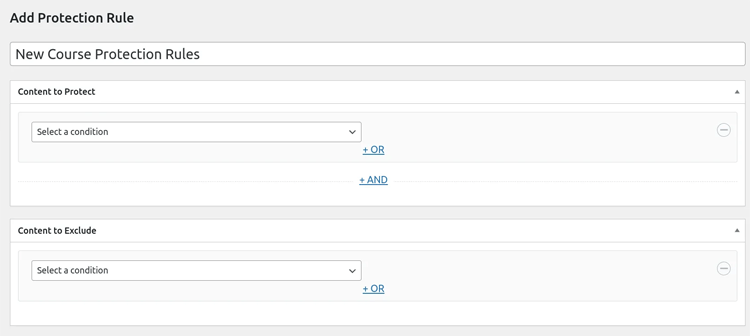
Start by giving your rule a descriptive name at the top. Then, from the conditions dropdown, select ‘Selected Pages’.
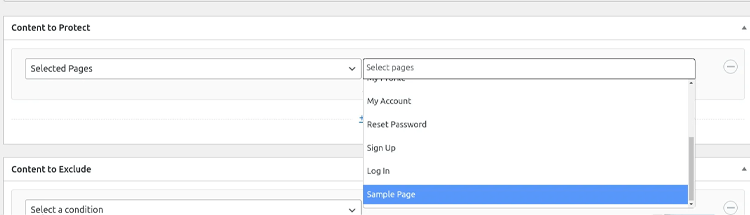
Now, you can handpick which pages you want to keep private. Simply click to select each page that should be restricted to paying members.
Want to get more advanced? ProfilePress gives you plenty of options. You can:
- Lockdown entire categories or tags at once
- Restrict all content except specific pages
- Keep your homepage and pricing page public while protecting everything else
Use these rules to define precise access levels for your members. Mix and match them to create exactly the structure your membership site needs.
Now comes the crucial part: setting up access conditions. At the bottom of the page, you’ll find the ‘Access Condition’ section. This is where you define exactly who gets to see your protected content.
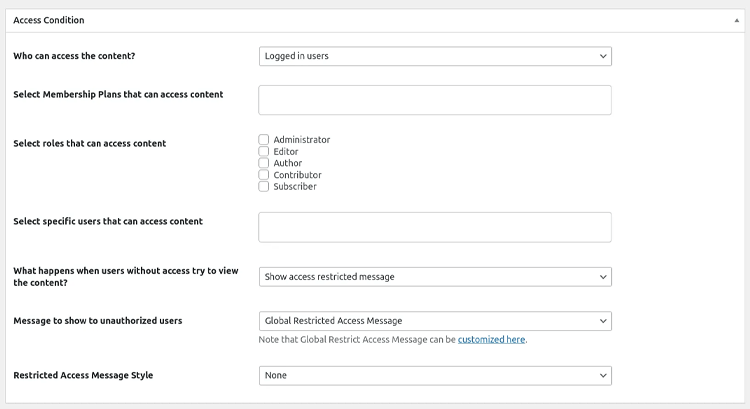
By default, the access is set to ‘Everyone’ but that’s not what we want for a paid membership site. Change this option to ‘Logged In Users’ to reveal additional settings.
Here’s what you can do with access conditions:
- Select specific membership plans whose members can access the content
- Choose particular user roles that should have viewing privileges
- Grant access to individual users if needed
- Combine multiple conditions for more complex access rules
This flexibility lets you create the membership structure you need, whether running a simple membership site or a complex multi-tier platform. Just remember to review your settings carefully before saving to ensure your premium content stays protected while keeping public pages accessible to everyone.
Launch Your WordPress Membership Site Today
Building a paid membership site on WordPress is easier than ever with ProfilePress. Set up plans, restrict content, and start accepting payments in minutes.
Whether you’re selling online courses, digital downloads, or premium content, ProfilePress provides all the tools you need to turn your WordPress site into a profitable membership platform.
You can start with the free version and scale up as your membership site grows. ProfilePress’s intuitive interface makes it easy to manage members, track subscriptions, and adjust access levels on the fly. Plus, with its robust content protection features, you can ensure your premium content remains exclusive to paying members while maintaining a smooth user experience for everyone.
Ready to launch your membership site? Get started with ProfilePress today and transform your WordPress website into a thriving membership community. Your audience is waiting!
Once your membership site is up and running, choosing the right hosting provider is just as important. A reliable, high-performance WordPress host ensures a smooth user experience, fast page loads, and rock-solid security so your members stay engaged and your revenue keeps growing.
That’s where Pressidium comes in. Trusted by leading organizations like UNICEF and Cornell University, Pressidium’s award-winning managed WordPress hosting delivers speed, security, and scalability tailored for membership sites.
Get started today with a 14-day free trial and experience hosting built for growth.
Start Your 14 Day Free Trial
Try our award winning WordPress Hosting!


