

The menu of a website is often neglected when designing a site. This might be because it has traditionally been technically challenging to customize. This has changed with WordPress 5.4, which introduced some hooks that will let you add WordPress menu custom fields relatively easily.
The hooks in question are wp_nav_menu_item_custom_fields and wp_nav_menu_item_custom_fields_customize_template action hooks. Using these, you can now easily add your own custom fields to menu items in both the Admin menu edit page and in the Customizer options panel.
In this article, we’re going to look at some simple ways you can use the wp_nav_menu_item_custom_fields hook to add your own custom fields to menu items as well as take a look at two plugins that can also be used to add custom fields without having to code.
Let’s get going.
The wp_nav_menu_item_custom_fields hook is specific to the Menu screen and is described as follows:
do_action( 'wp_nav_menu_item_custom_fields', $id, $menu_item, $depth, $args ); - The integer
$idis the menu item ID - The
$menu_itemobject is the menu item data object - The
$depthinteger is the depth of the menu item - The
$argsis the object of menu item arguments
The hook fires just before the move buttons of a nav menu item in the menu editor and is introduced in the wp-admin/includes/class-walker-nav-menu-edit.php file around line 242.
Try our Award-Winning WordPress Hosting today!


You can demonstrate this in practice with a very simple example. Open functions.php file and add this piece of code:
For maintainability, it’s best to place this code in a child theme or a simple custom plugin rather than your main theme’s functions.php file.
function my_menu_item_field() {
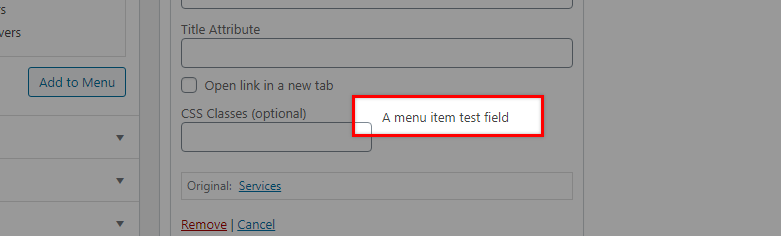
echo 'A menu item test field';
}
add_action( 'wp_nav_menu_item_custom_fields', 'my_menu_item_field' );Now, if you go into the menu edit admin page, you will see the echoed string under each menu item as shown in the screenshot below.
Of course, this has no functionality at all but shows how it’s possible to edit the menu. Let’s now try something more useful by adding some simple functionality to in the form of a custom field.
In this example we’re going to create a WordPress menu custom field that allows us to insert a description into any menu item.
Step One: Adding the Output
To begin, what we will do first is create the callback function that will display the input field where the admin user can fill in the description. Here is the code to do this:
function menu_item_desc( $item_id, $item ) {
$menu_item_desc = get_post_meta( $item_id, '_menu_item_desc', true );
?>
<div style="clear: both;">
<span class="description"><?php _e( "Item Description", 'menu-item-desc' ); ?></span><br />
<input type="hidden" class="nav-menu-id" value="<?php echo $item_id ;?>" />
<div class="logged-input-holder">
<input type="text" name="menu_item_desc[<?php echo $item_id ;?>]" id="menu-item-desc-<?php echo $item_id ;?>" value="<?php echo esc_attr( $menu_item_desc ); ?>" />
</div>
</div>
<?php
}
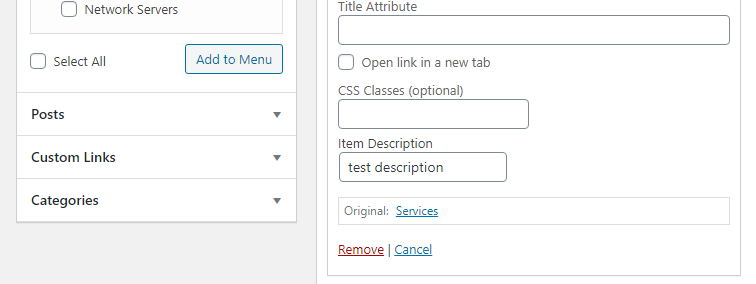
add_action( 'wp_nav_menu_item_custom_fields', 'menu_item_desc', 10, 2 );Add this code to your functions.php file and save it. Now, if you log back into the Admin area of your WordPress website and open up the Menus screen you should see your field displayed. In our case, we’ve called this ‘Item Description’. You’re of course free to edit the code above to name your field as you see fit. Just bear in mind it needs to be a unique name.
Step Two: Saving your Input
Next, we will insert the piece of code below which will update the field value in the database post meta table meaning our input will be saved.
function save_menu_item_desc( $menu_id, $menu_item_db_id ) {
	if ( isset( $_POST['menu_item_desc'][$menu_item_db_id]  ) ) {
		$sanitized_data = sanitize_text_field( $_POST['menu_item_desc'][$menu_item_db_id] );
		update_post_meta( $menu_item_db_id, '_menu_item_desc', $sanitized_data );
	} else {
		delete_post_meta( $menu_item_db_id, '_menu_item_desc' );
	}
}
add_action( 'wp_update_nav_menu_item', 'save_menu_item_desc', 10, 2 );
With this code saved in your functions.php file, you can head back into your WordPress Admin, open up a menu item and add in a description to the field. Next, head to your phpMyAdmin database and you should be able to see the entry in the post meta database table.

If you change the value in the Menu admin it should be reflected in the database. Likewise if you delete the value it should disappear altogether.
Next, we’ll show how we can retrieve our saved menu fields data and show it in the front end menu by using the get_post_meta function and the nav_menu_item_title hook. Add the following code below to your functions.php file.
function show_menu_item_desc( $title, $item ) {
	if( is_object( $item ) && isset( $item->ID ) ) {
		$menu_item_desc = get_post_meta( $item->ID, '_menu_item_desc', true );
		if ( ! empty( $menu_item_desc ) ) {
			$title .= '<p class="menu-item-desc">' . $menu_item_desc . '</p>';
		}
	}
	return $title;
}
add_filter( 'nav_menu_item_title', 'show_menu_item_desc', 10, 2 );
The nav_menu_item_title hook filters a menu item’s title and can be found inside the wp-includes/class-walker-nav-menu.php file around line 225.
It accepts 4 parameters, the menu item’s title string, the current menu item, an object of wp_nav_menu() arguments , and an integer which is the depth of menu item.
You should now see the description under the menu item title and, using the appropriate CSS, you can of course style this to suit your website.

If you don’t want to get embroiled with writing code in order to add a custom field to your WordPress menu then good news… there are plugins that can do this for you.
Advanced Custom Fields
The hugely popular and ever versatile Advanced Custom Fields plugin yet again demonstrates it’s power here with the ability to add custom fields to the WordPress menu.
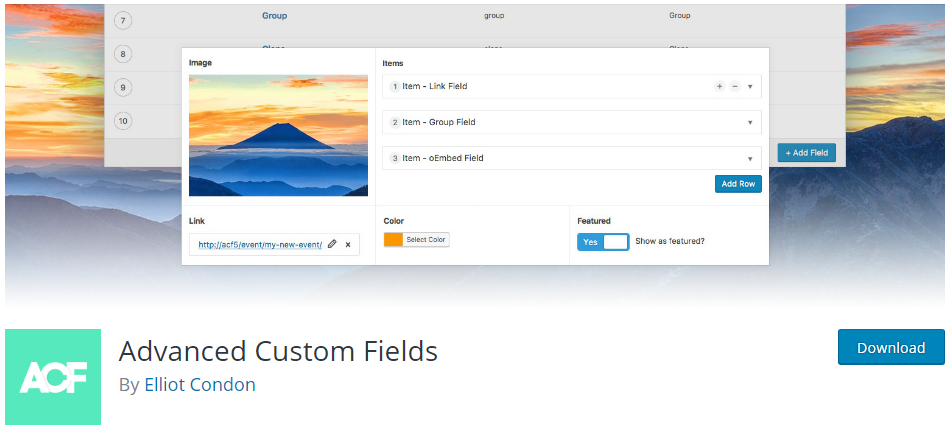
After you install and activate it, open the plugin up and then click on the ‘Add New’ button to add your fields. Select ‘Menu Item’ under the location rules. Follow the instructions and update the fields as required.

Once you publish the field you can head to your WordPress menu from within the Admin area to see the new field you’ve created. Pretty easy!
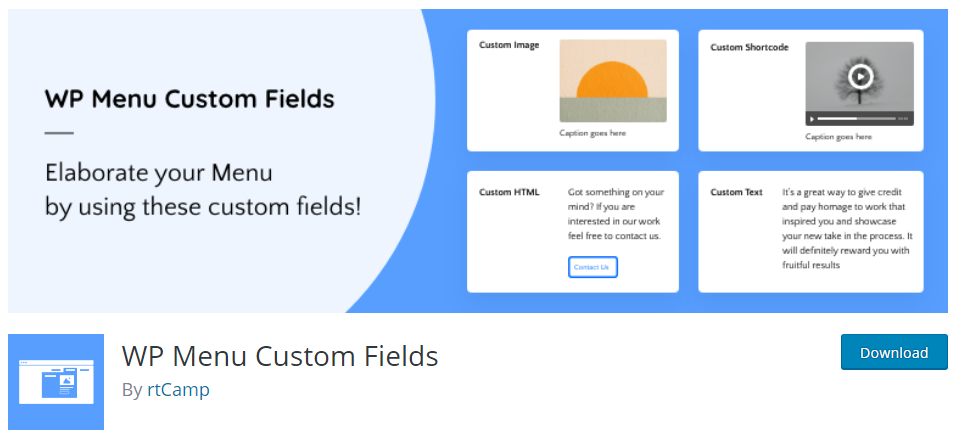
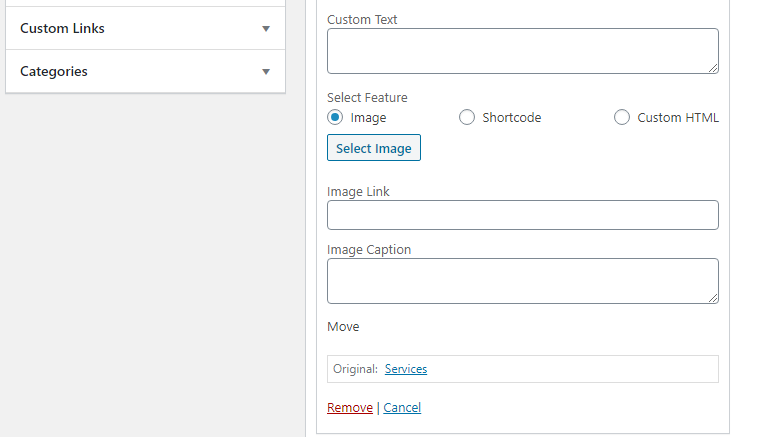
The WP Menu Custom Fields plugin is a relatively new plugin that, as the name suggests, will help you add custom fields to your menu items. You can add a custom text, an image, a shortcode or a custom HTML.
Rather than creating custom menu items via a dedicated plugin interface (as you do with Advanced Custom Fields), WP Menu Custom Fields instead adds editable options directly to the any menu item in the admin menu edit area.
It’s pretty self-explanatory to use and a nice easy way to add custom fields and other content to your menu items. The plugin documentation also provides the plugin’s hooks you can use to further customize the HTML generated each feature.
Frequently Asked Questions
The wp_nav_menu_item_custom_fields hook is a WordPress action hook introduced in version 5.4. It allows developers to add custom fields to menu items within the WordPress admin area and Customizer panel.
To utilize the wp_nav_menu_item_custom_fields hook, developers can define callback functions that output HTML fields or content. These functions are then attached to the hook using the add_action() function, enabling the display of custom fields under menu items.
Yes, custom fields created using the wp_nav_menu_item_custom_fields hook can have functionality associated with them.
For instance, developers can
- add code to save inputted data to the WordPress database,
- retrieve and display saved data, or
- perform other operations as needed.
Indeed, non-coders can leverage plugins like Advanced Custom Fields or WP Menu Custom Fields to add custom fields to WordPress menu items effortlessly. These plugins offer user-friendly interfaces for creating and managing custom fields, providing flexibility without requiring programming knowledge.
From Development to Delivery
Custom fields let you push WordPress menus further, adding metadata, labels, or unique design touches. They give you flexibility to shape the experience the way you want.
If you want to explore this topic even more, check out our detailed guide on building a custom plugin for menu fields.
But once you’ve built those features, the question becomes: will they perform the same way in production, under real traffic, across the globe? That’s where infrastructure makes all the difference.
Every Pressidium plan includes Pressidium EDGE, our global performance and security layer. With dynamic caching, intelligent load balancing, and WordPress-specific security at the edge, the work you build isn’t just functional.
Your site is delivered fast, reliably, and securely to every visitor, everywhere.
The good news? You can click below and try it today, for free!
Start Your 14 Day Free Trial
Try our award winning WordPress Hosting!


