

We’re approaching the end of our Gutenberg series, and there is only one thing left: installing Gutenberg on your WordPress site. You might be worried that some things might break but we’ll guide you along step by step.
It’s best to switch to Gutenberg on your staging environment first. This way you can make sure everything still works as expected before installing it on your live site. Since Gutenberg is still in beta you might experience issues, but they will be most likely solved when it goes live.
Installing Gutenberg on your WordPress website
Right now Gutenberg is not a part of the WordPress core since version 5.0 hasn’t been released yet. So to use Gutenberg you have to install it as a plugin, using the standard WordPress procedure.
After you install and activate Gutenberg, it will automatically become your website’s default editor. WordPress will be using Gutenberg for content editing, from then on.
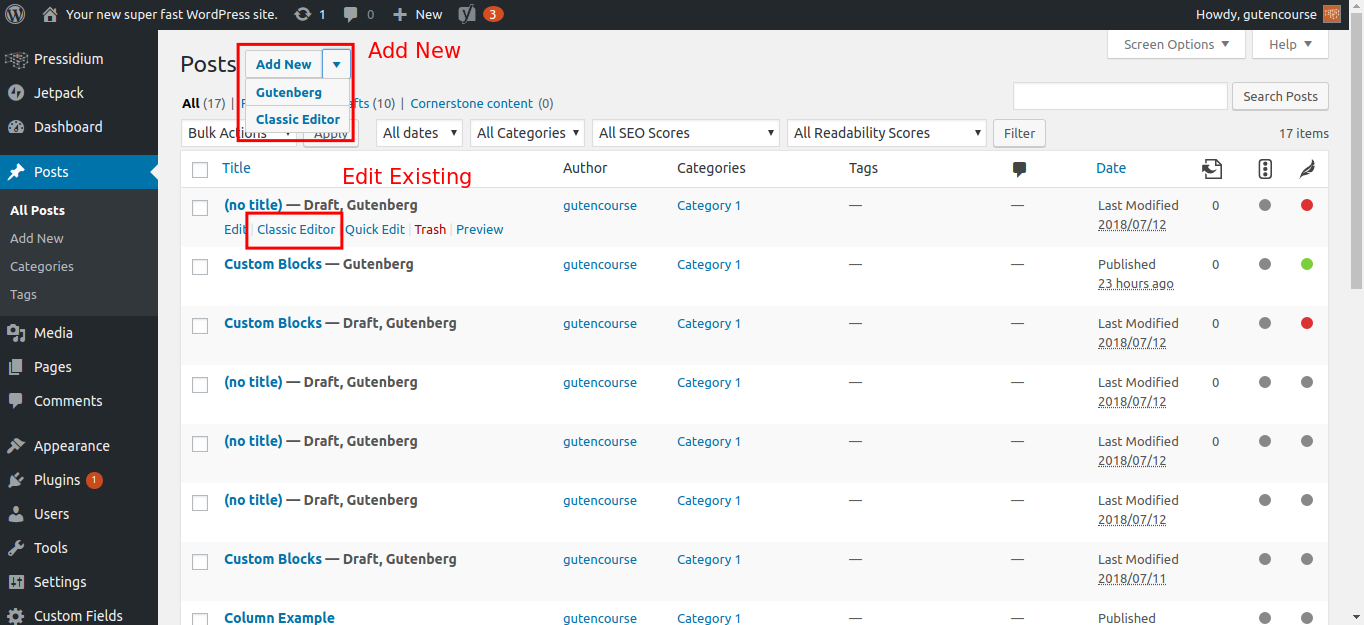
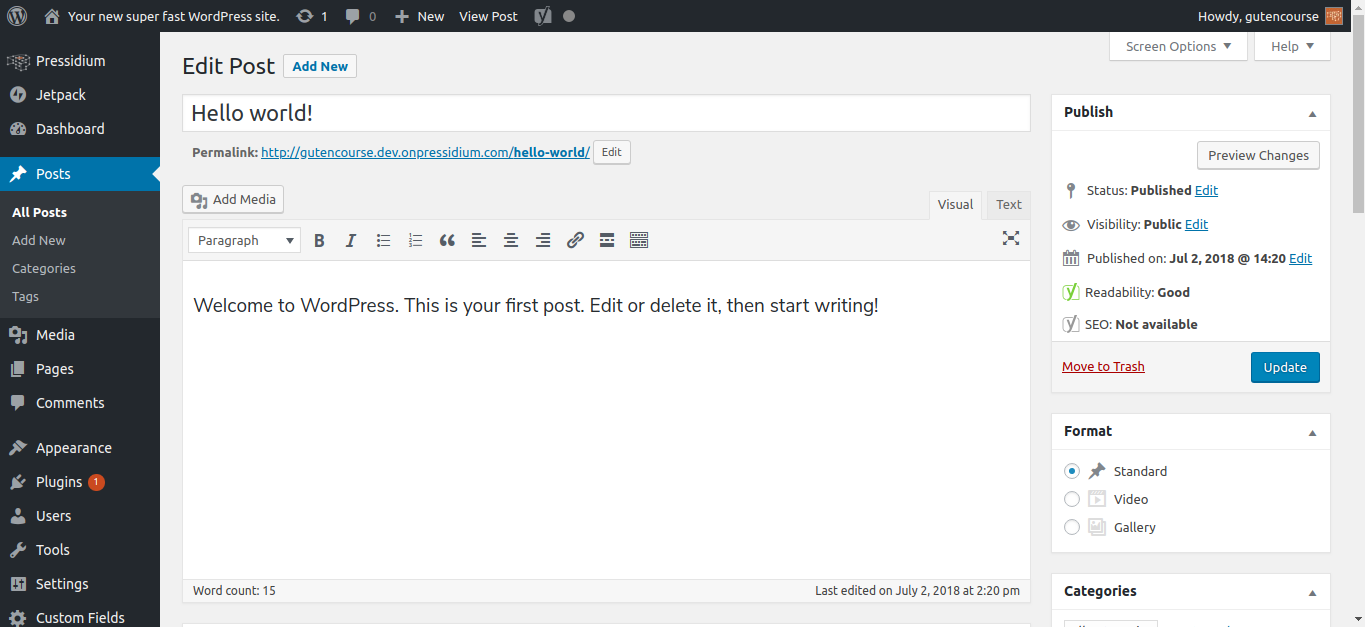
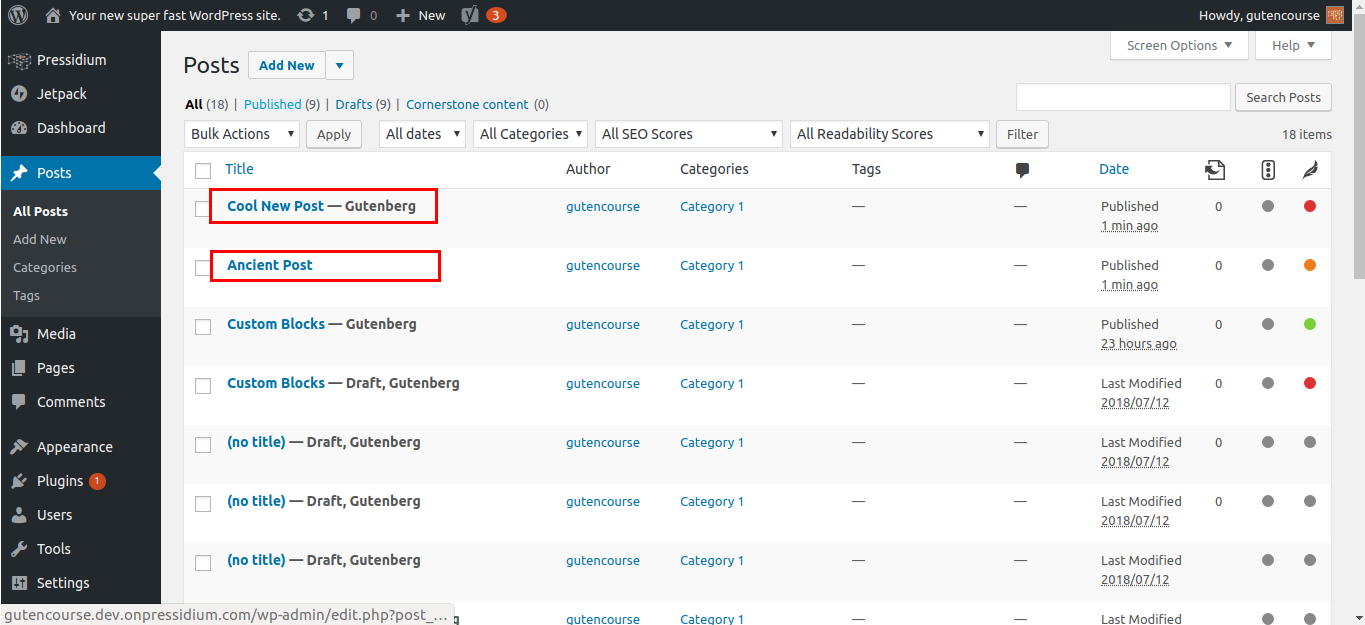
However, you can still access the old TinyMCE editor from the “All Posts” screen. There is an option to select “Classic Editor”, to create a new post, or to edit an existing one.
Old TinyMCE content
You might be worried whether installing Gutenberg will break something on your website. The Gutenberg development team are well aware of this and they have made sure that the change is implemented seamlessly.
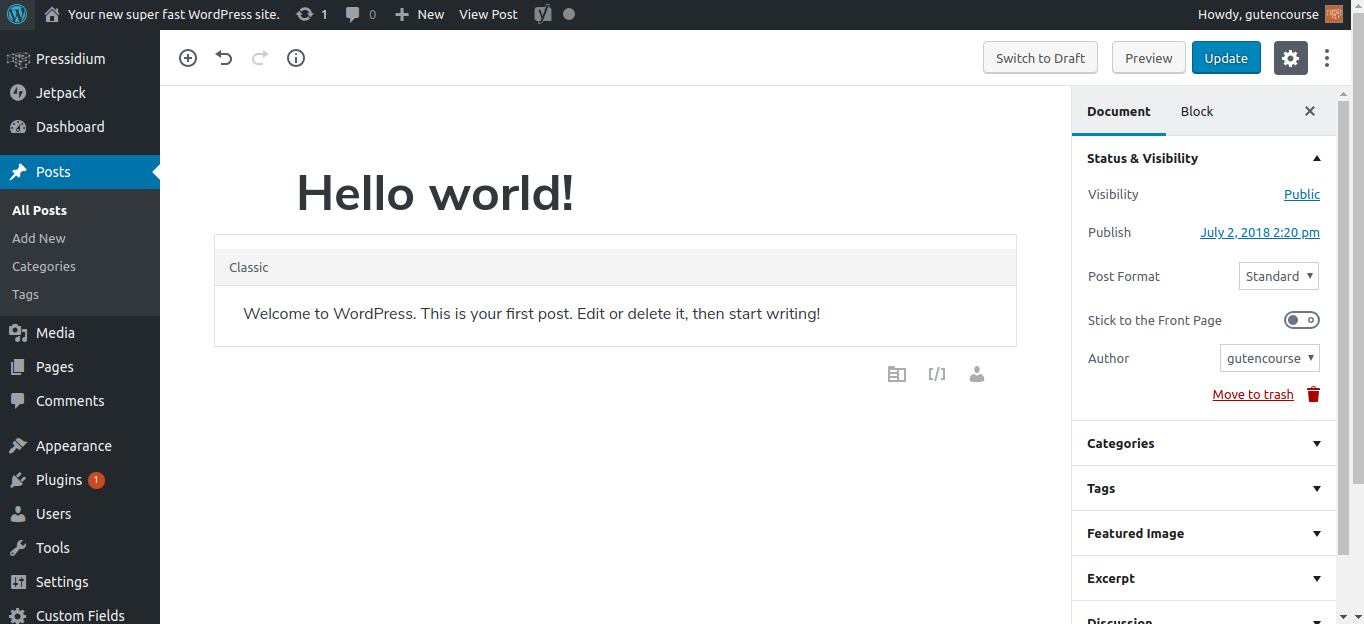
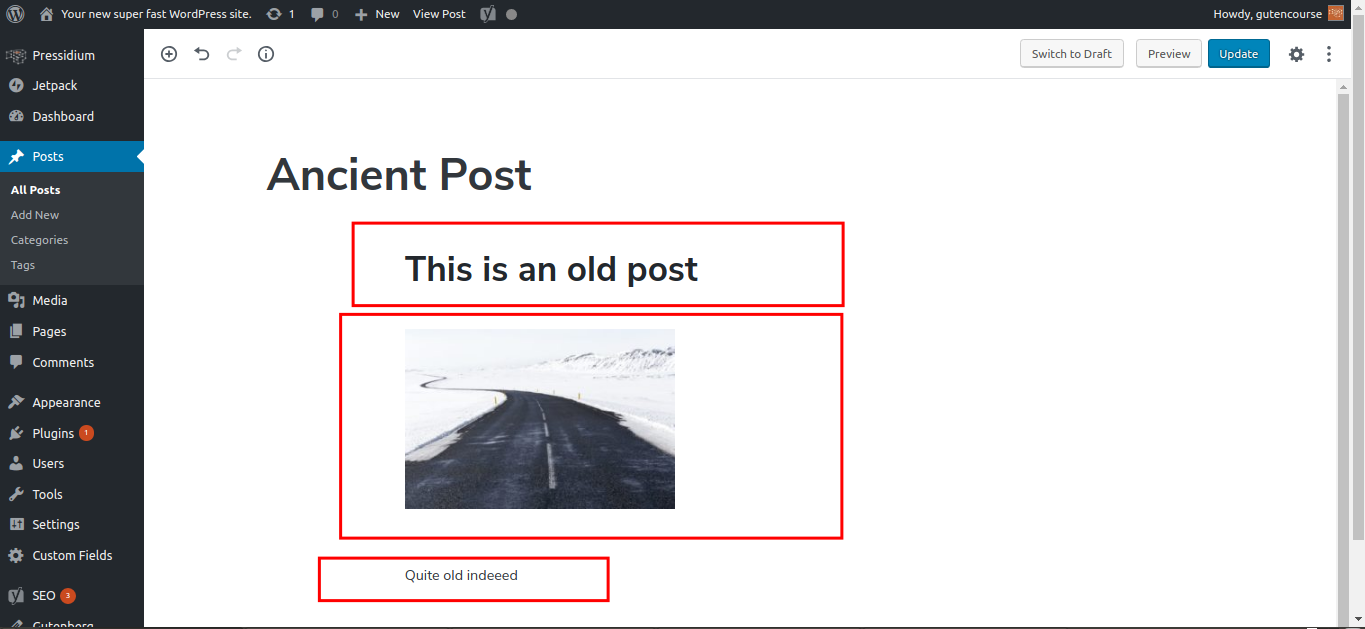
Every old post automatically contains a TinyMCE block with the body of the content. So even if posts contain images, shortcodes and everything in between, the TinyMCE block makes sure that they behave and are displayed the exact same way they’re supposed to.
You can start creating new content using Gutenberg blocks, without any worries!
Migrating to Gutenberg
That being said, there might be a piece of content that you frequently update and work on. In that case, you might want to convert it from the old TinyMCE format to Gutenberg blocks. Again, this is quite a straightforward process with Gutenberg.
First, notice how TinyMCE Posts are missing the “Gutenberg” flag next to them.
In order to convert them to Gutenberg posts, click More Options > Convert to blocks.
That’s it! your post is converted into a Gutenberg blocks-style post.
Of course you might have to make some manual adjustments if you are not happy with the automated process, but still, this lifts a lot of the weight when trying to migrate over to Gutenberg blocks.

The Alternative
Well, we get it…
You might want to do nothing with Gutenberg right now for your own reasons. Maybe you tried it and for some reason, everything crashed, or you just plain hate it.
Once WordPress 5.0 rolls out, Gutenberg will replace TinyMCE. If you still want to have the latest WordPress version and still want to use the good ole’ editor, there is a way to do that. All you need to do is download WordPress’s own “Classic Editor” plugin.
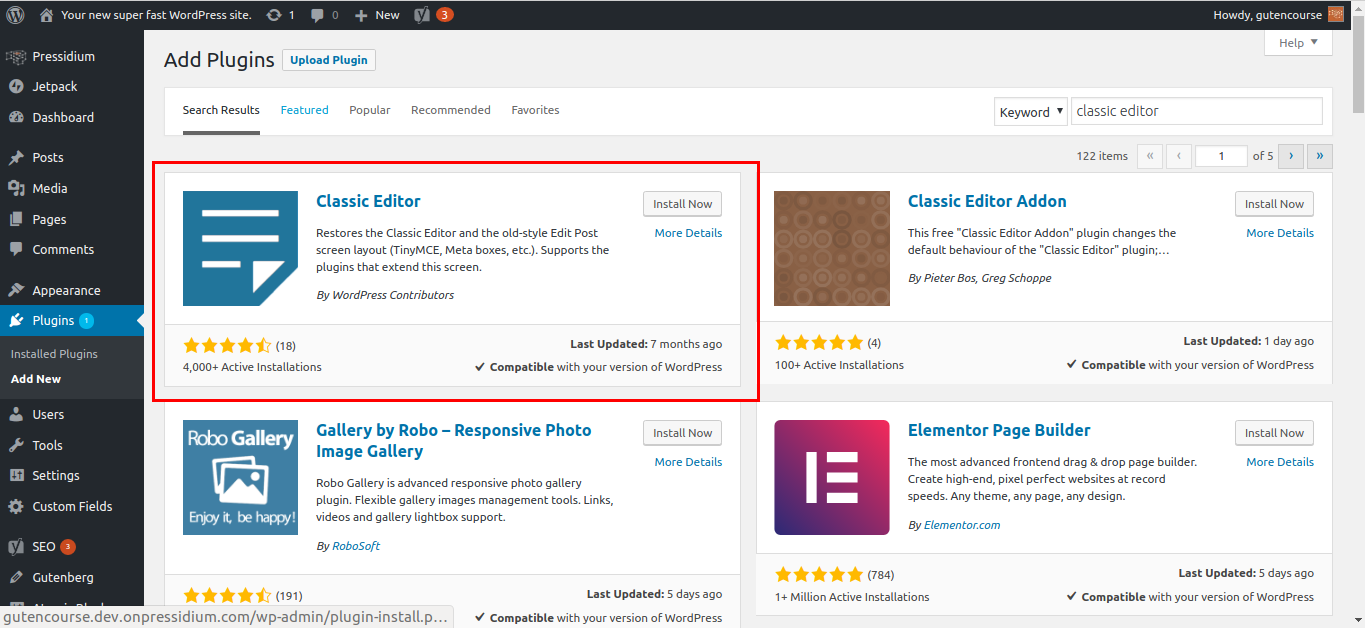
This way TinyMCE will be restored, including everything else, for example, meta-boxes.
Conclusion
Thank you for sticking with us so far! We’re almost at the end of the Presidium Gutenberg Course series. Hopefully, you have by now a solid grasp of how Gutenberg works, and what you can do with it.
In the next and last episode, we are going to present a curated list of tools, articles, and tutorials that can guide you further along the way on your Gutenberg journey!
Start Your 14 Day Free Trial
Try our award winning WordPress Hosting!


