

In our first article on WordPress Custom Post types we ran through how you can easily create your own custom post types using the excellent plugin Custom Post Type UI. In this second article we’ll look at how you can do this manually (i.e. by coding). So, why if it’s so easy to create custom post type using a plugin would you want to do this the long way?
Using a plugin to add custom functionality can work extremely well (and the vast library of plugins that help extend functionality is one of the reasons why WordPress is so popular). But, problems can arise if and when a plugin becomes unsupported (as the plugin author chooses not to continue updating and developing it). If this happens you could find that functionality provided by the plugin now no longer works which could be a serious problem if your website is built around a particular feature provided by a plugin.
As such, if you can code in functionality directly rather than relying on a plugin then it’s a good option to consider.
Today we will walk you through how you can create your own Custom Post Type without using a plugin. We will also demonstrate some basic configuration like defining the CPT (Custom Post Type) labels along with things like enabling featured images and more. We will then add a custom taxonomy and finally we will see how you can display your Custom Post Type content in your website’s frontend.
Create the Custom Post Type
If you followed our previous tutorial and still have the CPT UI plugin installed, please deactivated this so no confusion arises when creating your new CPT manually.
As previously we’ll be using Recipes as the focus for our new custom post type. To get started the first thing we have to do is create the custom post type by inserting the correct piece of code in our functions.php file.
Basic Setup
For now, we will create our post types with minimal arguments by using the register_post_type function that WordPress provides.
register_post_type( string $post_type, array|string $args = array() )This function’s structure requires two parameters. The post type key which should only contain lowercase alphanumeric characters, dashes, and underscores and a second optional parameter, the $args for additional arguments. We will focus only on some of these arguments in this article but if you want to experiment some more you can find the full list of the available arguments in the related WordPress documentation.
For the purpose of this article we will use the code below.
function recipes_post_type() {
    register_post_type( 'recipes',
        array(
            'labels' => array(
                'name' => __( 'Recipes' ),
                'singular_name' => __( 'Recipe' )
            ),
            'public' => true,
            'show_in_rest' => true,
	    'supports' => array('title', 'editor', 'thumbnail')
        )
    );
}
add_action( 'init', 'recipes_post_type' );
If you’re following along then fire up your favorite text editor and add this code to your functions.php file.
You’ll see in this code we used the ‘labels’ array to define the singular and plural names for our post type, the show_in_rest argument to activate the Gutenberg editor for the recipes posts as well as the public argument.
The public argument actually does three different things. It shows the admin custom post menu, it includes the custom post menu in the results of the website search and also shows the custom post menu in the WordPress Admin Menu area. These options can be separately modified using the show_in_nav_menus, exclude_from_search and show_ui arguments respectively. The show_in_nav_menus and show_ui default value inherit the public value but the exclude_from_search default value is the opposite of the public value.
We also used the supports argument which defines what features a custom post will support. For now we will only enabled ‘title’, ‘editor’, and ‘thumbnail’ (some further options will be shown in future articles).
Try our Award-Winning WordPress Hosting today!


With this code snippet added to our functions.php file and saved (always backup your website before undertaking work like this!) you’ll now see a brand new Menu item in the WordPress Admin (in this case ‘Recipes’).
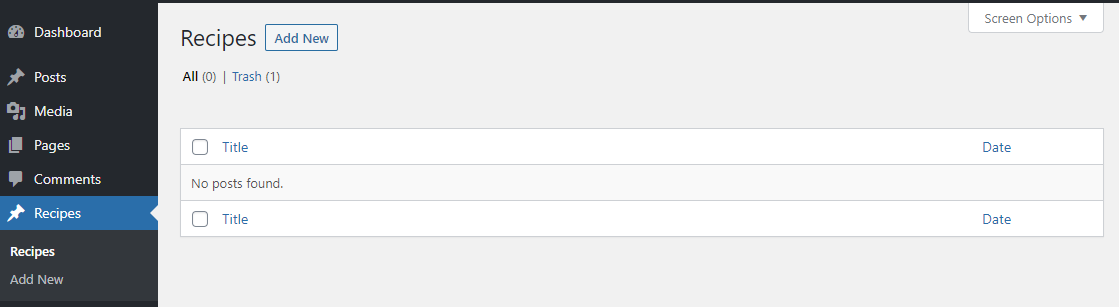
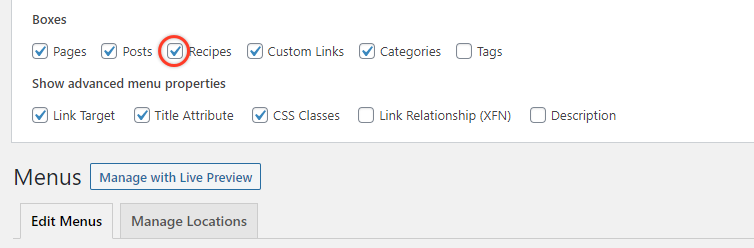
Next, if we head to Appearance > Menus we can confirm that the Recipes have been added as an option. This confirms things are working as they should be.

Note: If you go to the menu area and don’t see the ‘Recipes’ menu item then it’s possible it’s not been checked in the Screen Options. To do this, head to the very top of the page and open the Screen Options bar and make sure that your new custom post type (Recipes in this example) has been ticked.
Add Your Taxonomy for Your Custom Post Type
WordPress taxonomies exist to group similar content. At this point we have our ‘recipes’ custom posts but we do not have the ability to categorize them the way we want. As such it would be useful to create a separate category for our recipes. Let’s for example group recipes by the kind of cuisine they belong to.
To achieve this we need to register a new ‘cuisines’ taxonomy and then link it to the ‘recipes’ post type.
To add the taxonomy we use the register_taxonomy() function that WordPress provides (see a list of arguments here).
register_taxonomy( string $taxonomy, $object_type, $args )The mandatory arguments are $taxonomy, which is the taxonomy key, and the $object_type, which is the object type or array of object types with which the taxonomy should be associated, in our case, ‘recipes’. In the $arg parameter we will also include the necessary values for labeling our admin instances of our taxonomy.
function create_recipes_taxonomy() {
    register_taxonomy('cuisines','recipes',array(
        'hierarchical' => false,
        'labels' => array(
            'name' => _x( 'Cuisines', 'taxonomy general name' ),
            'singular_name' => _x( 'Cuisine', 'taxonomy singular name' ),
            'menu_name' => __( 'Cuisines' ),
            'all_items' => __( 'All Cuisines' ),
            'edit_item' => __( 'Edit Cuisines' ),
            'update_item' => __( 'Update Cuisines' ),
            'add_new_item' => __( 'Add Cuisines' ),
            'new_item_name' => __( 'New Cuisines' ),
        ),
    'show_ui' => true,
    'show_in_rest' => true,
    'show_admin_column' => true,
    ));
}
add_action( 'init', 'create_recipes_taxonomy', 0 );
The show_admin_column boolean defines whether or not the taxonomy will be visible as a column in the recipes admin list table.
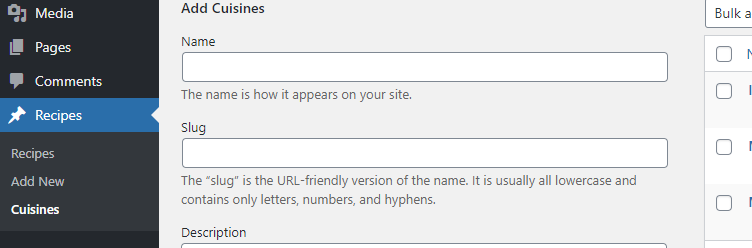
Now if you head back to your WordPress admin and refresh this you should see the ‘Cuisines’ taxonomy in the Recipes menu.
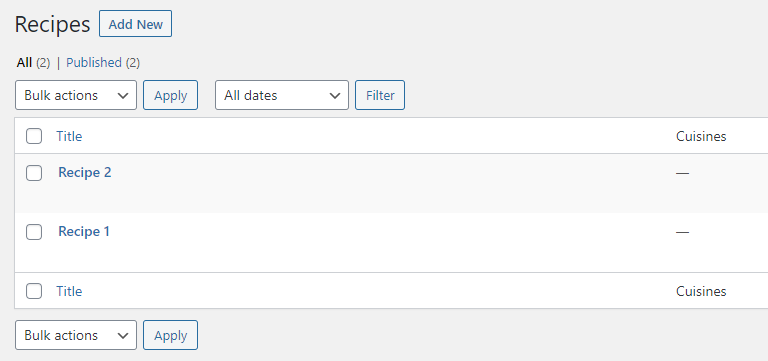
You should also see a ‘Cuisines’ column in the Recipes table:
Displaying Your Custom Post Type Content on the Frontend
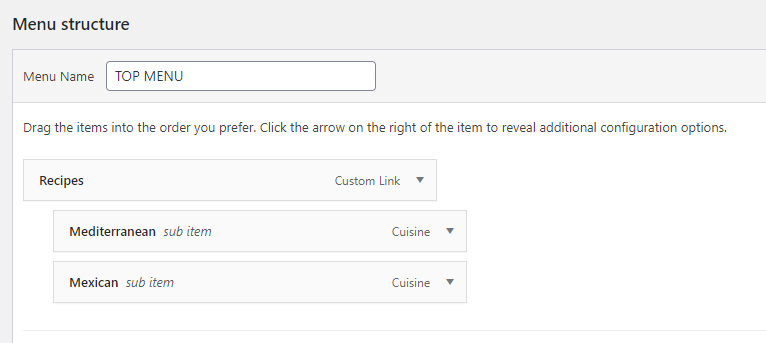
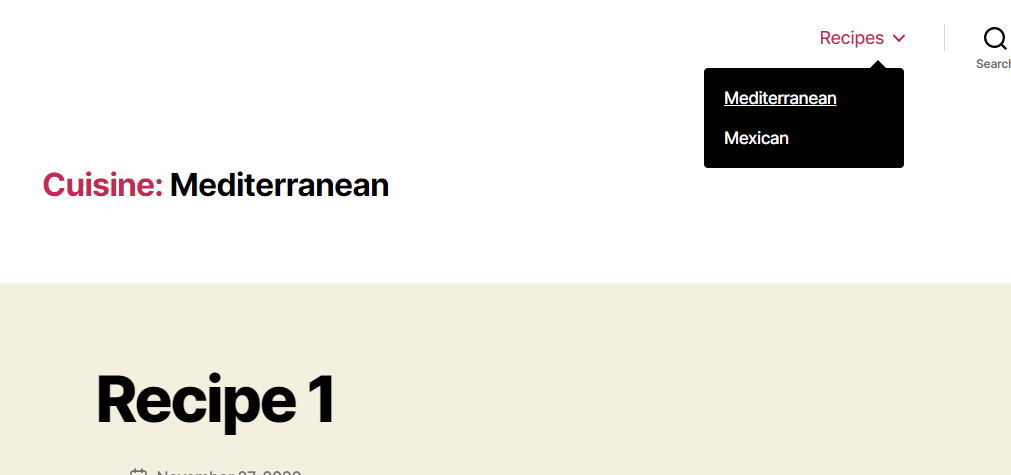
At this point you should be able to include your custom posts in your menu as well as the custom taxonomies you have created. To demonstrate this we added two Cuisines ‘Mediterranean’ and ‘Mexican’ in our Cuisines Taxonomy menu. These then appear as Menu options in our WordPress Menu allowing us to create a Recipes menu like the one shown below.
If you’ve created a Recipe post and associated it with a Cuisine category you should now see them appear when you select the associated cuisine from the menu.
Note: If you try to view a recipe post in the front end you might get a “404 not found”. This can happen because the Permalink cache needs to be flushed. This is easy to do. Just go to Settings >Permalinks and re-save.
Now we will create another menu item for ‘All Recipes’ using custom code in order to display an archive of all our recipes.
Before proceeding though, we should make sure that our custom posts archive argument is set to true. Go back to your code in functions.php where you register the recipes type and add 'has_archive' => true, in the arguments array.
function recipes_post_type() {
    register_post_type( 'recipes',
        array(
            'labels' => array(
                'name' => __( 'Recipes' ),
                'singular_name' => __( 'Recipe' )
            ),
            'public' => true,
            'show_in_rest' => true,
	    'supports' => array('title', 'editor', 'thumbnail'),
	    'has_archive' => true,
        )
    );
}
add_action( 'init', 'recipes_post_type' );
After that, go to Settings > Permalinks and resave to ensure you don’t get a 404 error (as we previously mentioned).
Now in the menu construction page, add the custom link for the archives page. The link text could be “All Recipes”.
The URL should be “/?post_type=recipes”, if your permalinks are set to “Plain” and ‘/recipes/’ if permalinks are set to “Post name”.
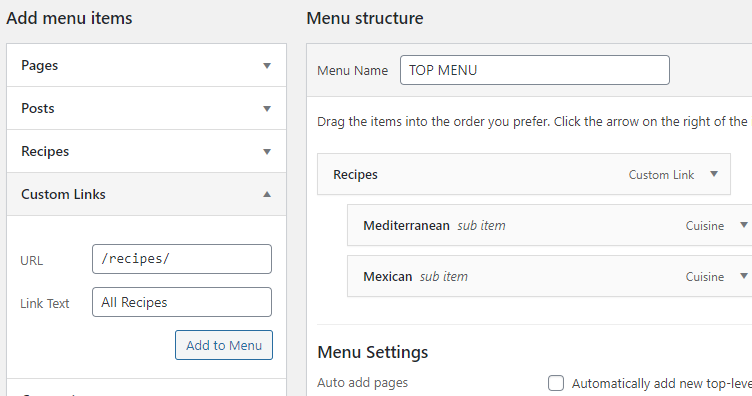
Add the menu item and go to your website and click its link. You should now see all the recipes posts in an archive view.
Further Reading
- Create WordPress Custom Post Types Using a Plugin
- WordPress Custom Post Types – Taking It Further
- Create WordPress Custom Post Types Using Your Own Plugin!
Conclusion
The way of approaching custom post types that we examined in this article may seem confusing at first (especially when compared to the ease of creating custom post types using a plugin). If you are willing to persevere however, coding your own custom post types does have its advantages namely you are not reliant on a plugin should that plugin ever stop working or become unsupported.
Start Your 14 Day Free Trial
Try our award winning WordPress Hosting!


