

Fonts play a major role in your website’s design, readability and sometimes even functionality. Choose the wrong one and you could ruin what otherwise is a great looking website. Equally, both the font style and size can dictate how easy (or otherwise!) your website is to use. But what do you do if your ideal font isn’t available in your WordPress theme? In this article we’ll check out several ways you can use the custom font of your choice.
Let’s get going!
Why Use Custom Fonts
Many themes now come with a selection of fonts for you to choose from that are ‘baked in’. These are in many cases suitable for the website you are designing. But, if you aren’t able to select the right font with the fonts that are already on offer then it’s time to look at alternate fonts and this will mean you need to be able to add your custom fonts to your website.
Using custom fonts allow you to take advantage of beautiful combination of different fonts on your website to improve typography and the user experience. Research has shown there are significant benefits of using the right typography. This not only includes an improvement in the overall user experience but even how well the information on a website is processed by the brain. The easier this is, then the easier it is to communicate your business offering/services to your customers.
Whilst using custom fonts can definitely improve the usability of your website it’s important not to go font crazy! A selection of two fonts that have been carefully paired should be ample. More, and you can risk slowing down your website.
Let’s crack on and look at the options available to us to add custom fonts to our WordPress website.
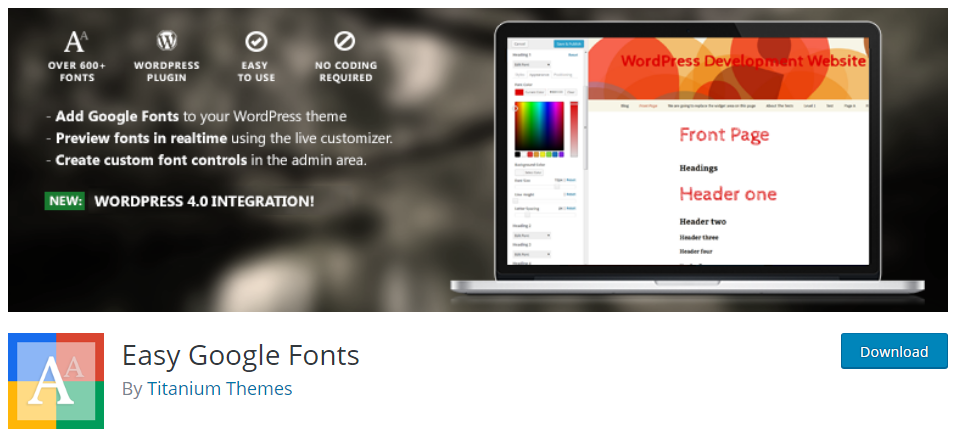
Add Google Fonts with the Google Fonts Plugin
The easiest and most popular way of adding custom fonts to your WordPress website has to be by using the Easy Google Fonts Plugin.
After you install and activate this plugin, open your theme customizer under the menu Appearance > Customize. You will notice in the left sidebar a new accordion drop down menu called Typography has been added.
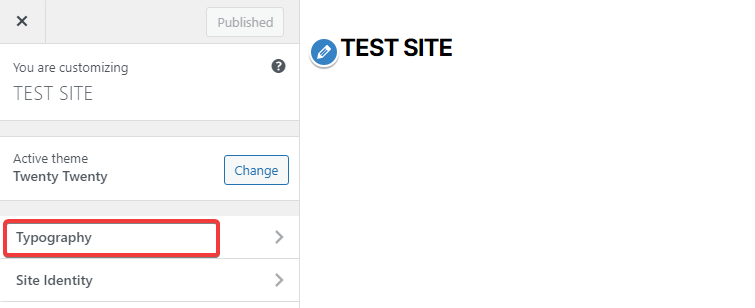
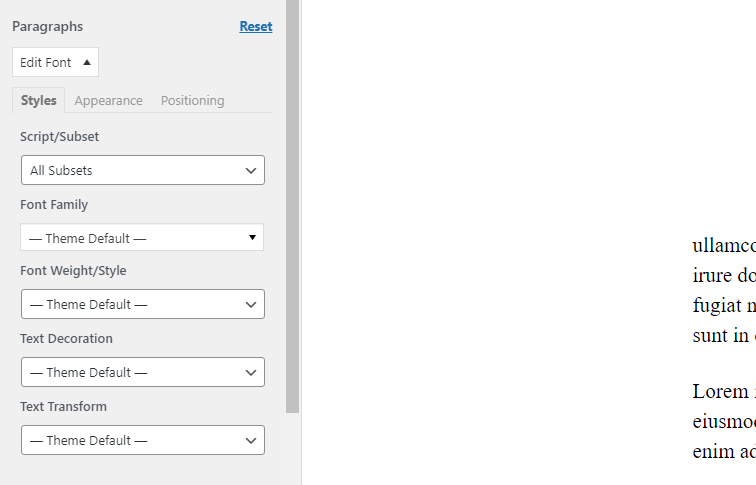
Click to open this and then you can use the ‘Edit Font’ button to quickly change your website fonts, as well as their respective weight, whether they are uppercase etc. and more. You can also use CSS properties as well to further alter the styling and positioning of your chosen fonts.
In addition you can even add your own font controls. To do this head to the plugin settings page under Settings >Google Fonts.
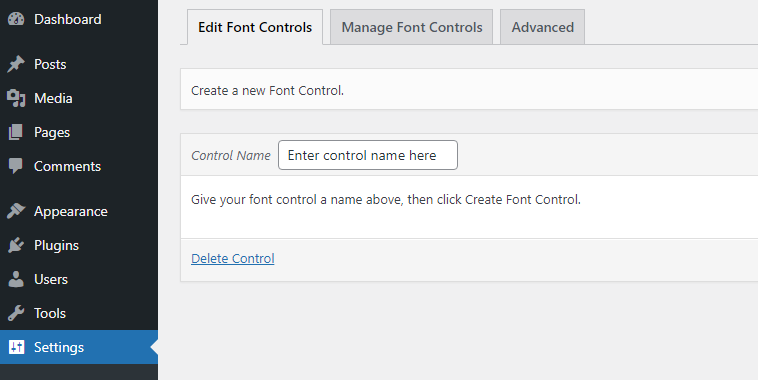
Create a new font control and define the CSS selectors. For example we set the .entry-title classes that correspond to the post titles of our theme. Then, when visiting the customizer again, a new box will be available with the specified name for you to apply the font customization to the post titles the same way we described above. Easy!
Add Google Fonts Manually
If you’d rather not use a plugin but still want to take advantage of using Google Fonts on your WordPress website then no problem. These can be added manually relatively easily. Let’s take a look how. Of course there is also a manual way to add Google Fonts to your website.
Step One:
First, you have to get your font link from the Google fonts site.
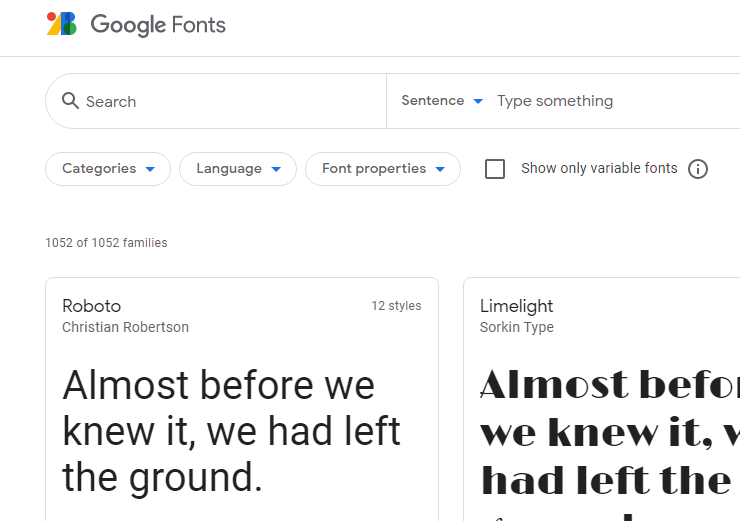
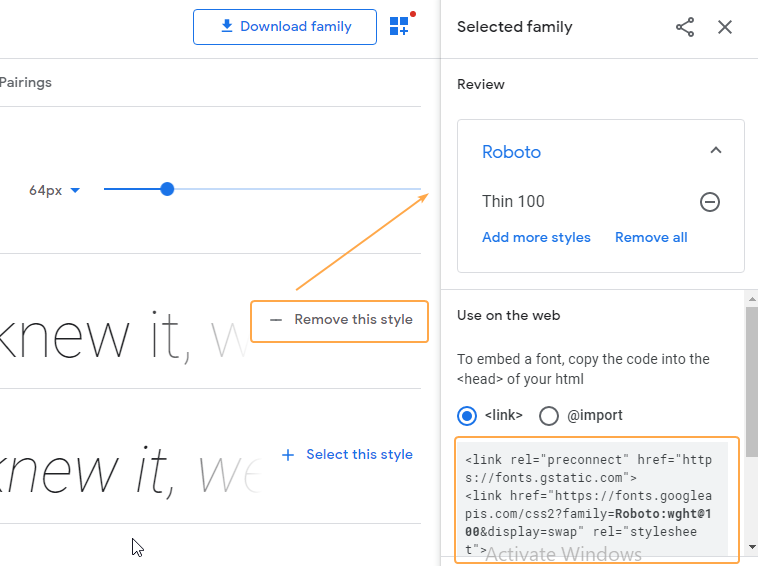
Let’s say that you want to use the Roboto font family. When you click on this font you will be transferred to its page where you can preview any text to be sure the font suits you. On the right hand side you’ll see a ‘Use on the web’ box which includes the link you’ll need to add this to your site.
To properly enqueue Google Fonts in WordPress, open your theme’s functions.php file with your favorite editor and insert the following code at the end:
function my_google_fonts() {
    wp_enqueue_style(
        'my-google-fonts',
        'https://fonts.googleapis.com/css2?family=Roboto:wght@100&display=swap',
        false
    );
}
add_action( 'wp_enqueue_scripts', 'wpb_add_google_fonts' );
Copy the URL provided in the Google Link text (begins with https://) and then replace this in the code above (in our example this is currently https://fonts.googleapis.com/css2?family=Roboto:wght@100&display=swap)
Then in your theme’s style.css file use the font the same way you would do with any other font, following the “CSS rules to specify families” provided by Google.
h1, h2, h3 {
   font-family: 'Roboto', sans-serif;
}
Now in the front end of your site, you should see the Roboto font applied to the areas where it’s been specified in your CSS file.
Add Adobe Fonts
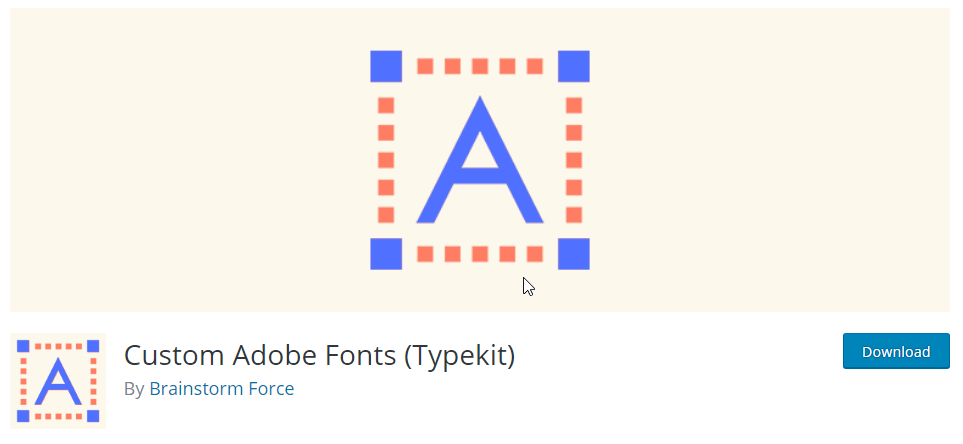
A great alternative to Google Fonts are fonts from Adobe Fonts. The Custom Adobe Fonts plugin helps you embed these fonts easily in your WordPress website and currently works with the Astra Theme, Beaver Builder Theme, Beaver Builder Plugin and Elementor Page Builder.
To start, install the plugin and then head to Adobe’s extensive font library to find a font that suits you (you’ll need to register to sign in).
Try our Award-Winning WordPress Hosting today!


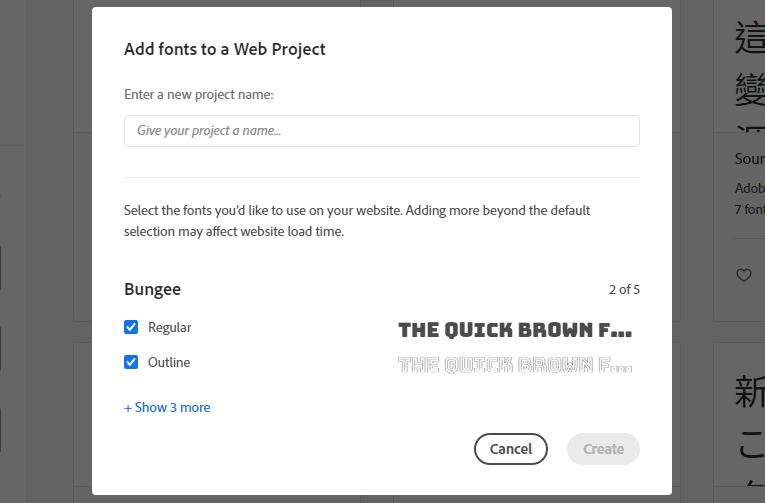
There are a ton of ways to filter fonts and the system is pretty intuitive to use. Once you’ve found a font you like click on it and look to near the top right of the page where you’ll see it says ‘Add to web project’. A box like the one below will open up. Give your web project a name and select the font variants you want to include in this.
Once you give it a name and press the ‘Create’ button, you will be taken to the next screen where an HTML embed code and the CSS rules are provided. You now have two choices. You can either a) continue using the Custom Adobe Fonts plugin or b) embed these fonts manually.
Using the Custom Adobe Fonts Plugin
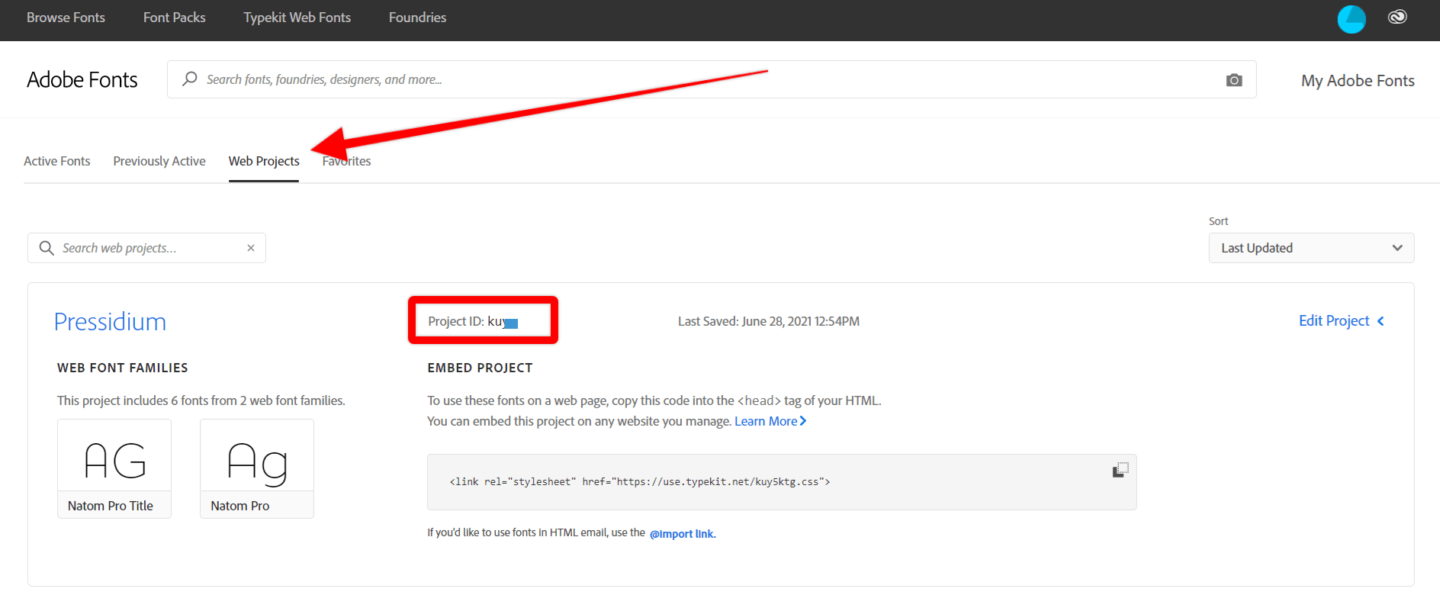
This is the easiest way to pull your Adobe fonts into your website. Once you’ve created your project, click on ‘Web Projects’ and find your project in the list. You’ll see at the top that there is a ‘Project ID’ code (as shown below). Now, head to the Adobe Font’s Plugin settings and Click on ‘Custom Typekit Fonts’ from the menu. The enter this Project ID into this box and save.
You’ll now see this font listed either in the WordPress Customizer, Elementor or other compatible page builder that you use. Select and you’re good to go.
Embedding Custom Fonts Manually
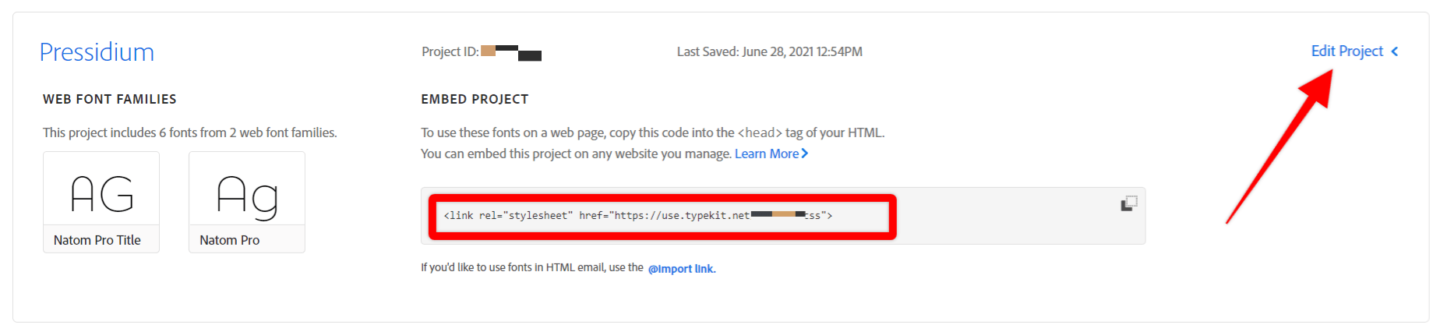
Embedding your Adobe fonts manually is done in exactly the same way as we described for embedding Google fonts. You’ll see a stylesheet embed link provided by Adobe (shown below) in the Web Project overview. To view CSS classes, click on the ‘Edit Project’ text and these are provided alongside each style of font.
How to Find Custom Fonts and Pair Them
You can also find and download the ideal font for your site and load it from within your website folders as there are plenty of resources out there providing free or premium fonts in a large variety.
You can also get help from the Font Pair online tool which is great for previewing font combinations so you can mix and match fonts as you see fit. The way it presents the font pairs, it is also easy to discover other pairing suggestions by browsing.
In our blog, you can also find two great articles on font pairing. There is the Guide to Font Pairing for Web Designers + 30 Amazing Examples! in case you would like to learn more about font pairing design-wise with great consulting on what you should emphasize on and how to achieve the best readability and feel. More details on font pairing tools can be found in our 10 Top Font Pairing Tools for Web Designers article.
Load Custom Fonts from Folders
Although Google Fonts and Adobe Fonts offer an awesome selection from you to choose from plus as easy way of utilizing these on your website, it’s not the only option open to you in your quest for the perfect font.
There are several excellent websites that sell custom fonts that have bene carefully created by designers. Font Squirrel for example offers a large font library and most importantly, it allows commercial use and an easy-to-implement format for these fonts. There are a mixture of free and ‘premium’ fonts on the site (that need to be paid for).
One great font you might want to consider from Font Squirrel is Fira Sans. Let’s use this as an example to find out how to install it on our WordPress website for use.
First, click on the ‘Webfont Kit’ tab. Tick the ‘WOFF box and then click ‘Download @Font-Face kit’.
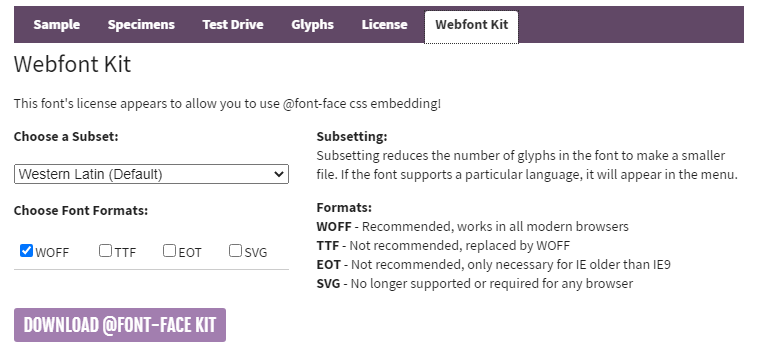
You’ll get a zip file which now needs to be extracted. In this folder you’ll find the font file along with a stylesheet.css file which contains the code you’ll need for your own CSS stylesheet.
For the OpenSans-ExtraBold-webfont for example, we have to use the following CSS:
@font-face {
    font-family: 'open_sansextrabold';
    src: url('OpenSans-ExtraBold-webfont.eot');
    src: url('OpenSans-ExtraBold-webfont.eot?#iefix') format('embedded-opentype'),
         url('OpenSans-ExtraBold-webfont.woff2') format('woff2'),
         url('OpenSans-ExtraBold-webfont.woff') format('woff'),
         url('OpenSans-ExtraBold-webfont.ttf') format('truetype'),
         url('OpenSans-ExtraBold-webfont.svg#open_sansextrabold') format('svg');
    font-weight: normal;
    font-style: normal;
}
Your best bet is to place all the font files of all formats inside an appropriate directory of your choice under your theme folder. In our example, it is under the /wp-content/themes/twentytwenty/assets/fonts/open-sans/ folder.
Inside the same folder create an open-sans.css file and place inside all the CSS code of each stylesheet.css file so that its contents looks like this:
@font-face {
    font-family: 'open_sansbold';
    src: url('OpenSans-Bold-webfont.eot');
    src: url('OpenSans-Bold-webfont.eot?#iefix') format('embedded-opentype'),
         url('OpenSans-Bold-webfont.woff') format('woff'),
         url('OpenSans-Bold-webfont.ttf') format('truetype'),
         url('OpenSans-Bold-webfont.svg#open_sansbold') format('svg');
    font-weight: normal;
    font-style: normal;

}

@font-face {
    font-family: 'open_sansbold_italic';
    src: url('OpenSans-BoldItalic-webfont.eot');
    src: url('OpenSans-BoldItalic-webfont.eot?#iefix') format('embedded-opentype'),
         url('OpenSans-BoldItalic-webfont.woff') format('woff'),
         url('OpenSans-BoldItalic-webfont.ttf') format('truetype'),
         url('OpenSans-BoldItalic-webfont.svg#open_sansbold_italic') format('svg');
    font-weight: normal;
    font-style: normal;

}

@font-face {
    font-family: 'open_sansextrabold';
    src: url('OpenSans-ExtraBold-webfont.eot');
    src: url('OpenSans-ExtraBold-webfont.eot?#iefix') format('embedded-opentype'),
         url('OpenSans-ExtraBold-webfont.woff') format('woff'),
         url('OpenSans-ExtraBold-webfont.ttf') format('truetype'),
         url('OpenSans-ExtraBold-webfont.svg#open_sansextrabold') format('svg');
    font-weight: normal;
    font-style: normal;

}
This also helps the various browsers select the font that it supports. If you need to enqueue the fonts’ CSS file the WordPress way, you should do it in functions.php like this:
function my_custom_fonts() {
    wp_enqueue_style( 'my-custom-fonts', get_template_directory_uri() . '/assets/fonts/open-sans/open-sans.css', false );
}
add_action( 'wp_enqueue_scripts', 'my_custom_fonts' );
Do not forget to replace the URL with the path to your open-sans.css file.
Conclusion
Choosing the right font when building your website has a significant impact on how your website looks and operates. With so many amazing fonts to choose from, don’t feel you have to stick to just the fonts provided by your theme. Hopefully this article shows you how you can use just about any suitable font for your WordPress website!
Start Your 14 Day Free Trial
Try our award winning WordPress Hosting!


