

Password protection serves as a layer of security that prevents unauthorized and unwanted access to your WordPress site’s content. In this article, we will show you multiple methods to password protect any content or information of your entire WordPress site or specific pages.
Why Password Protect a WordPress Site or Page
Password Protection is a practice that can be useful for subscription-based and membership sites, private blogs, or any other content that you want to limit access to.
You can use it to encourage visitors to sign up for membership. If you are a photographer or artist, you will be able to protect your work by controlling how visitors may access it. As a business owner you can limit access to sensitive information, like employee resources, proprietary content, or client communications. As a blogger, you may need to share exclusive content with a select group of subscribers or paid members.
The list of benefits goes on and on and is related to every use case. A properly secured page or website can protect your work from falling into the wrong hands. Let’s proceed and see how you can do this.
Password Protecting Your WordPress Website
If you want to restrict access to your WordPress site or page, password protection is an effective solution. You can do this by using a plugin or HTTP “Basic” Authentication.
By Using a WordPress Plugin
There are several options available in the WordPress plugin library, that you can use to password protect your site. Here, we will discuss the Password Protected plugin.
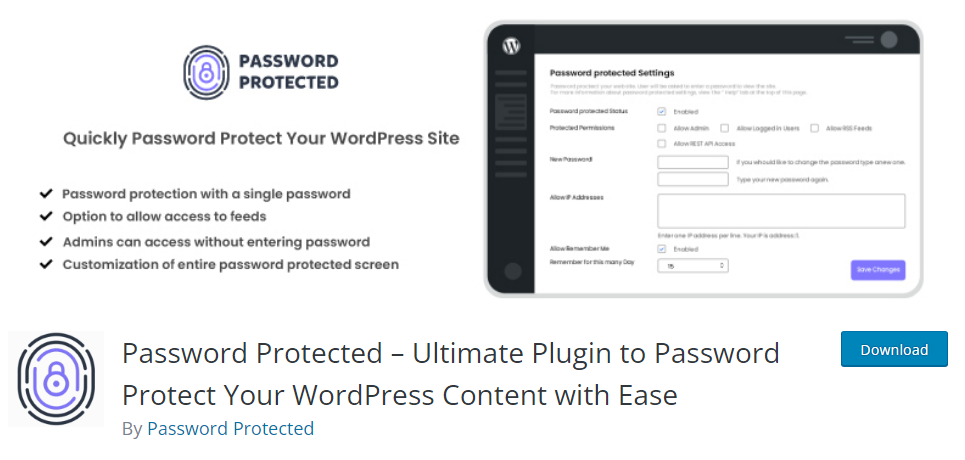
It’s easy to set up and can protect your WordPress site with a single password. Once you install and activate it, visit the “Password Protected” menu item to view its settings.
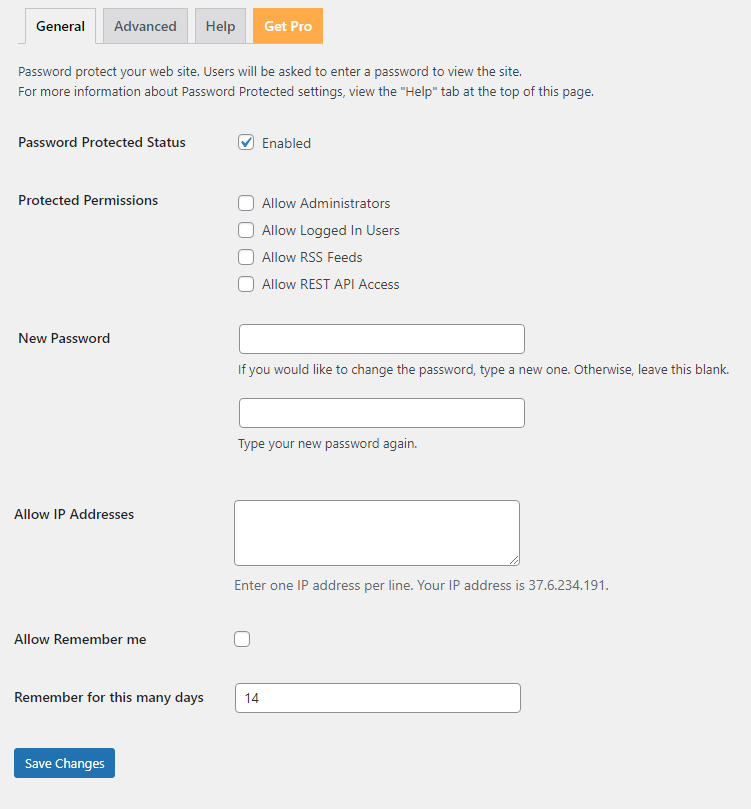
In its free version, you can make exclusions for specific roles, allow specific IP Addresses. In the advanced tab, it allows you to set the display text above or below the password field adn integrate with Google reCAPTCHA.
NOTE: This plugin works by setting a cookie to allow access to the site. So, if you are using a caching plugin or your web hosting service utilizes their own caching, you may want to use the “Use Transients” option. This will save your passwords in correlation with your IP address instead of using cookies.
Once you set your password, make your changes and save them you’re done. Now, anyone who tries to access your site will be prompted to enter the right password.
By Using HTTP Authentication
Once again, WordPress gives you plenty of plugins to choose from. Let’s take a look at a popular one, the HTTP Auth plugin.
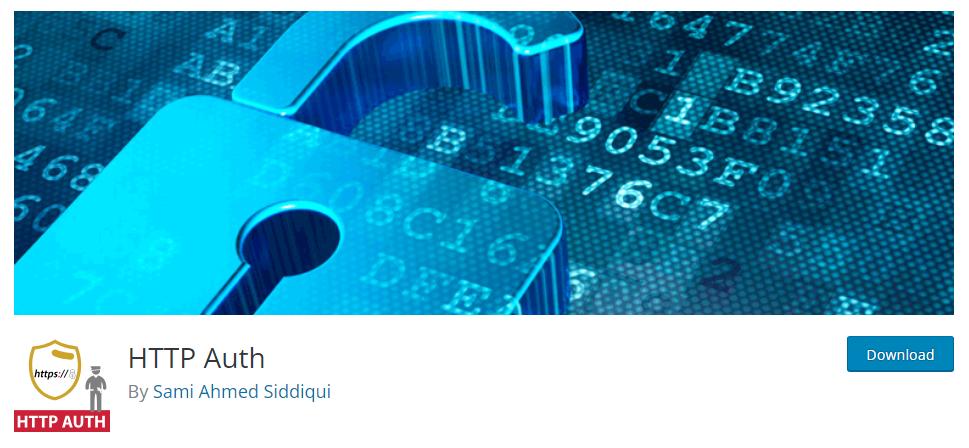
Under the “HTTP Auth” menu item that appears after activating the plugin, you can view its settings.
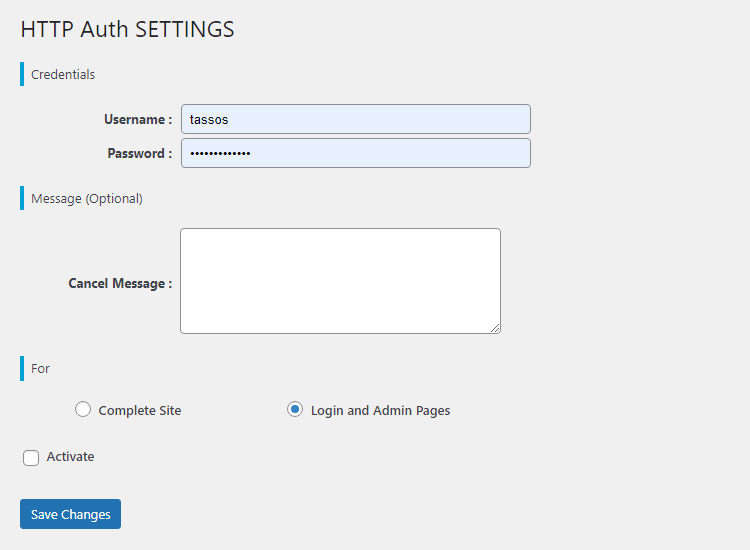
Here you can set the credentials, choose whether you want to apply them to the whole site or the login pages only and activate it.
If you are a Pressidium customer, things are much easier for you. We include a built-in feature that allows you to enable the HTTP Authentication in a few easy steps from your Pressidium Dashboard.
Try our Award-Winning WordPress Hosting today!


How to Password Protect WordPress Pages
Since the release of version 5, WordPress now has a great feature that allows you to password protect any page or post from right inside the editor. All you have to do is log in to your WordPress admin, go to any post edit screen, and look for the “Public” box in the upper area of the right sidebar.
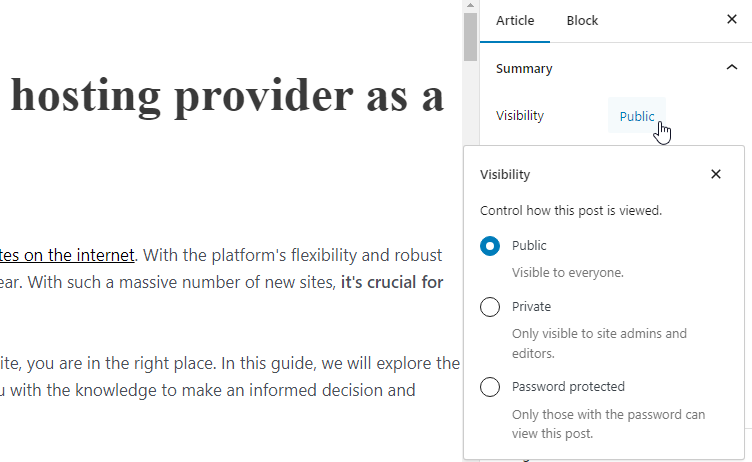
The available visibility options are public (default), private and password protected.
The private mode will hide the post from any visitor except site admins and editors. For users with other roles or anonymous visitors, a “Not Found” message will be displayed upon visiting. We should point out here that search engines may still find the post through internal links, sitemaps, or other references on your website. However, they won’t be able to crawl its content, but only its title, description, and some metadata.
Using the same menu, you can change the visibility to “Password Protected” and set a password. Once you do this, users will need to enter a password to view the content.

If you need to change the password (provided you have the right permissions to do so), all you have to do is use the “Visibility: Edit” link again.
NOTE: These settings can also be seen in the Quick Edit area of the post.
How to Password Protect Post Categories
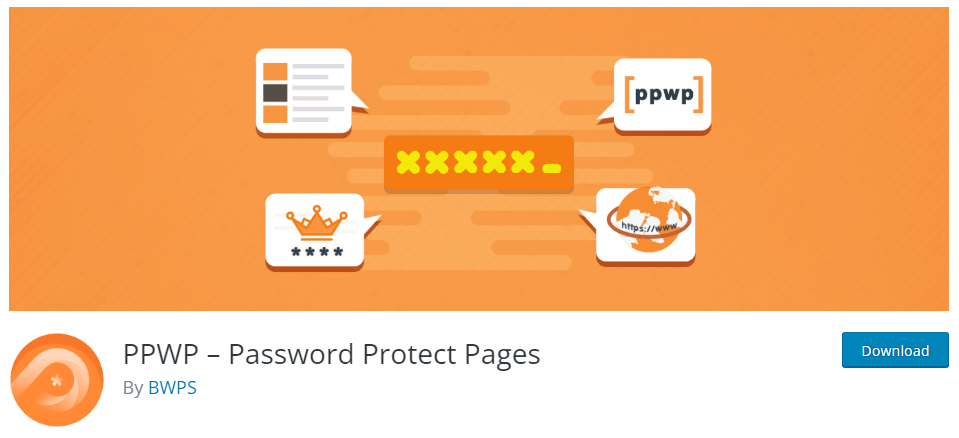
There are ways to protect all the posts that belong to specific categories. One easy solution using the Password Protect Pages plugin.
After you install and activate it, go to any post type that has a “Categories” classification. In the upper left of the categories edit screen, you will find the relative setting’s box.
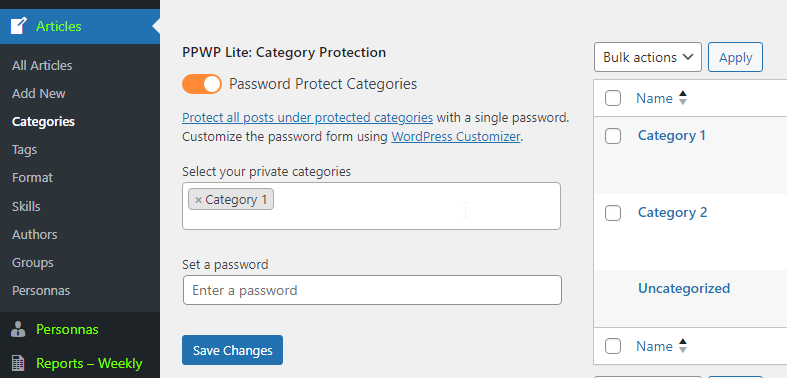
When you enable the feature, options will appear below to let you select the categories you want to protect. Next you can set the password that a visitor must use view the content. Then click Save Changes, and that’s it. Now if you visit a post under this category you should be prompted to provide a password in order to view the contents.
Frequently Asked Questions
How Do I Password Protect a Web Page?
To password protect a page in WordPress:
- Using a Plugin: Install and activate a password protection plugin, such as “Password Protected.” Configure settings like exclusions, IP addresses, and display text. This plugin relies on the use of cookies.
- Using HTTP Authentication: Activate an HTTP Authentication plugin, like the “HTTP Auth” plugin, and set the credentials. Decide whether to apply protection to the entire site or only login pages.
- Built-in WordPress Feature (Version 5+): Log in to your WordPress admin, go to the post edit screen, and find the publish box in the right sidebar. Set visibility to “Password Protected” and enter a password.
How do I make my WordPress site private?
To make your WordPress site private, you can use password protection. Here are two methods:
- Using a WordPress Plugin: Install a plugin like “Password Protected” from the WordPress plugin library. Configure settings, set a password, and exclude specific roles or IP addresses as needed.
- Using HTTP Authentication: Install an HTTP Auth plugin. Set the credentials and specify whether to apply them to the entire site or just login pages. Some hosting services, like Pressidium, provide built-in HTTP Authentication.
For individual pages or posts, within the WordPress editor, change visibility to “Password Protected” and set a password. Users will need the password to access the content.
Conclusion
Implementing password protection in WordPress adds a layer of security to your website, whether it’s for membership sites, private blogs, or business information. By using plugins and built-in features, you can protect sensitive content for a safer, more controlled online experience.
We hope this was helpful for you in choosing the right method for your case.
See you soon!
Start Your 14 Day Free Trial
Try our award winning WordPress Hosting!


