

So, this is almost it! After some hard work we now have a great-looking business website that is almost ready to go. There are just three more main areas we need to work on which we’ll get done in this article. We will demonstrate how you can use Elementor to create the blog for your business, the website menu and the website footer.
We’re very close to being able to go live with this site so let’s get cracking with the last remaining tasks.
A Blog for your Business Website
For those of you who have never had a business website before you might be thinking ‘Why do I need a blog on my site?’. To many, a blog is something more akin to a news website. Somewhere where articles are published but that’s it. In part, this understanding is correct. A blog does revolve around articles that are normally sorted by date format. And yes, there are many examples of websites that are just full of articles and nothing else.
There is nothing however to stop you combining a brochure-style website (one that provides information on products and services) as well as having a blog. The benefits of this can be quite significant. Many business websites are the main portal through which a business communicates with their customers. Odds are fairly high that your business will evolve over time and there will occasionally be news you want to communicate with your customers. Rather than having to setup a whole new page on your website each time you wish to do this, a blog offers the perfect spot with which to add updates to your website that will help keep your customers informed.
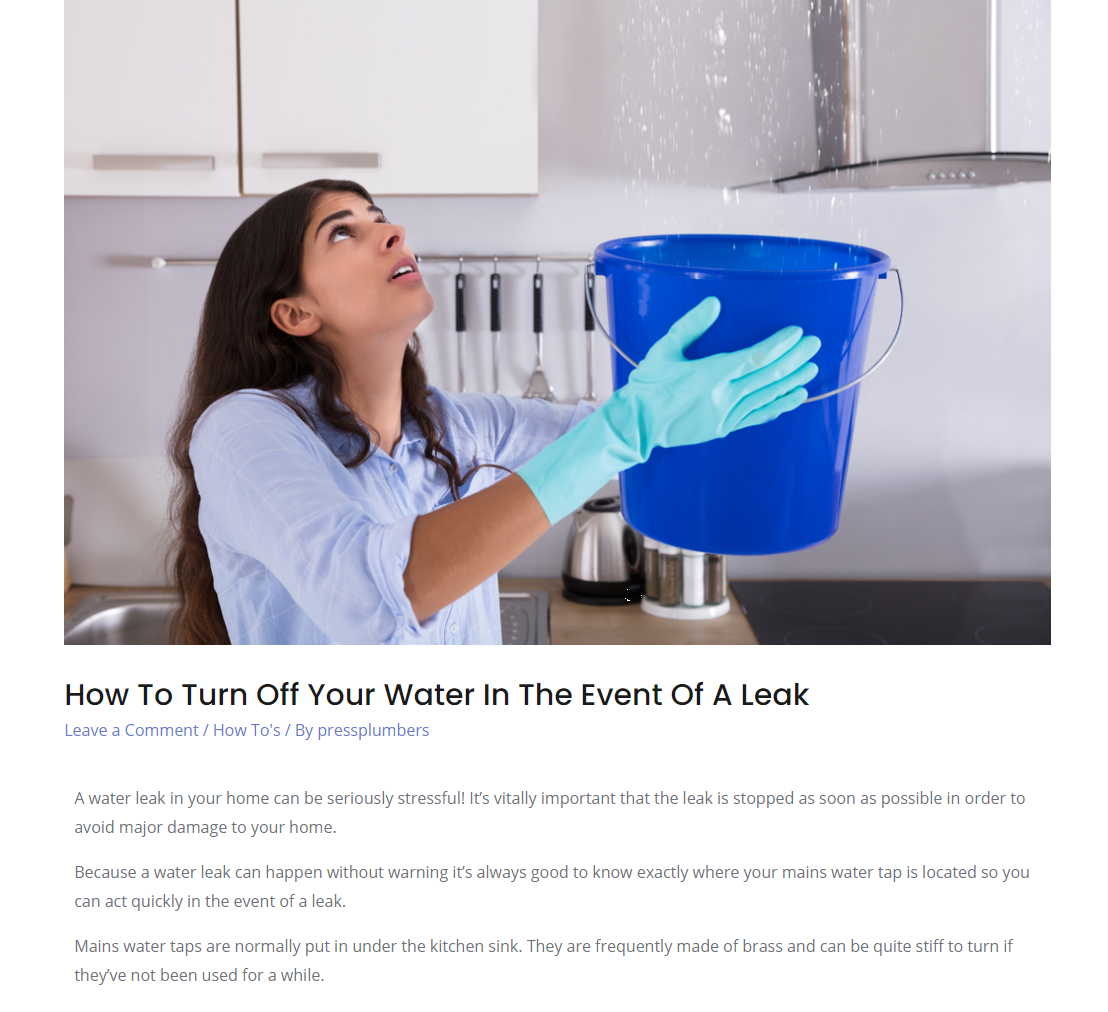
In addition, a blog can become a section on your website where you can really demonstrate your expertise in your sector by publishing a range of articles that discuss topics relevant to your audience. In our case for our fictional business ‘Press Plumbing’, we’ll use this blog to provide helpful hints and tips to our customers. For example, we might choose to write an article about how to shut off the water in your house in the event of an emergency.
The real bonus of these types of articles is that they may boost your website’s visibility in the search rankings of search engines like Google. Search engines are always looking for articles that provide high-quality information that can be used to answer a searcher’s question. So, someone might find a leak in their house and quickly Google ‘How do I turn off the water’. If your article is well written and informative then Google may choose to list this article at the top of the search results for this query. This then means that a prospective customer is driven to your website to find out how to turn off the water. In turn, they may then choose to use your service to fix the problem.
There is of course no hard and fast rule that says you HAVE to have a blog on your website but, if you’re willing to put in the time to write some great articles then they can provide some real benefit to your business. The good news is that if you don’t think you want to add a blog to your website just yet then that’s no problem. One can easily be added later.
Let’s take a quick look at how you’d use Elementor to set one up if you did choose to add a blog to your website.
Setting up a blog using Elementor
The first thing we’re going to do is to clone one of our pages which will then form the template for our main blog page. As previously, to do this, head to the ‘All pages’ menu from within your Admin panel, hover over the page you want to clone and then click clone. The next step is to hover over this new page and then click ‘Quick Edit’. There you will be able to change the name of the page and the page slug. Change both of these to ‘Blog’.
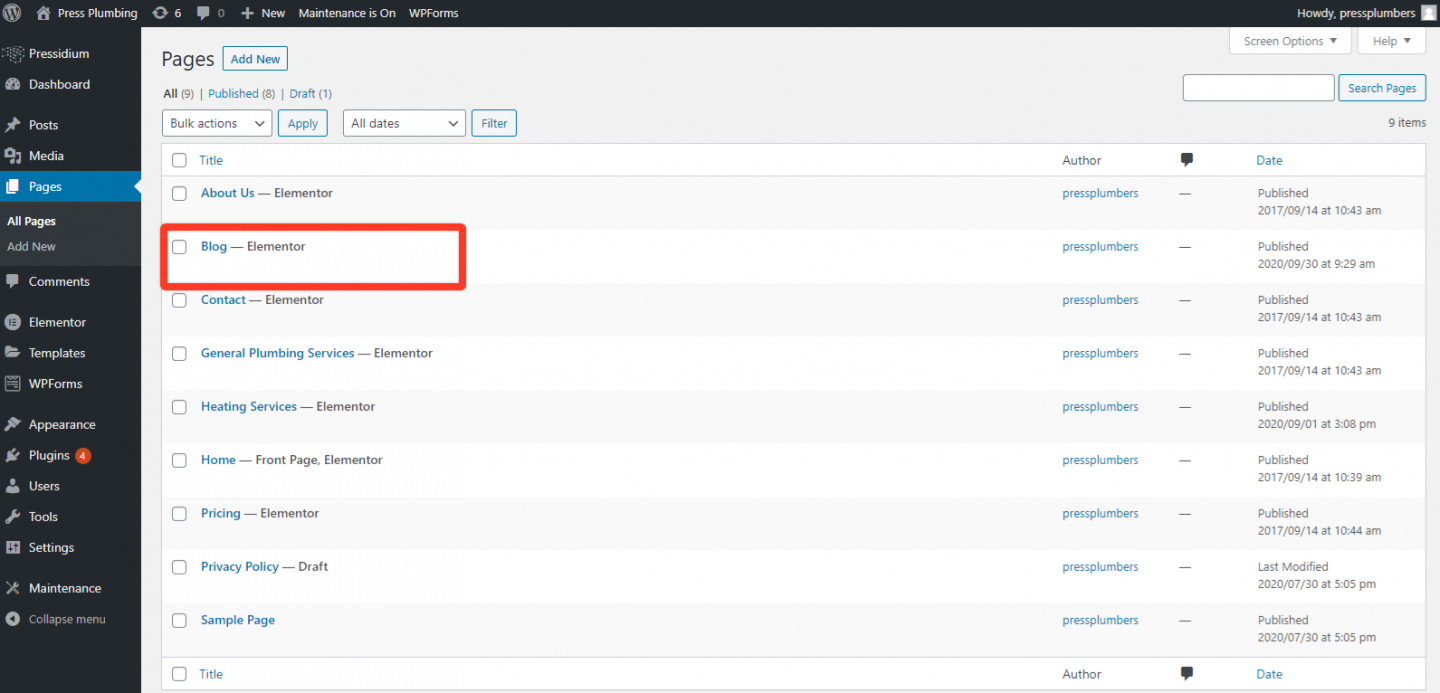
Once this is done, open up the page in Elementor. As we’ve used the ‘About’ page as a clone we’ll see this:

Next step is to turn this into our blog! Most blogs have a mini ‘homepage’ that lists all of the articles available on the website (normally displayed in date order with the newest first). When a reader clicks on an article title they are then taken to the full article which is displayed as what’s known as a ‘post’ in WordPress. This can be a bit confusing… posts and pages are broadly the same but posts are date orientated and associated with a blog. Pages are used for everything else.
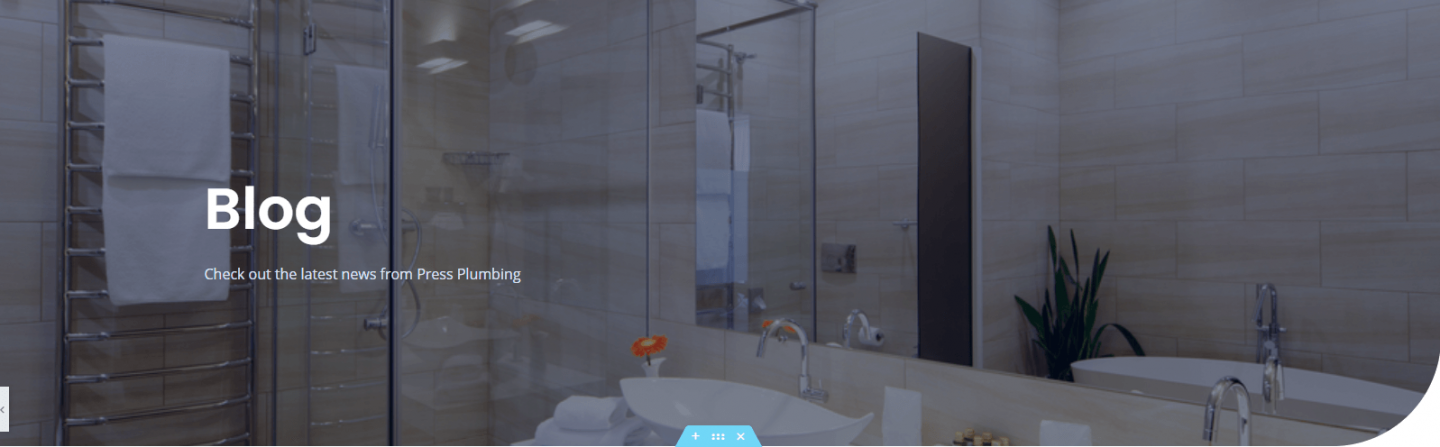
It’s a pretty quick process to setup the blog in Elementor. Now we have our cloned page, go ahead and edit the header as you have now done several times before for other pages. We’re just updating the background image in the hero section to keep things fresh and changing the text. We’re left with this:
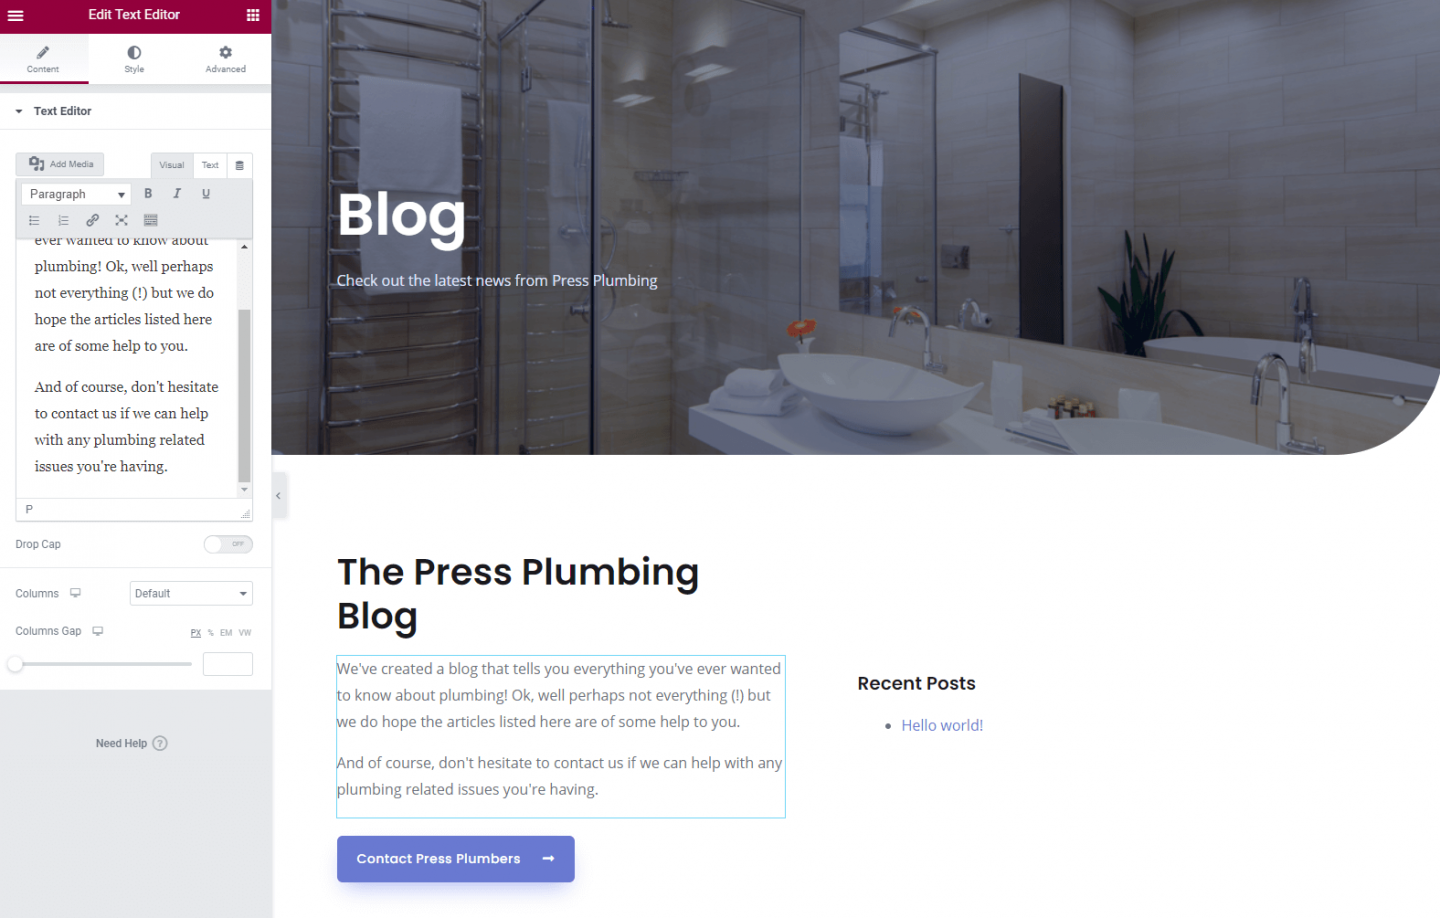
Our next step is to make some changes to the body of the page. Hopefully, you’re super familiar with how to do this now. Feel free to let your new Elementor talents run wild and go ahead and create a layout you like! In our case, we are making use of some of the ‘About’ page layout. The title is being changed and the text below is being updated to mention the blog. It’s always good to make life easy for people to contact you so we will leave the contact button where it is.
The photo on the right is being deleted and then in this section we are using a new Elementor widget called ‘Recent Posts’. This will display a list of the latest posts from our blog. Finally we’ll delete the remainder of the content left over from our About page. The end result will look like this:
WordPress Posts
So, you’re probably wondering just what the heck this ‘Hello world!’ post is that has appeared in our list of recent posts. To understand this we now need to take a quick look at the Post functionality in WordPress.
Try our Award-Winning WordPress Hosting today!


As we explained earlier, pages are used for static content (content that won’t be updated that frequently) whilst posts are designed with blogs in mind and display based on the date they were published. In reality, there isn’t much difference between a page and a post when it comes to adding content to it but they are accessed in different ways.
If you head to the WordPress Admin and look at the black menu bar on the left you’ll see a ‘Posts’ menu item. Click on this and you’ll see this:
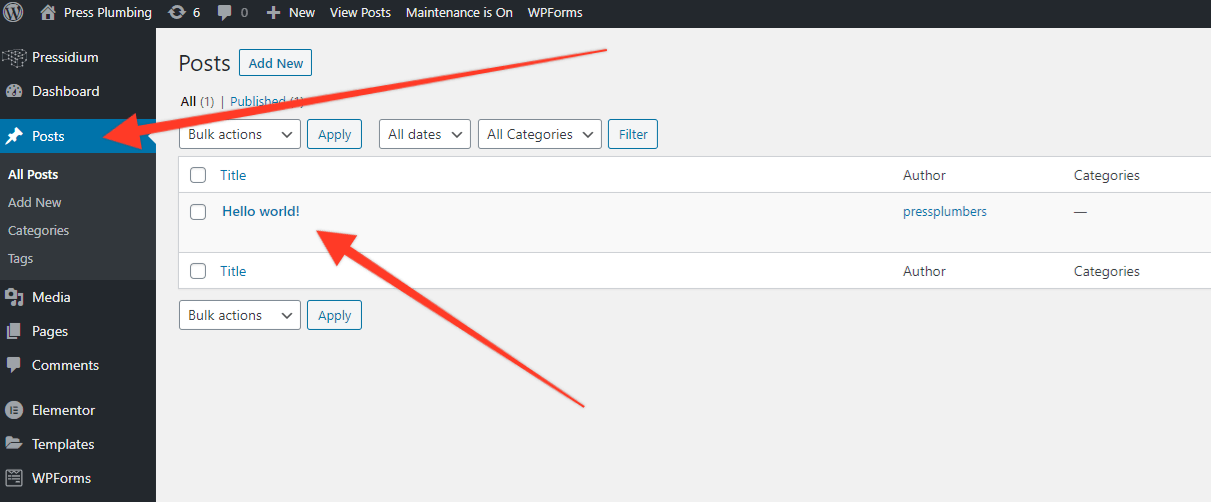
Spot something? Yup, we have a post called ‘Hello world!’. This oddly named post is a default post that is created when WordPress is first installed. If you open this up you’ll see a basic post. You can go ahead and delete this post.
To create a new post, just as you would for a new page, click on the ‘Add New’ menu link under the main Posts menu. Create a title for the article, open it in Elementor and then add your content in exactly the same way you would for a regular page. Hit publish and this page will go live on your blog. It will then appear in your ‘Recent Posts’ widget on your main blog page.
Up until now, the free version of Elementor has been pretty generous to us. There hasn’t been a whole lot that we’ve not been able to do with our website and, we hope you’d agree that the end result is looking pretty good. Sadly, when it comes to the blog however, our luck has run out! Whilst the ‘Recent Posts’ widget does what it should and displays the latest posts you have on your blog it’s not exactly ground breaking from a design perspective.
If a blog is likely to be an important part of your website it will probably make sense to spring for the premium version of Elementor ($49 for one website at the time of writing) which includes a whole raft of additional widgets that can be used to build a fantastic looking blog. We’ll be covering building an blog in much more detail in a future article but for now, hopefully the information given above has been enough to get you started.
The Website Menu
A nice easy job for you now!
As all of our pages have been setup we now need to add them in a sensible order to our website navigation (or menu bar). WordPress makes this a super quick process to do. To get started, head to the WordPress Admin and then click on > Appearance > Menus. You’ll see a list of pages that are already added to the menu and then a list of available pages that can be included in the menu as well. You can drag these to reorder the appearance of the menu on your website.
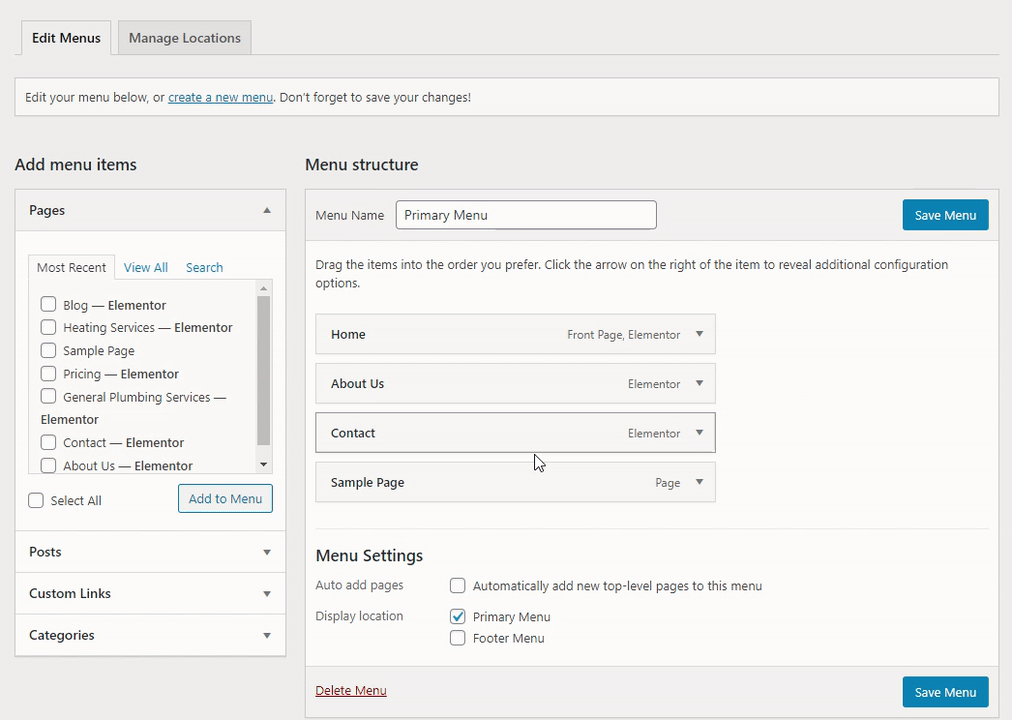
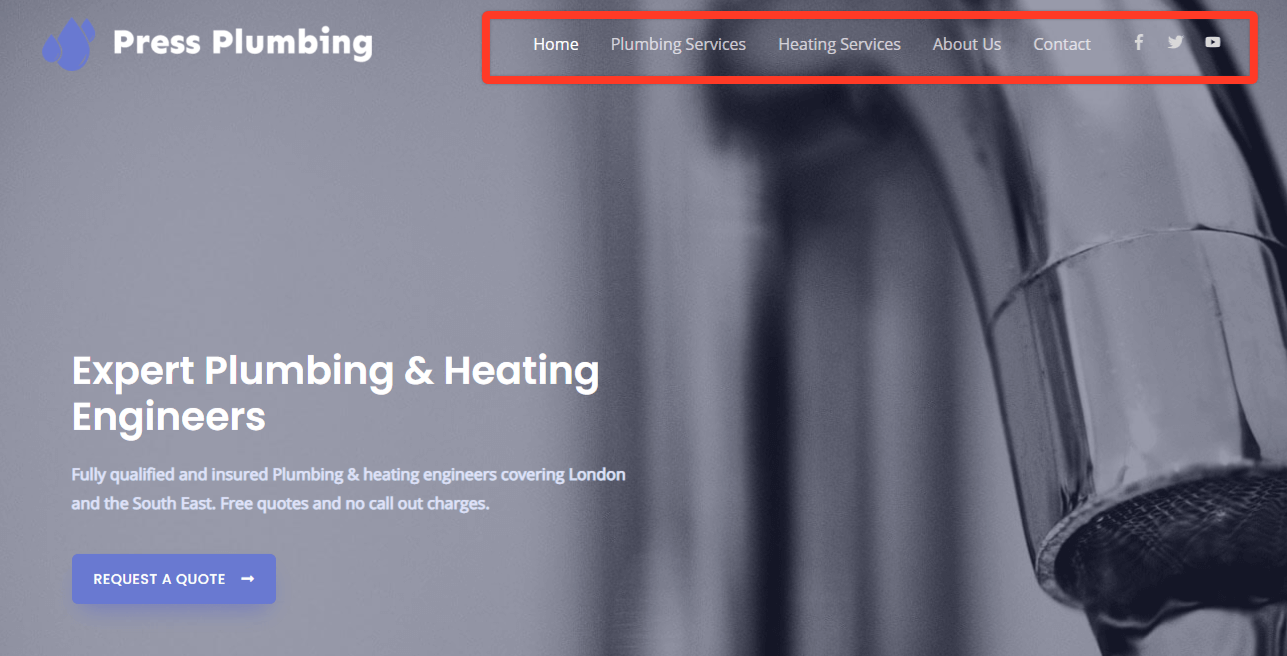
Once you’ve updated your menu just remember to click ‘Save Menu’. Your new menu should look a bit like this:
The Website Footer
This is it. We now just need to re-design our website footer and we will have a website that is pretty much ready to go live!
A website footer can really help finish off your website design and help present a professional image. It’s also a great place to provide useful links to pages on your site and a good spot to reinforce things like contact details. Normally the same website footer will appear at the bottom of every page on your website so you just need to make sure that the information it contains is relevant no matter which section of the website it appears on.
Traditionally, website footers in WordPress have been relatively restrictive in terms of what can and can’t be edited. Whilst some themes have made improvements in this area by giving website designers the chance to make changes to the footer in more significant ways, website footers have often felt frustratingly ‘un-editable’.
Elementor have changed all of this by providing a truly editable footer that utilizes the same blocks and widgets that are used on other pages. This gives you true flexibility to create a footer that looks just how you want it to look.
To get started editing your footer, head to the WordPress Admin and click on > Appearance > Header Footer & Blocks
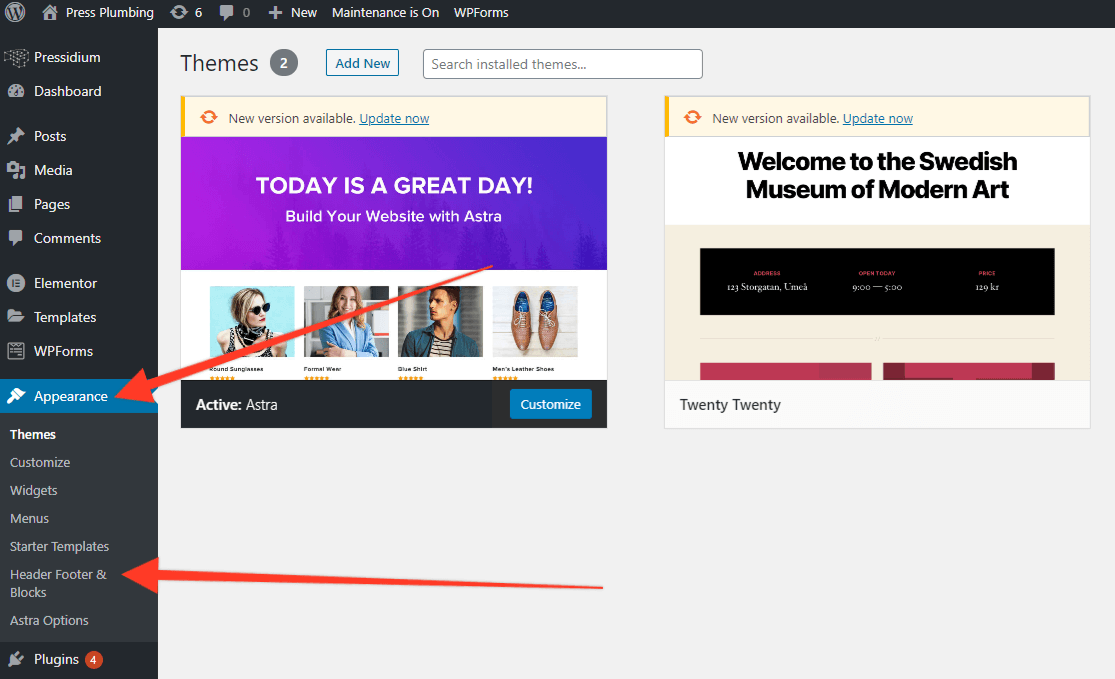
In the Header Footer & Blocks section you’ll see our pre-built menu that was imported from the Astra Starter theme. Click on this to open and you’ll be taken to the familiar Elementor editor.
No go ahead and edit this footer so it looks how you wish. Remember, the footer is what’s called a Global Asset and it will appear on every page of your website so bear that in mind when adding content.
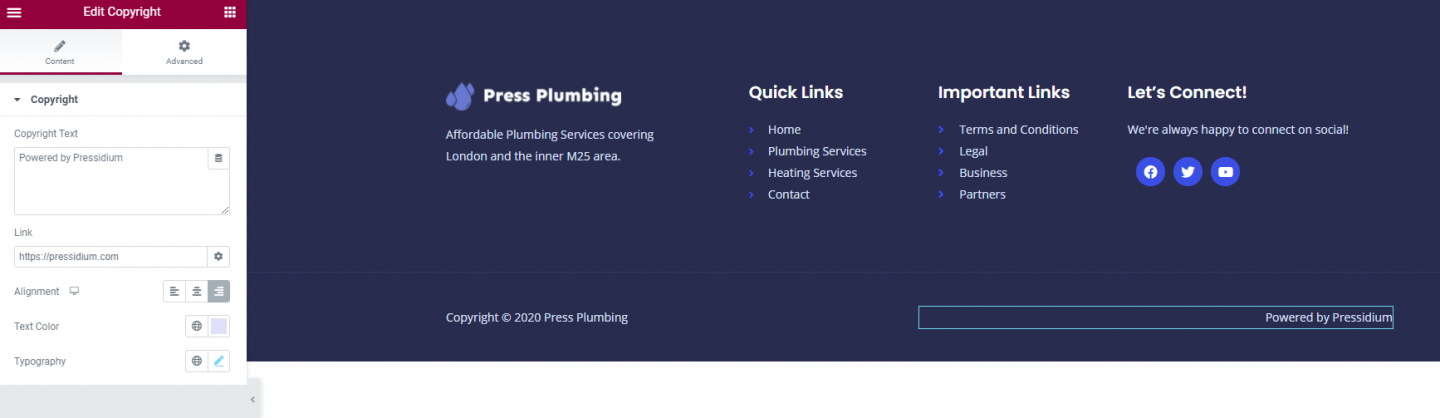
For our Press Plumbing website we’ll retain the basic layout but will change the logo and the Quick / Important links. We’ll also update the social media icons to reflect the social accounts we’re using. After a few tweaks we’re left with this:
And that’s it! Break open the champagne. Your brand new business website is pretty much ready to go.
Before we flick the switch and go live, there are just a couple of quick extras that we’ll run through including installing an SEO optimization plugin called Yoast as well as setting up Google Analytics so you can keep track of how many people are visiting your website. Join us in Part 8 as we set these things up before finally going live!
Start Your 14 Day Free Trial
Try our award winning WordPress Hosting!


