

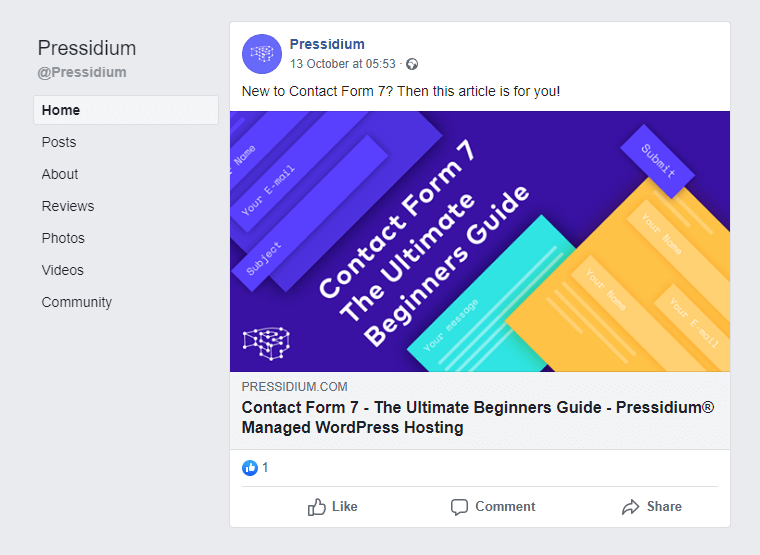
It’s an incredibly irritating problem… you’ve written a fantastic post to go on your WordPress blog, carefully created a featured image for the post and finally published it. It’s now time to share it with the world on Facebook. You copy the link for the page, write a witty description and paste the link into Facebook. A few moments later a link preview appears. But wait… it’s showing totally the wrong image and description! What’s going on? The good news is that this is a common problem. The even better news is that it can easily be fixed using the Facebook debugger.
This is how you do it.
What’s the problem and what does the Facebook Debugger have to do with it?
Before we can use the Facebook Debugger to fix the problem of your link preview appearing incorrectly we need to understand what the issue is.
When you share something on Facebook, Facebook checks out the link and should fetch information relevant to that page. It then caches this information for use at a later date. Facebook will look at your page content and try and guess what would be best to display in your link preview. This information is then saved on Facebook servers and is used each time someone creates a post on Facebook with a link to your page.
Facebook scrapes your page once and then caches this information on its servers. This cache isn’t updated for 30 days so if you make any changes to your page within that time frame then these changes won’t be reflected in your Facebook link preview.
The incorrect image and description can also occur when Facebook has failed to pull the correct information from your page.
So in summary, the incorrect link preview can display when:
- The wrong information has been scraped about your page by Facebook.
- The page has been updated but the old page information is cached by Facebook and that cache hasn’t been refreshed.
We can solve both of these issues using two tools. The Yoast SEO plugin and the Facebook Debugger.
Open Graph Meta Tags
As we saw above, one of the reasons why the incorrect information has been displayed in your link preview on Facebook is that Facebook has scraped the incorrect info about your page. Rather than rely on Facebook working out what would be best to display in your link preview you can tell Facebook what to display by adding some Open Graph meta tags to your page header.
Open Graph Meta tags contain all the information Facebook might want to display to users about your web page. In other words, it tells Facebook what you are sharing.

If you’re using Yoast (or a similar search optimization plugin), then Open Graph information is automatically added to your page headers. You can alter what is displayed about your page from within these plugins. When the correct Open Graph meta tags have been added we can then use the Facebook Debugger to tell Facebook to re-scrape your page so it refreshes their cache with the correct information.
Using Yoast to Edit your Open Graph Meta Tags
The easiest way to edit your Open Graph meta tags is by using the Yoast SEO plugin. Not only is this the number 1 plugin for helping you optimize your website so it ranks effectively, but it also has a handy tool which makes it super easy to configure your website’s pages to display the correct information for Facebook. If you don’t want to use Yoast then try the Open Graph and Twitter Card Tags plugin.
Try our Award-Winning WordPress Hosting today!


First, install the Yoast SEO plugin (if you haven’t already) and then open up the page you want to share on Facebook. Scroll down the page until you find the Yoast SEO tab. You will see a tab within Yoast that is labeled ‘Social’. Click on this and you will have two options. One for Facebook and one for Twitter. Select Facebook and you will see the following:
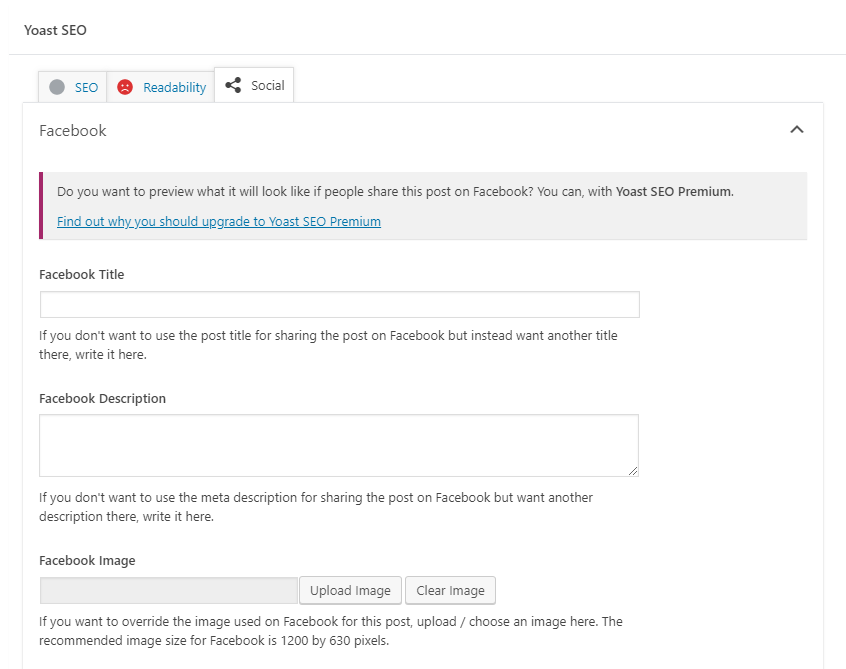
Yoast tries to display the correct Open Graph information for your page automatically but it’s not always correct. Instead of relying on their automated system to do this you can fill in the Facebook fields with the details you want Facebook to display along with an image you wish to use. When you’re done this will look something like this:
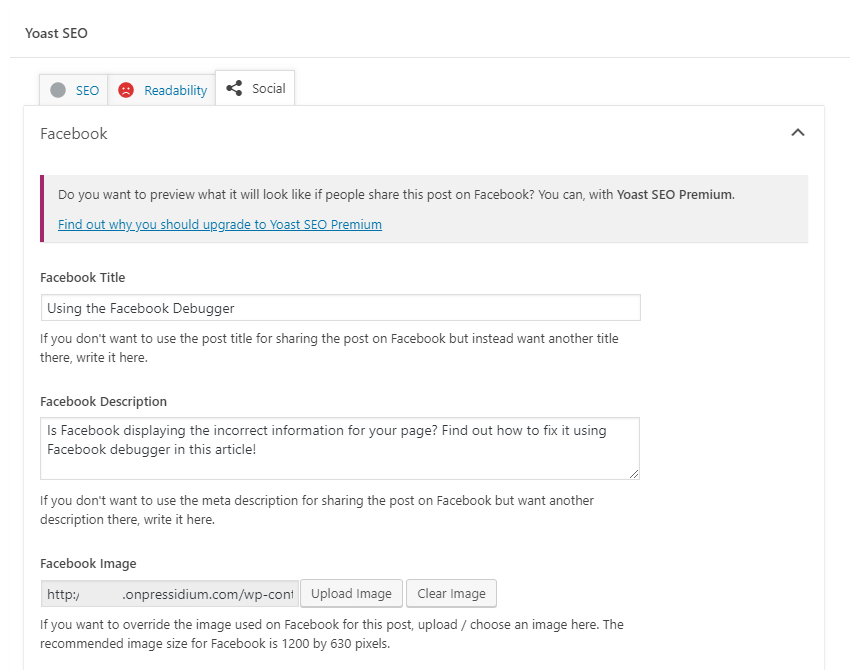
Click on Update to push these changes to your page live and you will now have the correct Open Graph information displayed in your website headers.
Clear your WordPress Cache
There are two lots of cache that need to be cleared in order for the correct information to be displayed in your link preview on Facebook. The first is the cache on your own website. With so many caching plugins available you’ll need to take a look at your own setup and if necessary dig into the plugin help files to find out how to clear your cache.
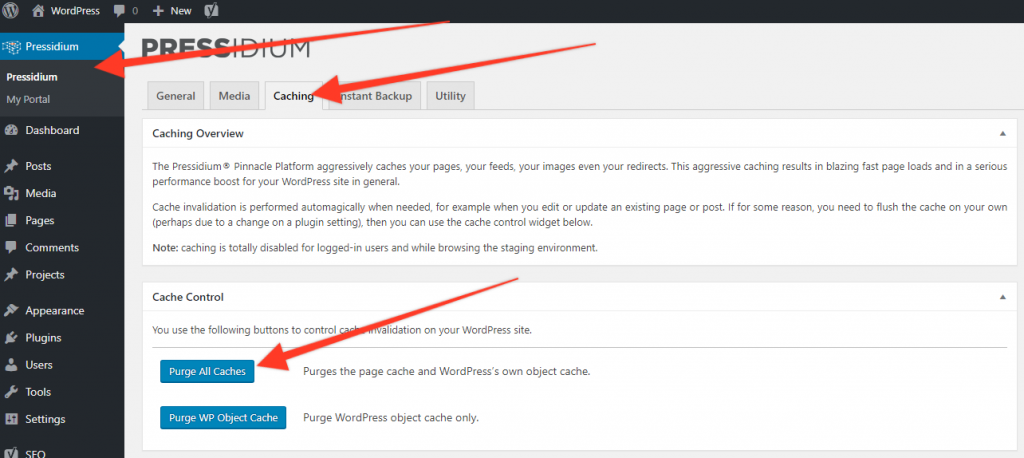
If you’re hosting your site with Pressidium then you can quickly clear your cache via the Pressidium Plugin which can be found right at the top of the left-hand menu.
With the cache cleared your end, you can now move onto clearing the cache on Facebook’s servers.
Using the Facebook Debugger
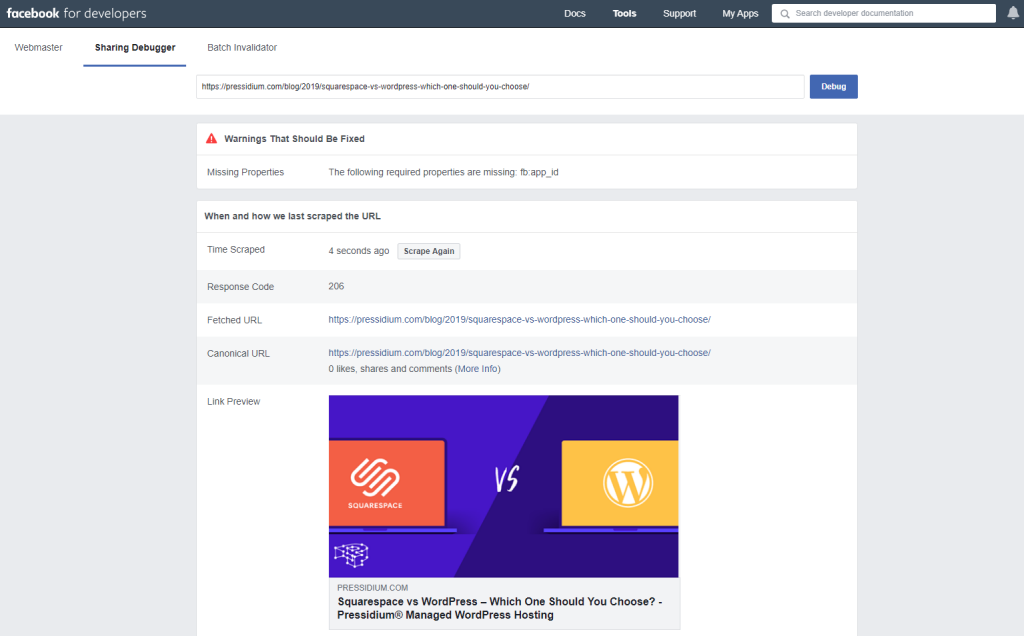
First things are first and we need to initially see how Facebook is currently ‘seeing’ your page. To do this go to the Facebook debugger page and then enter the URL of your page into the tool. Click on ‘Debug’ and you will see a summary of how your page is displayed along with a link preview. If this is correct then you’re good to go as this is what will be displayed when a link to your page is shared on Facebook.
If it’s incorrect then you’ll need to double-check you’ve setup Yoast correctly and have cleared your website’s cache. Once you’ve done this click on ‘Scrape again’. This forces Facebook to refresh its cache. This should now show the correct information! If not, don’t worry about hitting ‘Scrape again’ for a second or third time. It can take a couple of attempts sometimes to force Facebook to pull the correct details for your page.
Further Facebook Debugging tips
There are a few other elements that are worth knowing about in case you run into any other problems with how your Link Preview is displaying.
Image Size
Use an image that is 1200 by 630px where possible. This is the optimal size to display a picture in a Facebook Link preview. If the aspect ratio is different you might find elements of your image are ‘chopped off’. If you want to use a larger image then try and maintain this aspect ratio.
If you can’t see any image displayed then make sure it’s big enough. If it’s smaller than 200px x 200px then Facebook won’t display it at all.
‘Fb:app_id’ is Missing
If you take a look at the screenshot of the Facebook debugger above you might spot that there is an error that says ‘Missing Properties: The following properties are missing: fb:app_id’

A lot of the time this warning can be ignored. It won’t affect the ability to share posts at all. It does however affect your ability to use Facebook Insights data. If this is something you want to do then here’s how to fix this error.
- Register for a Facebook App at https://developers.facebook.com/docs/apps#register (you will need to convert your Facebook account to a Developer Account)
- Create an App at https://developers.facebook.com/apps and then copy your App ID number.
- Go to your WordPress admin and then head to the Yoast plugin via the sidebar menu. Click on ‘Social’ and then ‘Facebook’. Near the top, you’ll see a section for your App ID. Paste this in there and save.
- You can then clear your website cache and then use the Facebook Debugger to scrape your page again. This error should now disappear.
Pre-cache your Page with Facebook
Our last tip is to pre-cache your website page with Facebook. The very first person to share your link on Facebook may not see a Link Preview. This is because Facebook has yet to scrape that page (it only does this when a link is shared).
To get around this, you can choose to run the Facebook Debugger on each of your pages right after you publish them. This means the page is now cached at Facebook’s end and this means the first person who shares the page or post will instantly see the correct link preview. It only takes a few seconds to do and well worth considering if you have an active user base for your website and want to ensure everything works perfectly from the get-go.
Summary
Using the Facebook Debugger is a rare easy win in today’s’ increasingly complex digital world! It is a quick and efficient tool to use. Just remember to clear your own website cache and you should be good to go. Happy Facebook debugging!
Start Your 14 Day Free Trial
Try our award winning WordPress Hosting!


