

In our first article in our series on customizing the WordPress Admin Tables we looked at how to apply some basic configuration to our post types admin screens including adding a custom column and making it sortable.
Today we will take a step further and look at some additional modifications that can be applied to the Post list admin table. Let’s get going!
Enhancing the WordPress Admin Posts Table
Providing additional information in your admin table screen for your backend users will definitely enhance their workflow experience. In this tutorial we will aim to improve the data displayed in our Post Admin Table by adding information, modify existing content, re-ordering columns and even removing unnecessary table columns.
Display Featured Images
It would be really useful to add a featured thumbnail to the post listing of your admin table. This would really speed up the ability to see if a post has the wrong image (or perhaps doesn’t have an image at all) without having to open each individual post.
To achieve this we will create a featured image column for our edit post’s page and populate it with an image thumbnail. As shown in our previous article, we will use the manage_posts_columns. If you’ve yet to read this article then please do so as it includes some of the code required for this tutorial.
If you have read the article and followed it along then you should have the following code in your active theme’s functions.php file. If not, please add it!
add_filter('manage_posts_columns','add_custom_columns');
function add_custom_columns( $columns ) {
    $columns['last_modified'] = 'Last modified';
    return $columns;
}

add_action( 'manage_posts_custom_column','custom_columns_content', 10, 2 );
function custom_columns_content ( $column_id, $post_id ) {
    switch( $column_id ) {
        case 'last_modified':
            echo get_post_field('post_modified', $post_id);
        break;
   }
}
To show the featured image in our Admin Table we need to edit this code as follows:
add_filter('manage_posts_columns','add_custom_columns');
function add_custom_columns( $columns ) {
    $columns['last_modified'] = 'Last modified';
    $columns['my_post_thumbs'] = 'Thumbs';
    return $columns;
}

add_action( 'manage_posts_custom_column','custom_columns_content', 10, 2 );
function custom_columns_content ( $column_id, $post_id ) {
    switch( $column_id ) {
        case 'last_modified':
            echo get_post_field('post_modified', $post_id);
        break;
	case 'my_post_thumbs':
            echo the_post_thumbnail( 'thumbnail' );
        break;
   }
}
The numbers, 10 and 2 in the third and fourth arguments, dictate the priority in which the functions associated with this action will be processed. These arguments will be passed to our custom_columns_content function.
The default for the priority is 10. The number 2 shows the quantity of the function’s arguments. So in our case it is important to include these numbers as we have 2 arguments, namely $column_id and $post_id.
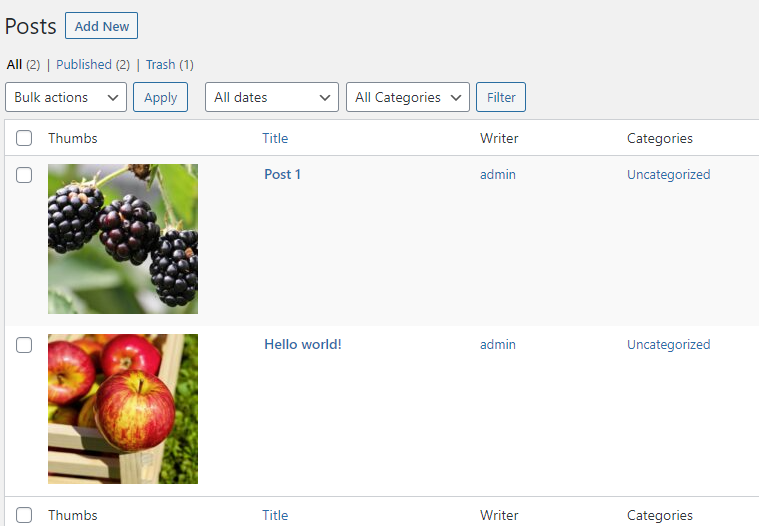
Now, with this code saved, let’s see what we have in our admin posts screen.
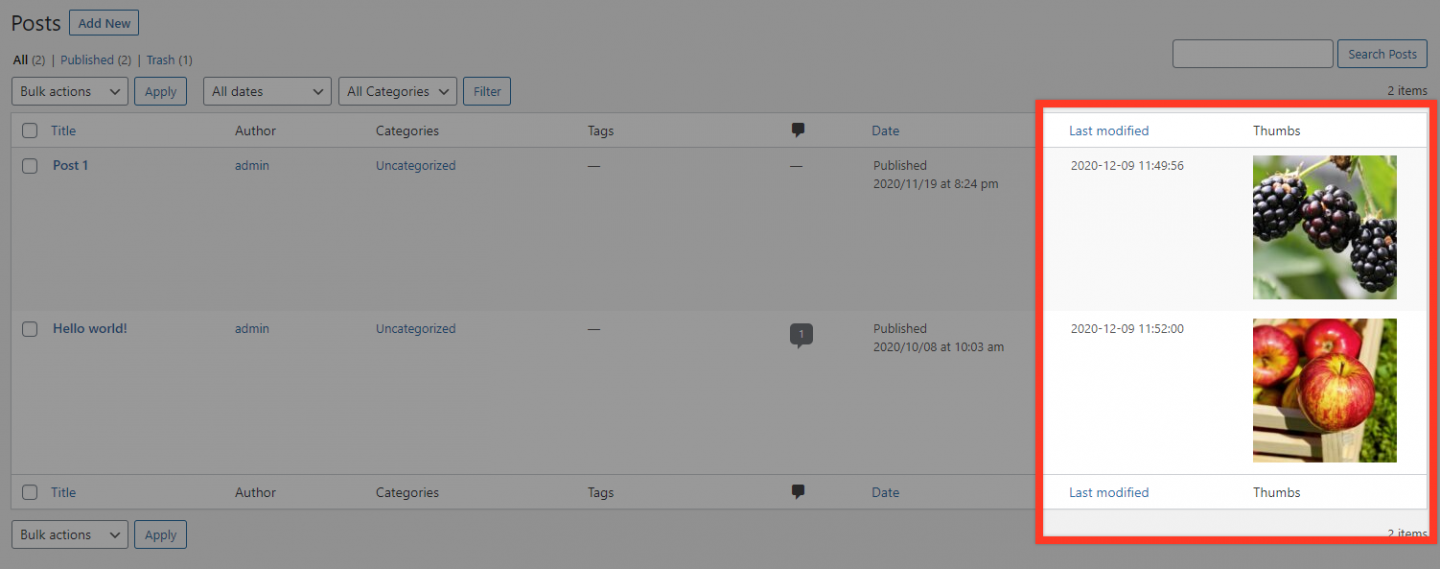
As you can see we now have a ‘Last Modified’ column and our new ‘Thumbs’ column.
Change Column Labels
Supposing that we want for some reason to change a column’s label, for example, rename the ‘Author’ column to ‘Writer’. To do this we can simply define the new label the same way we added our custom column. Once again, to keep our code more distinctive, we will separate the renaming code snippets using a different function.
add_filter('manage_posts_columns','rename_columns');
function rename_columns( $columns ) {
    $columns['author'] = 'Writer';
    return $columns;
}
Of course you can change the label of multiple columns in the same code snippet by just adding $columns['COLUMN_ID'] = 'NEW_LABEL'; right before return $columns;
Enhance the WordPress Admin Pages Table
You might not be aware of this but WordPress Pages are a hierarchical post type which means that each Page may have a parent Page.
Try our Award-Winning WordPress Hosting today!


It could be really helpful to see at a glance which page is the parent page of any child page. Let’s take a look at how to do this.
Add a Custom Column that Displays the Parent Post
First, created some parent and child pages with some associated featured images.
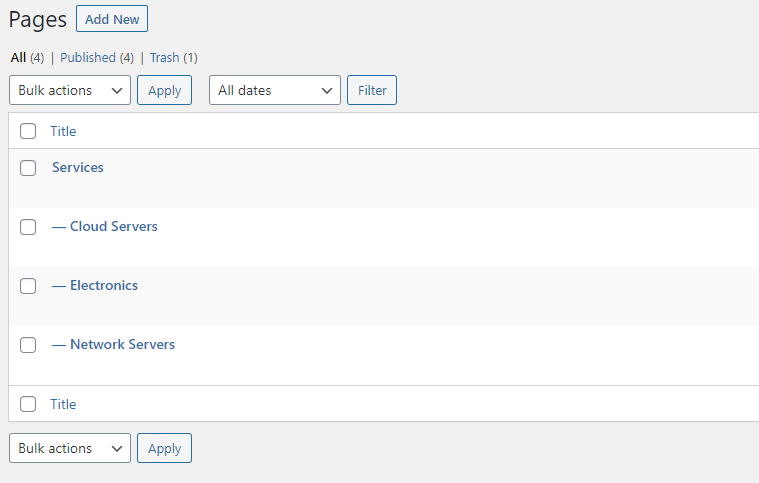
Next, we’ll put some code into our functions.php file. We are going to follow the same process we did with the Posts type regarding adding what we will call the ‘Ancestor’ column.
add_filter('manage_pages_columns','add_ancestor_column');
function add_ancestor_column( $columns ) {
    $columns['ancestor'] = 'Ancestor';
    return $columns;
}
The same goes for placing the column in the desired position in the table. We will re-order the table’s columns so that the ‘Ancestor’ column comes before the Author column.
add_filter('manage_pages_columns', 'change_ancestor_column_position');
function change_ancestor_column_position($columns) {
$n_columns = array();
foreach($columns as $key => $value) {
if ($key=='author'){
$n_columns['ancestor'] = 'ancestor';
}
$n_columns[$key] = $value;
}
return $n_columns;
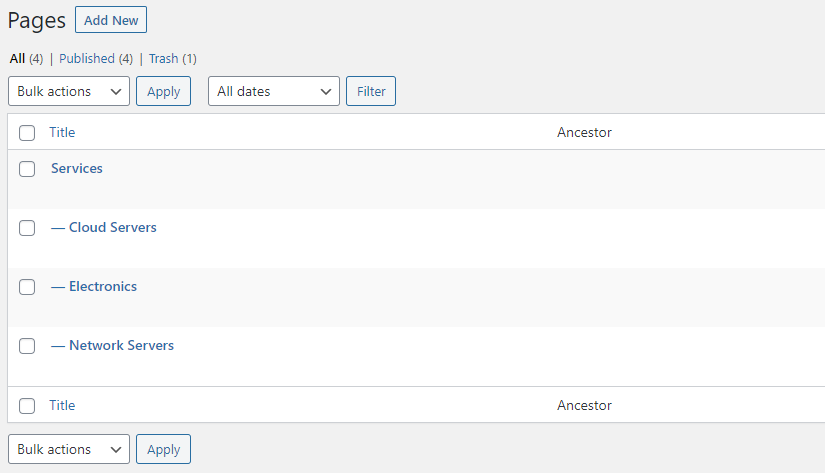
}At this point, in you Pages admin screen you should see something like this:
The last thing we have to do is fill the ‘Ancestor’ column with the right content. Because we are working with an hierarchical post type this time, we will use a different hook for getting the column content. Try and insert this piece of code and check the outcome.
add_action( 'manage_pages_custom_column','ancestor_column_content', 10, 2 );
function ancestor_column_content ( $column_id, $post_id ) {
    switch( $column_id ) {
        case 'ancestor':
            $ancestors = get_ancestors($post_id, 'subject', 'post_type');
            $post_ancestor = end($ancestors);
            if ($post_ancestor != 0) {
                echo '<a href="' . get_edit_post_link($post_ancestor) . '">' . get_the_title($post_ancestor) . '</a>';
            } else {
                echo '-';
            }
        break;
    }
}
You should now see the associated Parent page alongside their child pages listed in the ‘Ancestor’ column.
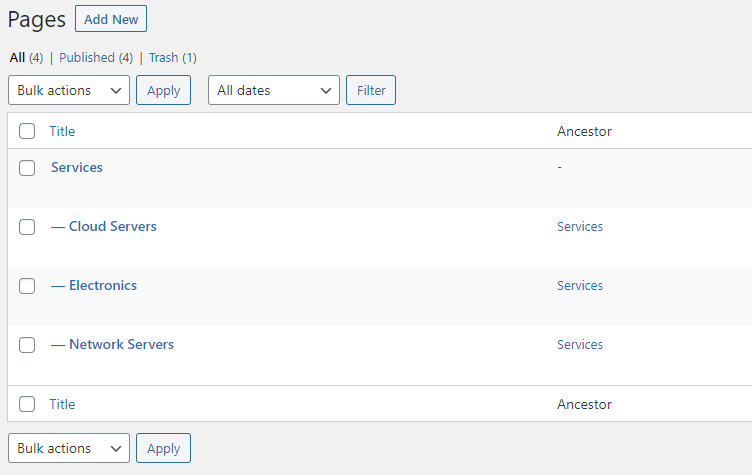
This is particularly useful if and when the order of your pages in the Admin Table gets disrupted (e.g. because they are sorted by published date etc.) and therefore child pages no longer neatly appear under their respective parent pages.
Altering the Default Columns
There are several things which can be done to improve the default Admin table columns. Let’s take a look at some of these.
Reordering Columns
In our previous article on customizing Admin Tables, we added a new column that displays the date that the post was last modified. But what if we want to change its position in the columns order?
This is fortunately pretty easy and can be implemented by using the manage_posts_columns hook.
What has to be defined is the column that needs to be moved and the column immediately prior to where we want to place our column. So if, for example, we want the feature image as a first table column, we will have to move it before the title column. The corresponding piece code should be like this:
add_filter('manage_posts_columns', 'change_column_order');
function change_column_order($columns) {
  $n_columns = array();
  $move = 'author'; // what to move
  $before = 'title'; // move before this
  foreach($columns as $key => $value) {
    if ($key==$before){
      $n_columns[$move] = $move;
    }
      $n_columns[$key] = $value;
  }
  return $n_columns;
}
And voila!
Removing a Column
Occasionally some columns of the posts list table are not actually particularly useful and it would be better if they were removed in order to free up some space. A common candidate for this is the comments column.
Fortunately it’s very easy to remove a column from our table. We just have to add unset($columns['comments']); in the manage_posts_columns hook’s function. Whilst this could be added to our existing code, it’s neater if we can separate this into its own code snippet as it has a different purpose and introduces a new function to the hook.
add_filter('manage_posts_columns' , 'remove_columns');
function remove_columns($columns) {
    unset($columns['comments']);
    return $columns;
}
And that’s it. Refresh your Admin screen and you should see that the Comments column has disappeared.
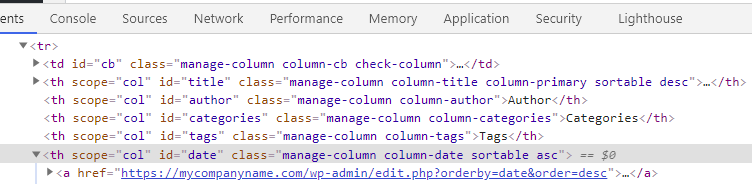
Note: If you’re unsure what the ID is of a column you can detect this by using the inspector console of your browser.
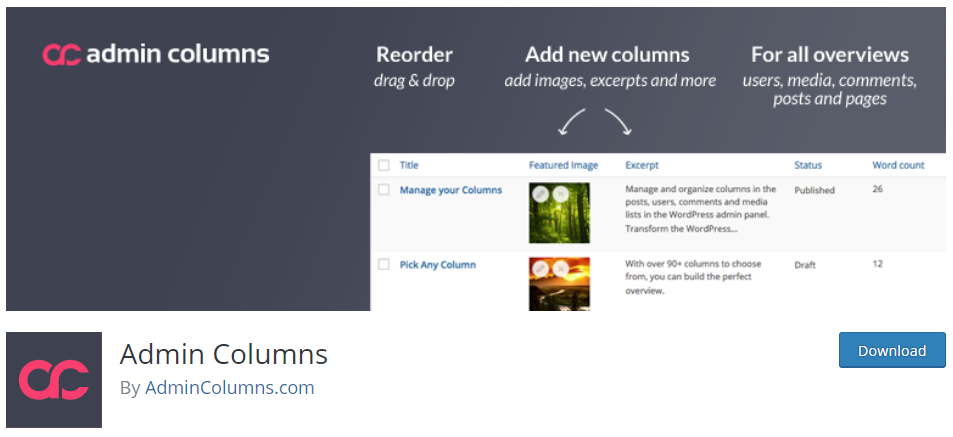
The Admin Columns Plugin
If you don’t want to code changes to your WordPress Admin Tables then fear not… as this is WordPress there is a plugin that will let you make a number of updates without having to touch a line of code. It’s called Admin Columns.
Note: Before proceeding with installing/activating the plugin it is better that you revert all customizations on the posts list table (if you’ve made any) and start using the plugin with the admin post table at its initial state.
Once you’ve downloaded and installed the plugin go to the Settings > Admin Columns menu item. From here you can select the posts list table (or any other post type where you want the ability to to edit its admin table) from the dropdown list. You’ll then be shown the current table structure.
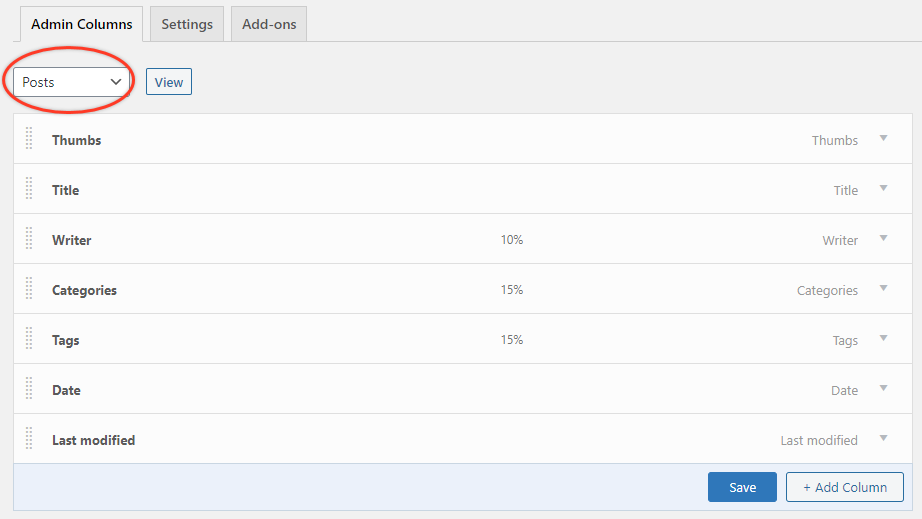
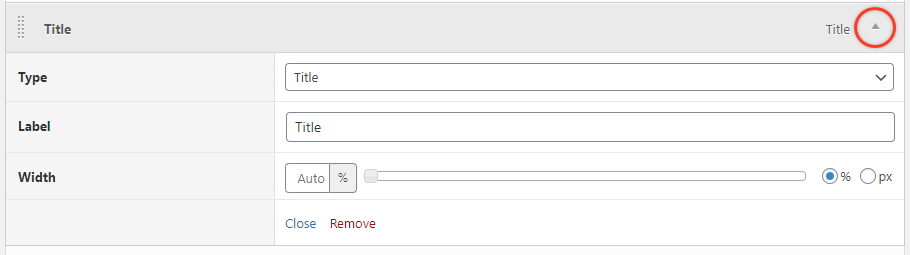
Now, using a drag-and-drop interface you can easily re-order the columns. You can also edit the type label and width by using the arrow icon to view their configuration.
And, yes, you can even add your own columns using the ‘Add Column’ button at the bottom right!
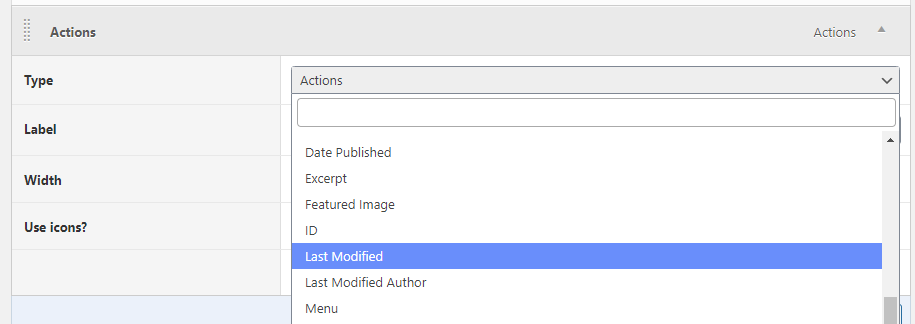
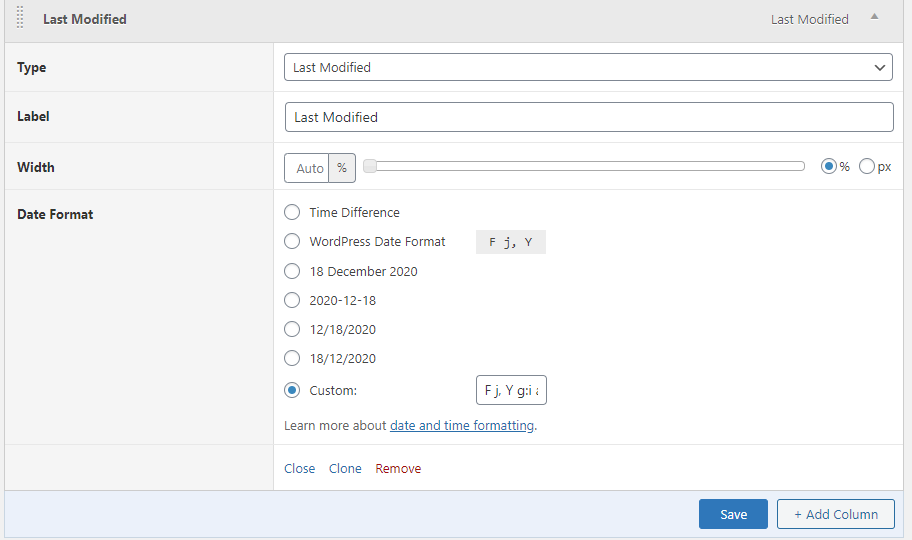
What the plugin actually does here is gather all the options available from the database tables that relate to Posts type and provides these the Type drop down menu. So if for example you want to add a ‘Last Modified’ column as we did before, just find and select it in the Type list and then give it label and desired width.
After that, you can change the Date Format options that will appear if you wish.
Conclusion
Having the right info on your WordPress Admin Tables can really speed up your workflow and help prevent errors on your website. For example, it’s much less likely you would publish a post knowingly without a featured image when you can see all your posts and their associated featured images at a glance in the Post Admin table. Have a play and get your Admin Tables setup to suit you and your workflow.
Start Your 14 Day Free Trial
Try our award winning WordPress Hosting!


