

Great web design is all about combining great aesthetics with awesome functionality. To achieve a brilliantly designed website you need a range of skills, a little creative flair and some organization at the outset!
This guide aims to help you create a brilliant website. One that looks great and works even better. We’ll run through some of the key steps you need to take to achieve the best website you possibly can. Let’s get started!
Purpose and Research
Before you get down to the creative part of the web design process there are a few things you should establish first. Key is understanding your target audience. This is vital. After all, there is little point pouring time and money into a website that doesn’t meet the needs of your target demographic.
This first step can be pretty tricky. It’s easy to assume you know what your audience wants. However taking the time to really research this at the outset can save a lot of back and forth later in the project and increases the chance of your website being a success. And don’t forget, if you’re designing a website for a client make sure you involve them in this process!
Some key points you might want to consider, especially if the website is for a client are as follows:
- Is the website a standalone item in its own right or does it form part of a more comprehensive marketing strategy?
- Is there already a strong brand in place – if so, it’s important that the website reflects this. This can sometimes be a hard thing to do as the temptation may be to focus on modern design trends that don’t necessarily sit comfortably alongside the style already established by a brand. Whist it’s important a new site doesn’t look dated from the outset, it also can’t veer too far from the core design principles already established by a brand (unless the brand is willing to undertake an entire overhaul of their image).
- It is also very important to look at your or your clients competitors. Identify their strengths and weaknesses in order to ensure your new site incorporates everything needed to be a success. Looking at the competition can also be helpful as it can ensure you don’t miss a potentially vital feature or function.
With your research done you should now feel confident that any new site you design will meet the requirements of your client (or yourself of course!). Research can sometimes feel tedious, especially when you feel yourself brimming with creative juices and the desire to begin getting something tangible down on screen can be overwhelming. Don’t skip this step, however tempting. It can save you a LOT of time in the future.
Timeline
Creating a time line for the work required to complete the website, whilst not mandatory, is highly recommended. Milestones within a timeline can help you clarify the processes required to get from a blank page to a finished website and can aid in quoting accurately for the project at the outset. For larger sites, a timeline with milestones will allow you to divide the work among your team members more efficiently, with everyone able to see how their work (and deadlines!) fit into the overall picture.
It can be useful to use a tool like Asana to help with this process. Carefully breaking down each element of the website build into tasks will ensure that nothing slips through the cracks and allows you to more confidently provide the client with a completion date for the website. If the new website is to supersede an existing website then don’t forget to build in time to manage the ‘go live’ transition where you might need to put in redirects from old pages to new and so on.
Finally, always remember to under promise and over deliver. Websites, like most projects invariably take longer that you initially might estimate so a good rule of thumb is to add on another 20% worth of time to the initial estimate to help ensure you don’t fall into the age old trap of finding yourself running short of time (and hence likely to miss a deadline) from the outset.
Sitemap
The next step in the design process is to create a sitemap. Even if your site is small, it’s nice to have one. Sitemaps not only help you fully visualize the layout of a new site (and therefore ensures you don’t miss anything vital or have a confusing navigation structure) but they also ultimately help Google to crawl your site when it goes live which can help boost your SEO.
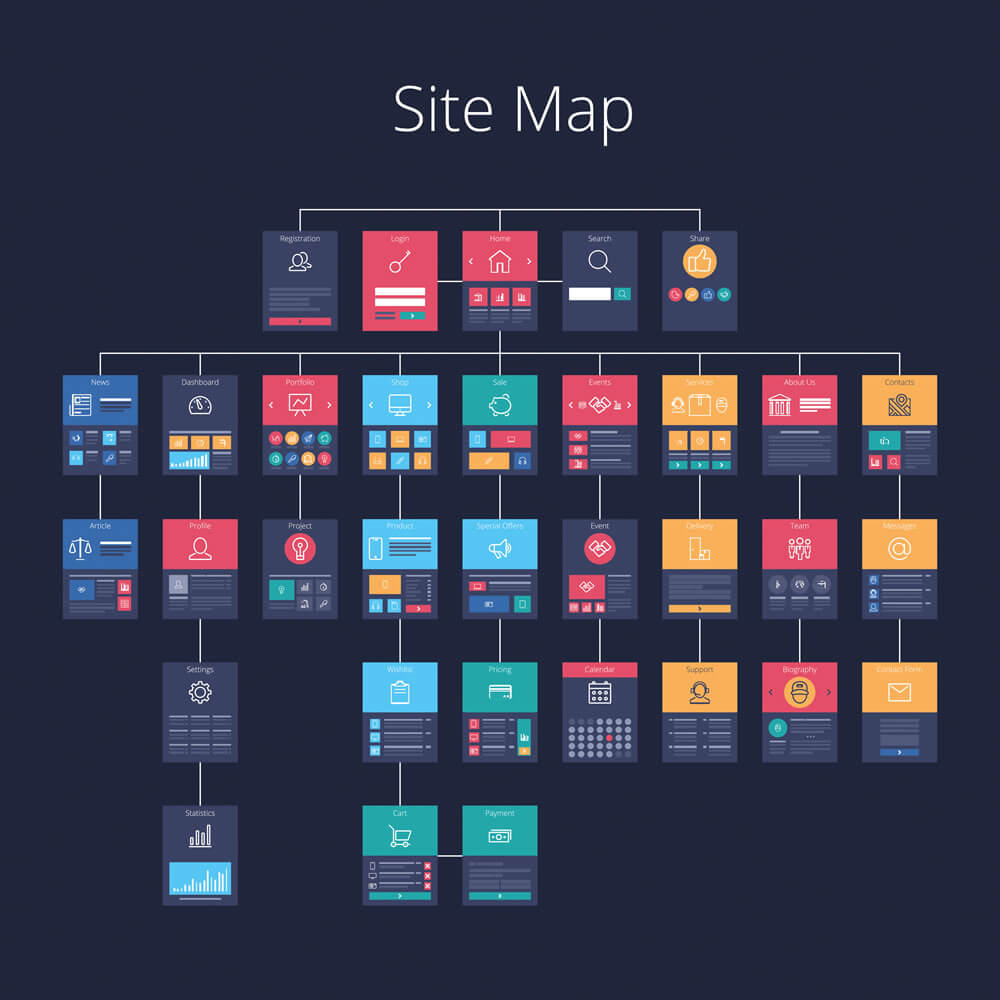
Some designers are happy to sketch out a site map using their favorite illustration tool but you could look to use a dedicated sitemap tool such as WriteMaps to make your life easier.
Wireframes, Mockups & Prototypes
Wikipedia define a website wireframe as ‘a visual guide that represents the skeletal framework of a website’. Creating a website wireframe is usually the first step when designing a website as they help you gain some important clarity on the layout of the site. Wireframes are also a great tool to use when discussing a new site with the client and your team as they provide a much more tangible visualization of the proposed design but, crucially, can be created a lot more quickly than a true mockup of a page. This allows stakeholders to critique a design prior to a ton of hours being sunk into the site.
A mockup takes a wireframe to the next level. Some designers may choose to create a ‘bare bones’ mockup of a site which is a slightly more fleshed out version of the wireframe (possibly sticking to grayscale) whilst others choose to create full mockups that includes images, colors and even some functionality. How far you want to push your mockup will depend on how confident you are in the design you’re proposing. If you feel that the client may still want to change a significant portion of the site design then it clearly makes sense to keep the mockup as simple as needed to convey the proposed design/feature.
Once you and your client have confidence in the design then you can create a full mockup that fully shows the design of either a page or the whole website.
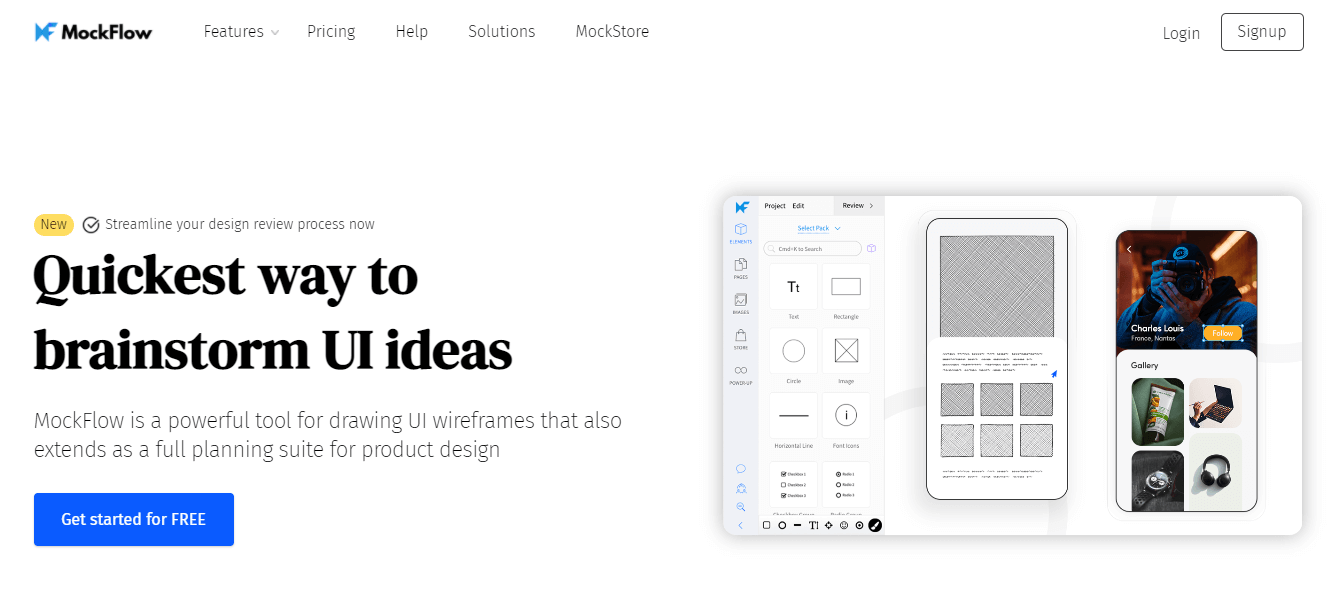
There are numerous online tools that can significantly speed up the mockup process. These include Mockflow and Moqups both of which can take you from a wireframe right through to a full website mockup.
Even if a mockup doesn’t allow you to fully convey the function of a website, it does ensure that you, your team and the client are all 100% on the same page when it comes to the design of the site. And, as any of us who code sites for a living will know, it’s a heck of a lot easier to change the design of a site in a mockup than it is in the final site itself!
The final step you might want to take is to build a prototype website. Traditionally this would have been time consuming (and pretty much the same as building the final site itself). However thanks to tools such as Framer it’s now easier than ever to take your mockups to the next level by introducing functional elements into the mockup design allowing the client to really get a ‘feel’ for how the site will work.
As a final note to this section, it’s worth remembering that too much choice can be a bad thing. Ultimately, no matter what the client may say, you are the design expert and in conjunction with your team are likely to best understand what will deliver the optimal result in a website design. Because of this, it’s sometimes better to present the colors and layout that you think would work best and not confuse things by also providing a range of options that the client can pick from. This avoids the client ending up ‘picking and choosing’ from elements that, combined, might not be compatible. Less can most definitely be more sometimes!
Writing Great Content
No matter how good a website design is, it’s ultimately meaningless if the copy on the site doesn’t convey the desired message. Because of this, it’s excellent practice to involve a copywriter in the project from the outset. They can help create the content that will really engage the reader and you can then work with them to ensure this is placed on the site in an optimal manner.
For example, the copywriter may come up with an awesome tag line that conveys the product/service in a single sentence. This is clearly important information but if you only involve the copywriter at the final stage of the project, you may find that you didn’t design in a suitable location to display this text. Clearly that would be a big mistake.
Copywriting is an often overlooked element of a website. We all get sucked into the visual appeal but copy can end up being a ‘last minute’ addition which does no one any favors.
Another reason to get the copywriter involved from the outset (if you were having doubts) is to ensure that the site is optimized from an SEO perspective. Copy can make or break a website’s SEO so if you don’t think it’s important then think again! By using keywords and key-phrases the right way, it is more likely that you search engines will give you higher priority in the SERP’s. There are some great tools for helping improving your SEO such as Google Keyword Planner, Screaming Frog’s SEO Spider, Google Trends and more.
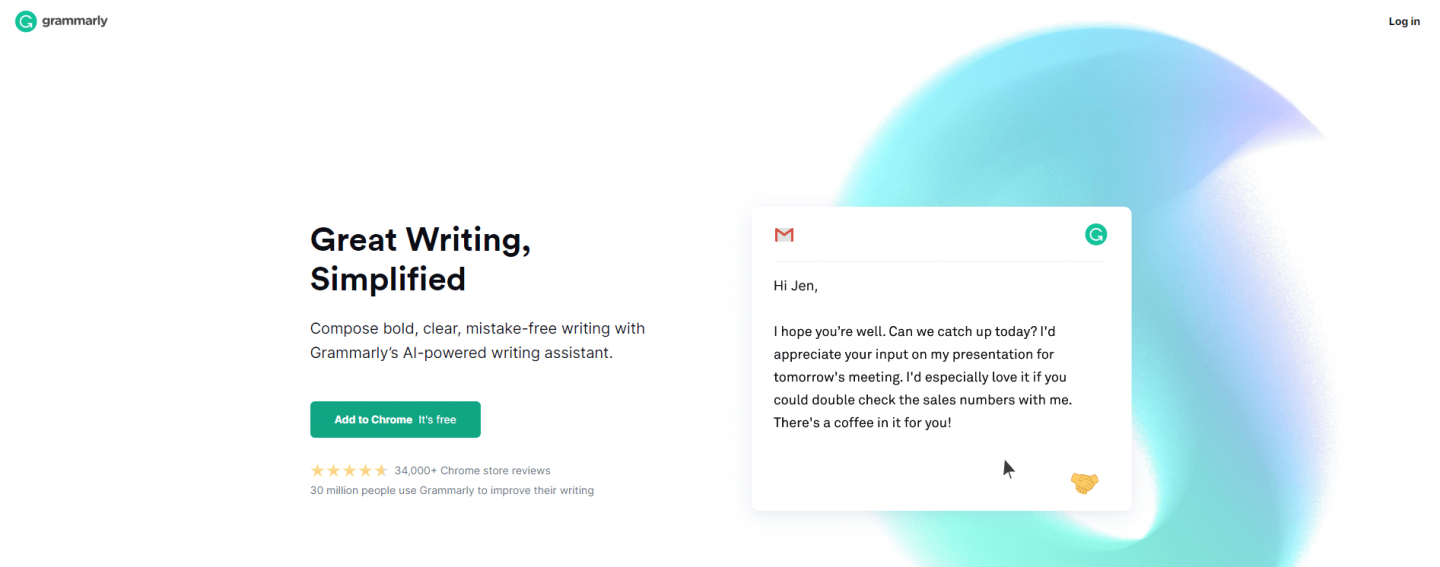
And if you haven’t got the luxury of employing a copywriter and are thinking of ‘going it alone’ then you might want to check out a couple of writing resources and tools that could make your life easier. The first tool worth a look is Grammarly which is an easy to use writing assistant. Grammarly can help you avoid typo’s and also improve the way your text is formatted (from a linguistics perspective) helping ensure your copy is a as readable as possible.
The second we’d suggest a look at is less a tool and more of a marketing resource called Storybrand. Storybrand run workshops that help you ‘clarify your message’. In doing so, it’s possible to skyrocket the success of your website by boosting the message it conveys about your business in clear, unambiguous terms. If their workshops are too expensive then check out the book on their marketing framework.
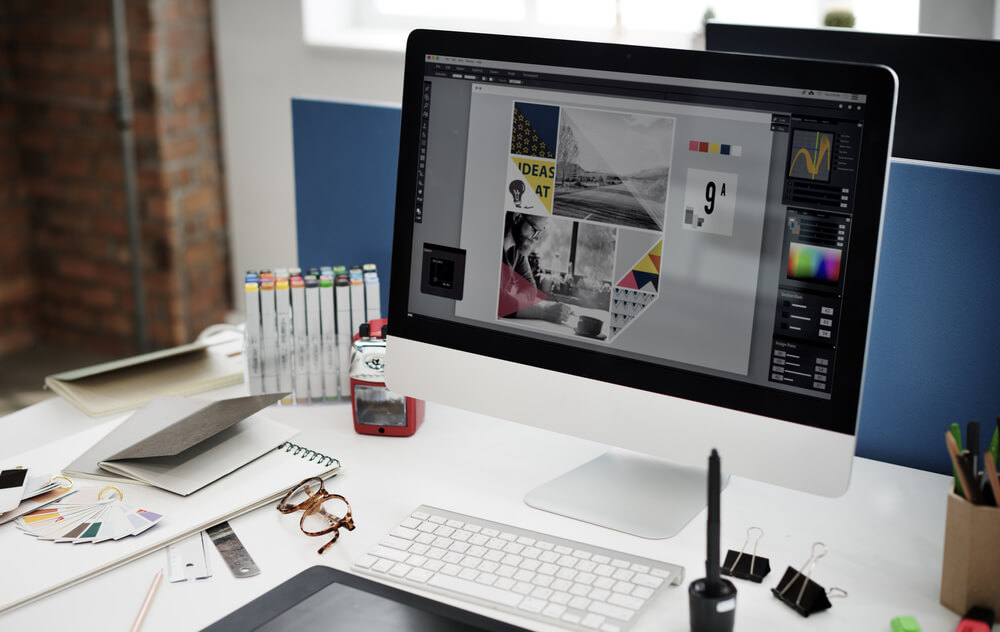
Visuals
The first thing that will likely hit the brain of a website visitor are the visuals on the website! It goes wihtout saying that these are therefore pretty important.
No doubt as a designer you’ll have concrete thoughts on the kind of visuals you want to use. These might range from animated drawings through to photos of products or photos that represent the brand and their product. Whatever you choose to use, make sure these visuals are high quality or all your other efforts will be wasted.
Visuals are a key areas where you can hope to really distinguish yourself from the competition. Don’t let this opportunity go to waste! Prior to quoting for and accepting a project, make sure you discuss the visuals that you want to use with the client. Find out if they have an in-house image library that you can use, or perhaps whether they are planning on having a photoshoot to get the necessary imagery. If they’re not, and don’t have images to hand that are of a suitable quality, can you find reasonable ‘generic’ images from photo libraries like Shutterstock?
Finally, during the development stage, make sure you pay attention to the sizes of these images and make sure they are optimized so they don’t slow the site down. Using a tool like TinyPNG is well worth doing or alternatively your host might provide an equivalent service such as the Image Smacking tool we use at Pressidium.
With the layout complete, copy written and suitable images in place you’ve reached an exciting milestone… development! Let’s take a look at what this entails and some of the pitfalls to watch out for.
Development
Unless you’re handling the build yourself then it’ll be time to ship the site design to your developers for them to do their thing. The clearer your design and also the description of any additional features you require then the easier it will be for the developers to deliver the site you visualized. This is where a prototype site created using a tool like Framer can really come into its own.
Try our Award-Winning WordPress Hosting today!


During the build, many developers will provide development links that can be passed on to the client so they can preview how the build it coming along. On the face of it this looks like a good idea as it’s always nice to be able to demonstrate that work is underway (particularly if the client is piling on the pressure to get the site done!). Lots of developers tend to create some development links in order to show to the client that work is in progress.
If you feel tempted to do this, perhaps pause and consider whether this is really such a good idea. Most clients won’t understand the workflow a developer will be following and are likely to end up coming back at you with any number of queries plus perhaps even change requests. Having to deal with these at this stage is counter productive and can be a real time sap so you’re best to wait until the final site is ready before sitting down with them for a full run through.
Quality Testing
With the final site ready to go it’s now time to run through some checks before you consider going live. These can be pretty extensive and, it’s worth creating a re-usable check list that can be ticked off to help ensure nothing is missed. Some of the things you might want to check (in no particular order) are as follows:
- HTML & CSS Validation: Validate your HTML and CSS by using tools like the W3C HTML Validator and CSS Validator. W3C also provide an Internationalization Checker that helps you check if your website can be easily translated into other languages.
- Links: It is essential at this step to check that all internal and external links are working properly.
- Grammar & Spelling: Hopefully is text has been copied and pasted in from docs provided by your copywriter this should be ok. None-the-less, slip ups can occur so having a re-read is worth the time.
- Forms: Check these work as expected and any submissions arrive. You are well advised to re-test these forms once the site goes live and then to instruct the client to schedule in future tests, perhaps on a monthly basis.
- Load times: A fast website is a must. Tools such as WebPageTest, GTMetrix, PageSpeed Insights or Pingdom can be used to check that load times are nice and fast. If your site is hosted on a development server which isn’t going to be used as the live server then you’ll want to re-test when the site goes live.
- Mobile Responsiveness: Make sure your website displays correctly on all kind of devices. You can use a tool like BrowserStack to do this.
- Functionality: If you have any more advanced functionality on your site beyond things like a contact form then you’re going to want to test these functions carefully. For example if you are launching a WooCommerce site then your testing process is likley to have to be more intensive than for a brochure style website. Using WooCommerce as an example, test payment gateways, cart functionality, how things like promo codes work and so on. Test test and test again!
- Visual Checks: Take a look at the consistency of your color palette and spacings, margins, paddings etc. The same goes for the typography and images positioning, resolution and optimization.
- Browser Behaviour: Next on the list is checking the website’s behavior across multiple browsers and devices.
- SEO: Check your SEO again! This includes all elements of your semantic structure like headings, paragraphs, lists and other kind of tags you might be using as well as the meta titles and descriptions as well as Open Graph settings for social media.
When you’re happy that your site is working as expected and looks as good as you’d hoped you might now think you’re ready to launch. We’d suggest that actually you now get 5 or so people who weren’t involved with the project to also test your site. Ideally, these users would also be less ‘tech-orientated’ than you. You’d be amazed at what a fresh pair of eyes can pick up on. Doing this can avoid issues with ‘real’ customers after launch and give you an opportunity to further improve the flow of the site.
Launch
This is it! Ideally launch your site during a time of day when traffic volumes are likely to be low. Using a DNS provider like Cloudflare can help avoid any DNS caching issues. It’s also best to launch when your developer is on hand so they can step in and assist if anything goes wrong.
Now you’re live make sure you spend some time re-checking the site and don’t worry if you find any glitches! It’s almost impossible to avoid something falling through the cracks but hopefully, using a thorough check list will help ensure that most major items work as expected.
Conclusion
Designing a good website is a massive job and one where it’s easy to feel a little daunted by the task at hand. Breaking the job down into manageable chunks and really planning things out before you get too stuck in can really help make the process both more successful as well as enjoyable.
Good luck!
Start Your 14 Day Free Trial
Try our award winning WordPress Hosting!


