

Our website really began to take shape in Part 4 of this ‘Build a WordPress Website for a new Business with Elementor series. In Part 5 we’re going to get very close to a finished website by creating our Service pages.
Once these have been done we’ll just be left with adding a Blog, Contact and About Us page along with some tidying up to do before we can go live. Let’s dive in and get these next sections built.
Building our Service Pages
In Part 4 of this series we created our website Homepage using Elementor. This gave us the opportunity to consider how the site would be laid out in terms of content and also was the perfect time to define how the site would look. This in many respects was the hard part and now that’s been done, creating our remaining pages should be a relatively quick job.
We decided that (initially anyway as this is a new businesses) that all we needed on the site where two pages promoting the two primary services that our fictional business, Press Plumbing, offers. These are general plumbing services (such as fixing leaking pipework and installing bathrooms) and heating services (installing heating systems such as boilers and undertaking annual maintenance on such systems).
It’s worth remembering with any website you build that you don’t need to aim for perfection prior to launch. Websites are easy to update (which, beyond your time, is free to do) and this means they can (and should in our opinion) be constant works in progress. Your business will naturally evolve over the months/years and your website can reflect these changes and growth. It’s often the case that a desire for perfection and a misguided understanding that your website needs to promote EVERYTHING your business has to offer means many people don’t just get on and launch their website but instead can spend months prevaricating over small details. The best approach is to get to the point where your website looks as good as you can sensibly get it. It should contain accurate information on your services and function properly across a range of devices. When you reach this point, go ahead and make it live! Then, sit back and begin to look at areas where it can be improved.
Try our Award-Winning WordPress Hosting today!


If you’re hosting with Pressidium you can take advantage of our Staging Servers which allow you to create an exact copy of your website at the click of a button. Then, using this cloned website, you can make further updates without impacting your live site. When you’re happy with these updates you’re able to seamlessly deploy them to your live site. By using your Staging Server in this manner you can continually refine your website without impacting your live website in a negative way as any changes will only be seen by your customers when you’re happy with them.
Service Page One – General Plumbing Services
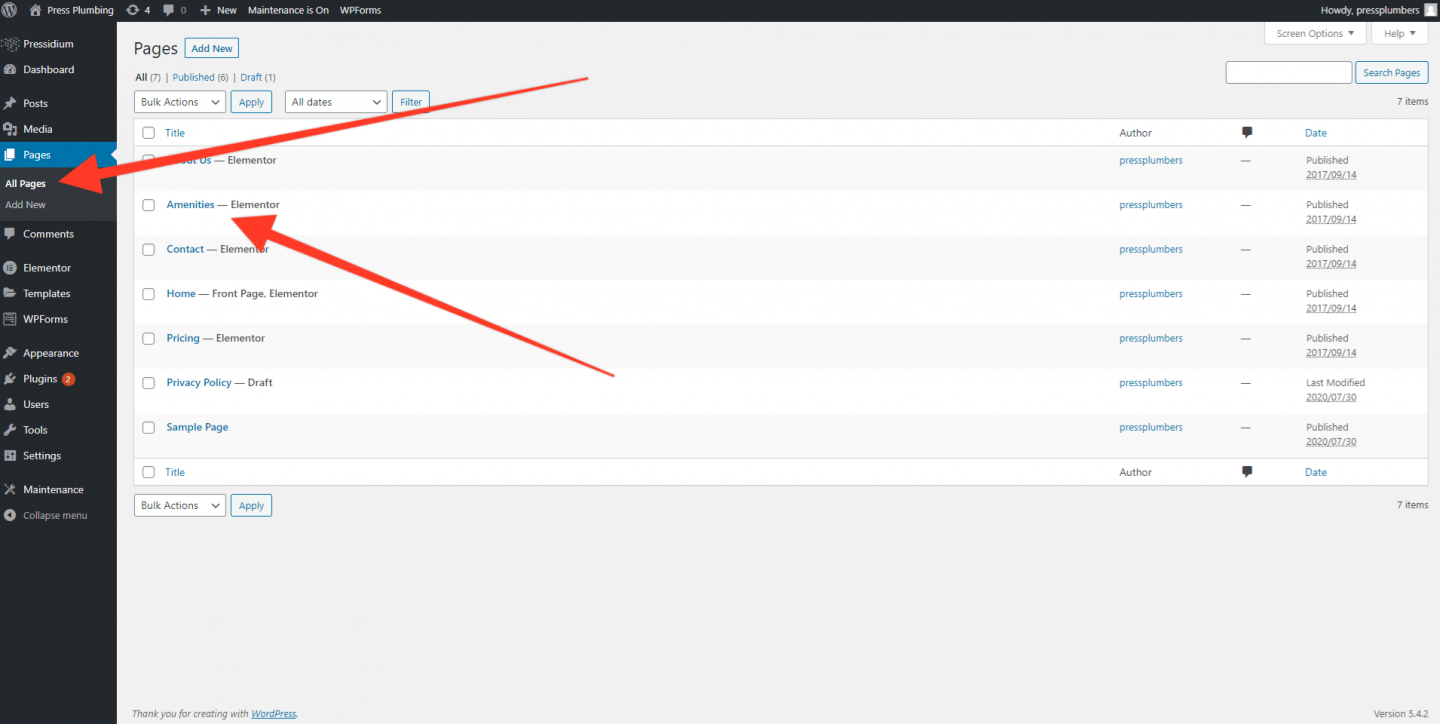
As previously, we’re going to take advantage of some of the design work that has already been done for us by the team that created our Starter Theme. To do this, head to the WordPress Dashboard and click on ‘Pages’. You’ll see a list of existing pages on our website including our Homepage. Included in this list is a page called ‘Amenities’. We’re going to make a copy this page that will then become our first Services page.
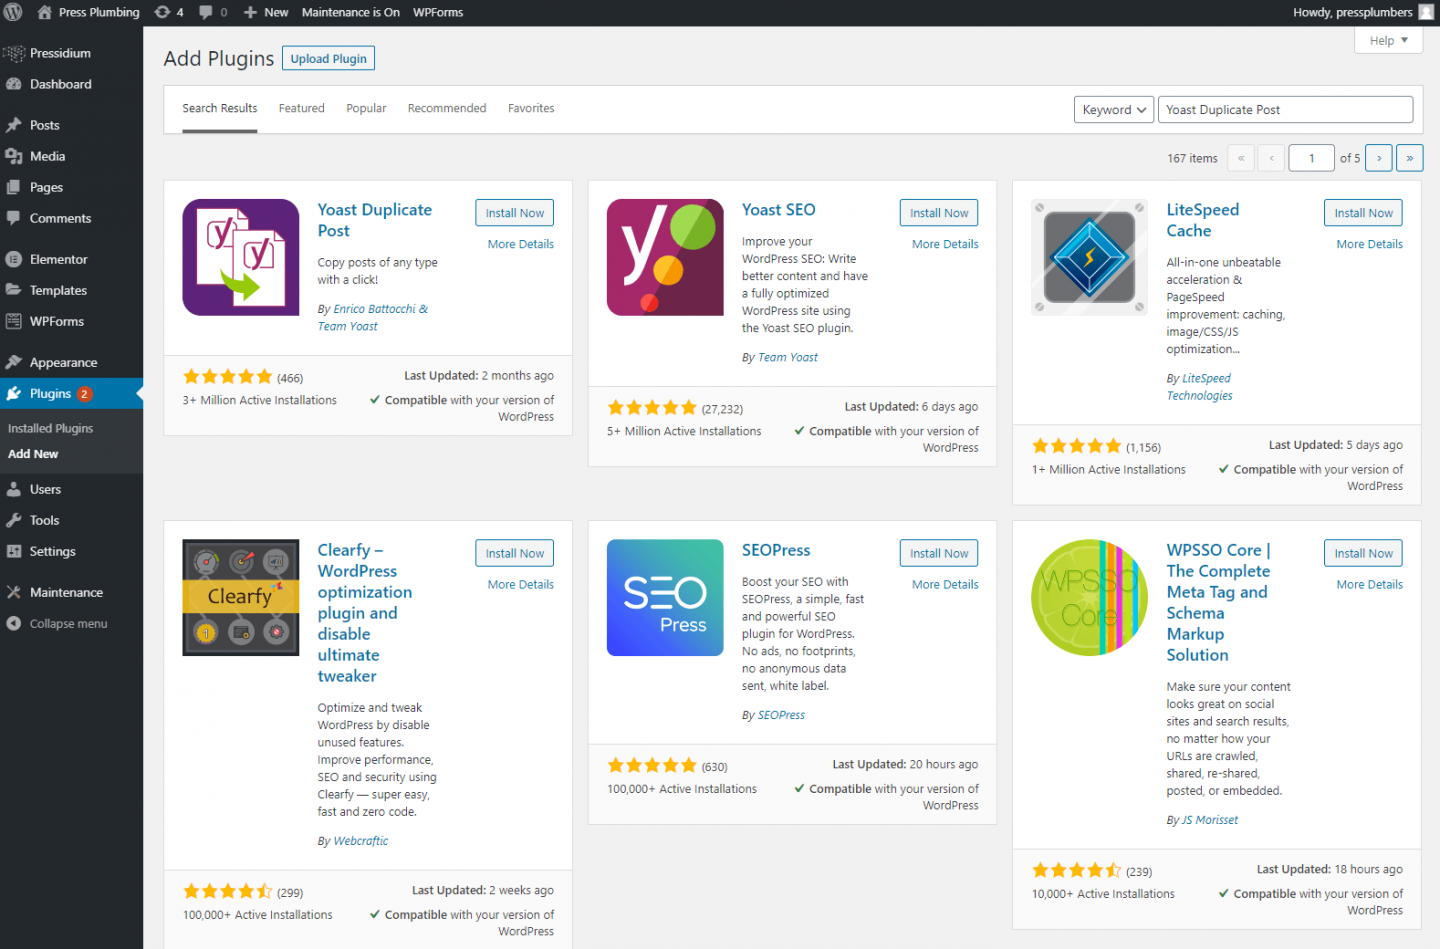
In order to make a copy of a page we’ll first need to install a new plugin called ‘Yoast Duplicate Post’. To do this, head to the plugins page and search for this. Click on ‘Install now’ and then ‘Activate’.
Once you’ve done this, head back to the Pages menu and, if you hover over the page titles you should see a ‘Clone’ sub menu that wasn’t there before. If you click on this a perfect copy of that page will be created.
So why would we make a copy of this page first rather than just edit the original? It’s a good question. The main reason is this… when we first setup our Starter Theme we were able to import all of the demo content that we’re now using to help shape our website. Typically, demos like this make use of a range of features available to you using that particular theme to create layouts that look good. These example layouts are really helpful as they give you immediate insight into how a certain ‘look’ was achieved with the theme. So, instead of having to spend hours trying to figure out how to create a certain effect, you can just take a look and copy straight from the theme. In our case, we are going to be deleting much of the example layout. We may however at a later date want to improve/change our design and it’s on these occasions where it’s incredibly helpful to have a source of reference like these demo layouts. By creating a clone of this page before we start we preserve this information rather than just deleting it which is much more useful!
Having cloned the Amenities page you’ll now see two copies of a page called Amenities. One of these is published and the other is saved as a Draft. Open up the Published page and then click ‘Edit with Elementor’.
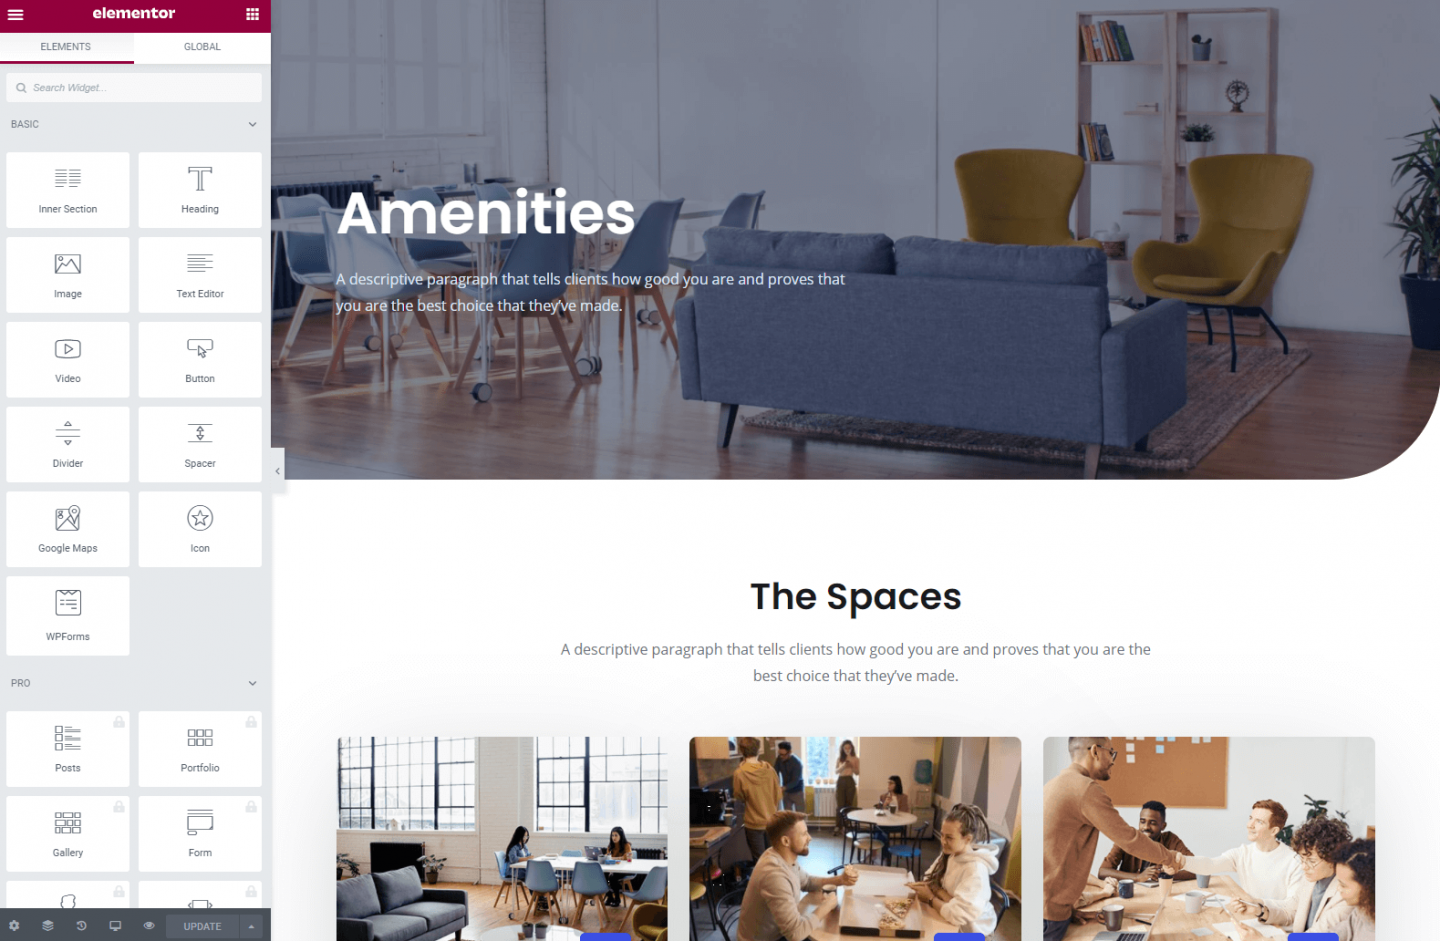
The first thing we’re going to do is delete a portion of the layout on this page. We’ll leave the initial Hero text and the text that says ‘The Spaces’ along with the description under this but are going to delete everything else right down to the ‘Frequently Asked Questions’ section. To do this, as before, hover over the section you want to delete and you’ll see a blue box with an ‘X’ in it pop up. Click that to delete the section. We’ve now got an approximately ‘blank’ canvas and can begin to further shape the page to suit our needs.
The Hero Section
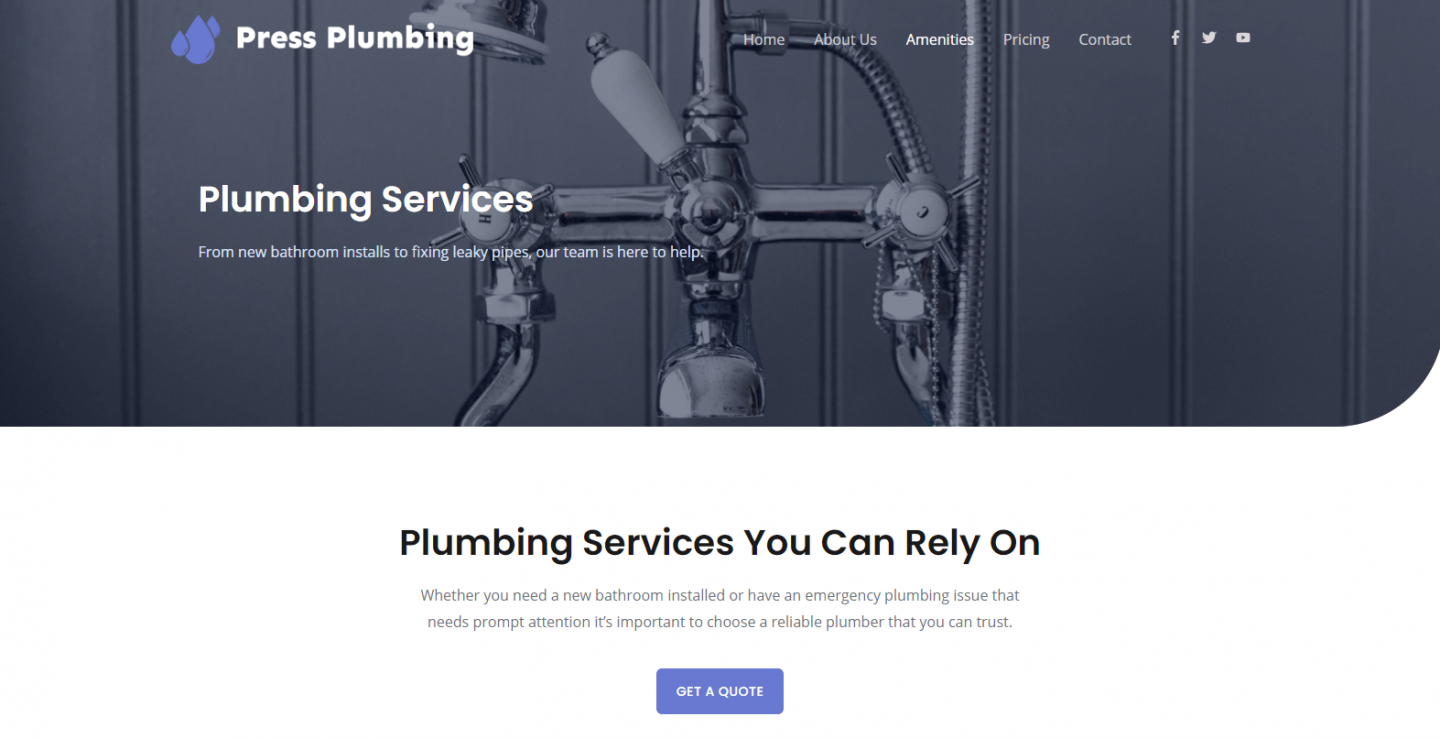
As with our Homepage we have a Hero section but this is smaller in height than the one we had for our Homepage. This is fairly typical in design terms where Homepage hero sections are often full screen in size and other pages on the site make do with a smaller header.
Updating this is nice and easy. We’re going to use the image that we used on our Homepage to represent our general Plumbing Services as the header image. This provides a nice level of consistency. To update the image you’ll need to click on the ‘Edit Section’ icon that appears when you hover over the page header. This then opens up the Elementor settings tab for this section.
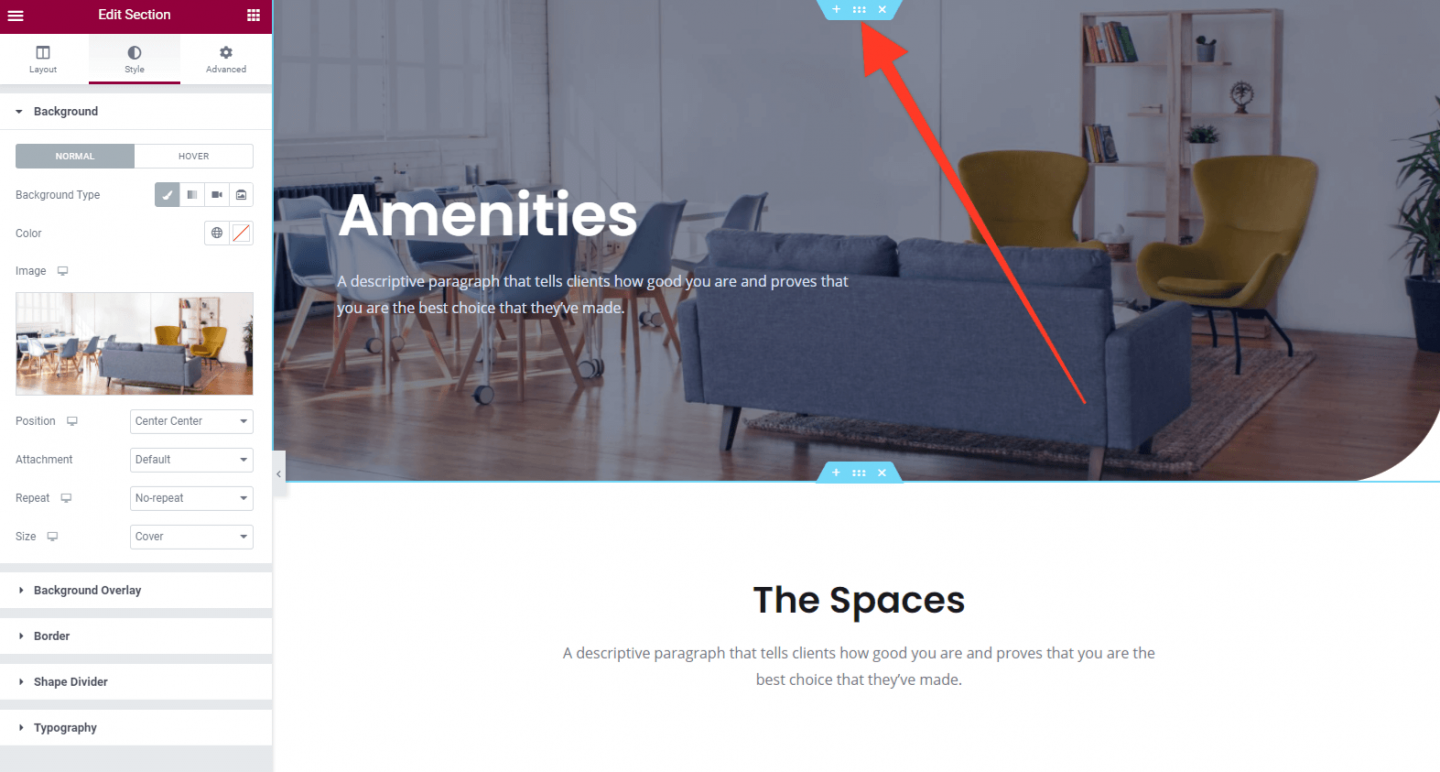
Head to the image on the left in the Elementor editor and click on the little delete (trash can) icon that appears when you hover over this. Then, upload the image of the bath taps (ideally sized to 2,000px wide). Click on Update to save your changes.
Now change the Hero text to something suitable. In our example we’ll also be reducing the size of this via the ‘Size’ dropdown menu.
Next we’ll update the text below the hero section and click ‘Update’ to save our changes.
The Main Page
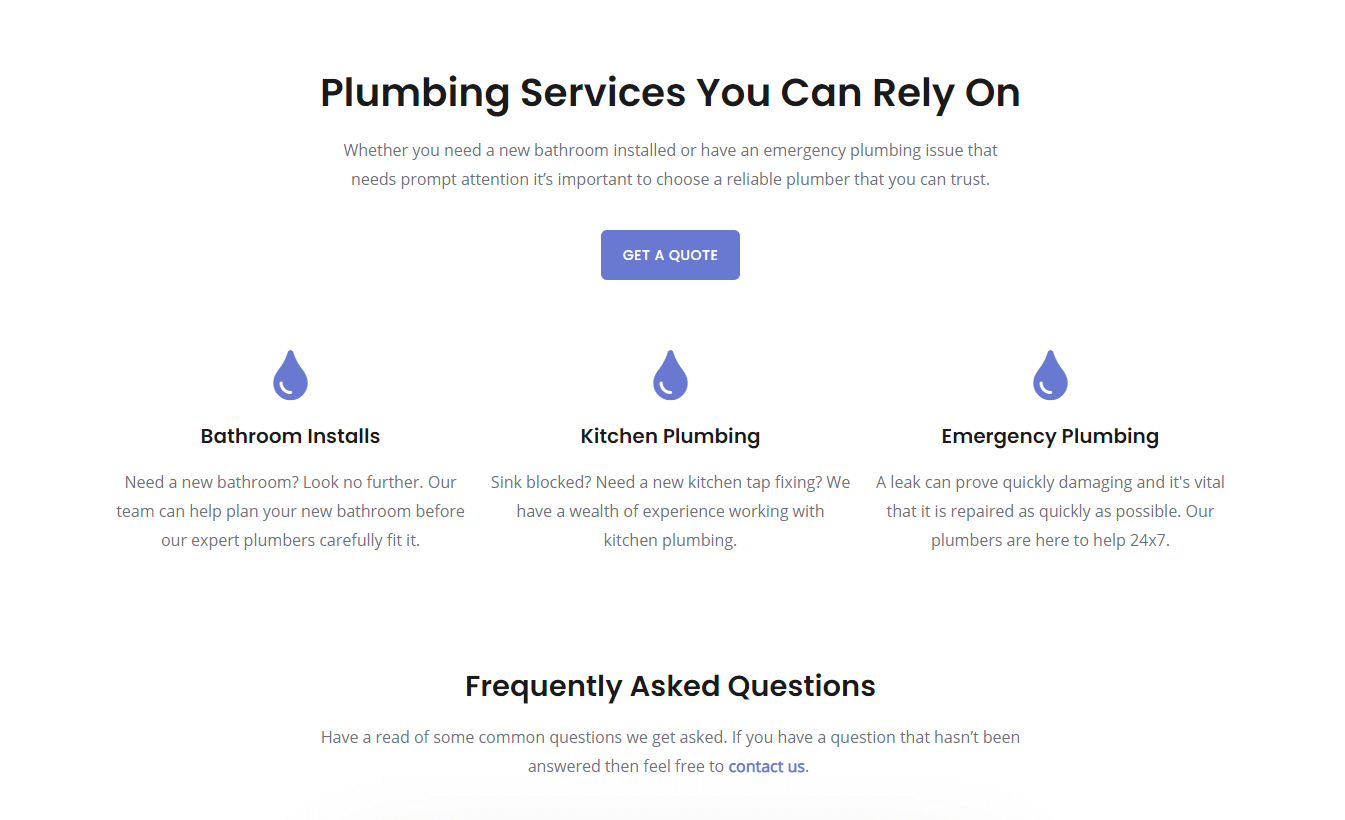
Having done this, the next step is to add appropriate text to the Title and sub paragraph just under the hero section. We’re also going to add a ‘Call to Action’ button that people can click to get a quote. The end result of these steps will look like this:
Looking good so far!
As this is a demo site we’re not going to load a lot of content onto this page. A good way to list the services on offer if you don’t want to write a lot of text is to use an Icon with some text below that briefly summarizes a service. Elementor provide a widget for just this kind of thing. Called an Icon Box, it quickly allows you to add an Icon, a Title and some text to your site.
To get started with these click the Grid button in the top right corner of the Elementor editor and then use the search bar to find the Icon Box widget. Add a new section to your page in-between the ‘Get a Quote’ button and the ‘FAQ’s section (see the animation below if you’re not sure how to do this).
Next, click the ‘+’ icon and choose a 3 column layout. Then add in the Icon Box widget into the first column.
We can now customize the Icon Box to suit our needs. Click on it to open it up in the Elementor panel. The first thing we’ll change is the icon. The default is a star but we need something more relevant. Elementor comes ‘loaded’ with a huge library of icons. Click on the icon from within the Elementor panel and you’ll see a popup appear that lets you select one. As our logo features a waterdrop we managed to find something similar called ‘Tint’. We selected this and it immediately appeared in our Icon Box.
Next we need to apply some further customizations. You can do this via the Style tab. We:
- Changed the color of the icon to our brand ‘blue’ which is #6979D1
- Changed the size of the title text
- Added our own text (and in doing so removing the placeholder text)
Having done this to our first Icon Box, we can now duplicate this saving us a lot of time as we don’t need to re-do all the other settings (like font size for the title and icon color). Duplicating any element with Elementor is easy. Just right click on the element you want to copy and hit duplicate!
We then just have to add in the appropriate text for our services and we end up with something that looks like this:
Moving on down the page you’ll see a Frequently Asked Questions (FAQ’s) section. This was pre-built in our starter theme and looks great so we’re going to keep it. An FAQ’s section is super useful for customers and gives you the opportunity to put a prospective customers mind at ease by answering their questions up-front rather than hoping they’ll contact you.
As always, click on the section and the appropriate tab will open in the Elementor panel. Go ahead and edit those questions (and add more if you wish). Hopefully by now you’re starting to get the hang of using Elementor and can see how consistent the process is for adding and styling widgets on your website.
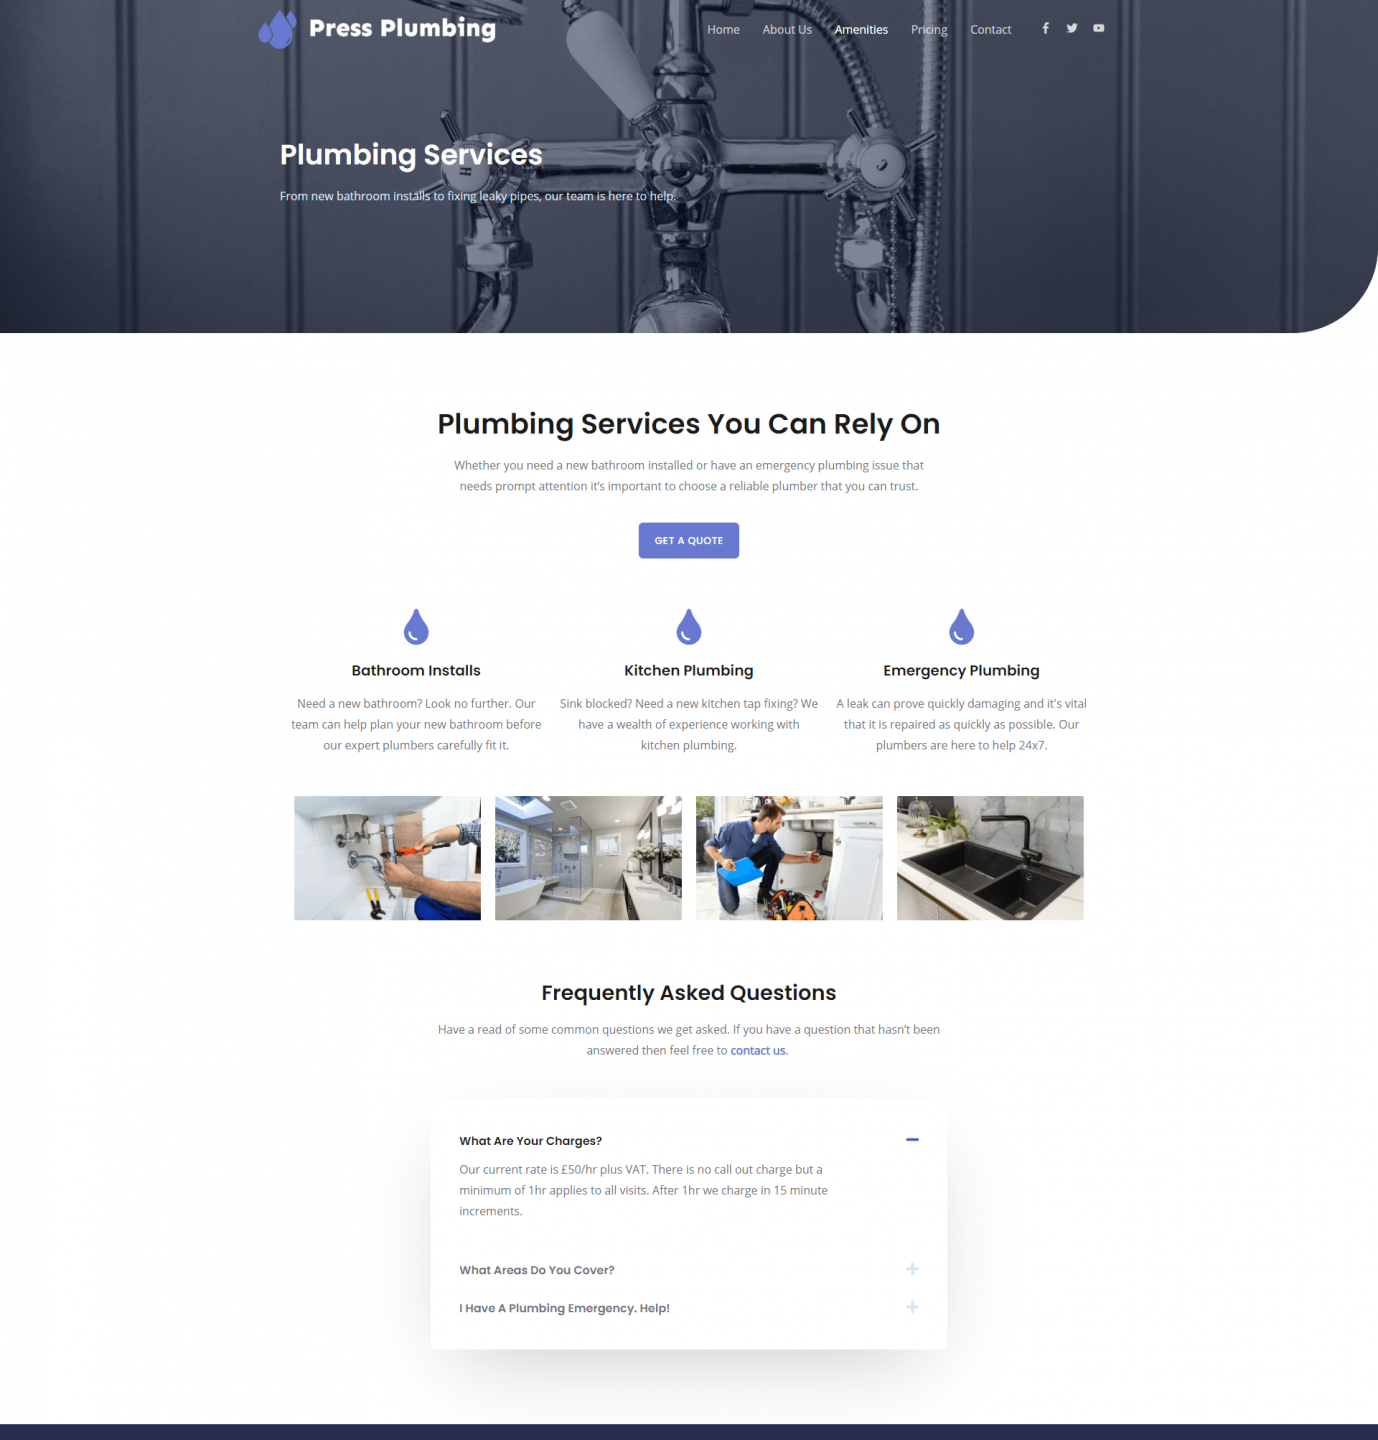
Our first services page is looking good but it’s perhaps a little boring. A quick and easy way to help ‘jazz it up’ is to add some photos. For our fictional plumbers it makes sense to use images of work that has been carried out so not only do we make the page look more interesting but also can show off the high standards of our workmanship.
If we just added one large photo on the page it wouldn’t look brilliant. Instead we’ll add in an Image Gallery using the Elementor Image Gallery widget.
To get started, add a new section and then add in the Elementor ‘Basic Gallery’ widget. Once this is done you’ll see you can customize the number of columns that show and in doing so control how the grid of the gallery will display.
Upload your photos to this gallery. For aesthetics sake we are going to limit this gallery to four images that will help break up the layout of the page and improve its look. If you had a lot more images you wanted to showcase then you might consider adding a ‘Portfolio’ page that was dedicated to showcasing your work or products.
And there we have it! Our first services page is ready to go.
Now the page has been created, all we need to do is rename it to something appropriate. As you might remember, we used a page that was originally called ‘Amenities’. Clearly this isn’t what we want to call this page but fortunately it’s very easy to change.
There are two things that need to be updated. First is the page title. The second is the ‘slug’ or url of the page. At the moment the title of the page is ‘Amenities’ and the slug is /amenities (i.e. pressplumbing.co/amenities).
Exit the Elementor page editor if you’re currently there and head to the Pages menu from within the WordPress dashboard. There, hover over the page you want to change the name of and under it you’ll see a ‘Quick Edit’ option. Click that and then change both the name and the slug. Click on ‘Update’ and you’re done.
That’s it. We now have a ‘ready to go’ services page. Remember this is just an example of what you could do. In reality for a real business you would probably want to expand on the details provided about your service. You could do this by adding more information on one service page like this or you could alternatively setup some sub-service pages that dealt with each specific service you offer in more detail. As discussed though, don’t get bogged down into trying to create the ‘ultimate’ website the first time around. Websites should be constant work in progress and it’s more than acceptable to continue to refine and improve yours week after week rather than shooting for a ‘perfect’ website that takes months to go live and is then not updated for months after that.
Service Page Two – Heating Services
If you can believe it we have actually done all the hard work for our website now. Yes, there are some further pages we need to create but because we’ve now got a robust page layout created it’s a MUCH quicker process to spin up the remaining pages. Our Heating Services page is a case in point.
Let’s head to the Pages menu again from within the WordPress Dashboard. We’re now going to duplicate our General Plumbing page just as we originally duplicated the Amenities page at the start of this article.
Hover over the General Plumbing page and click on ‘Clone’.
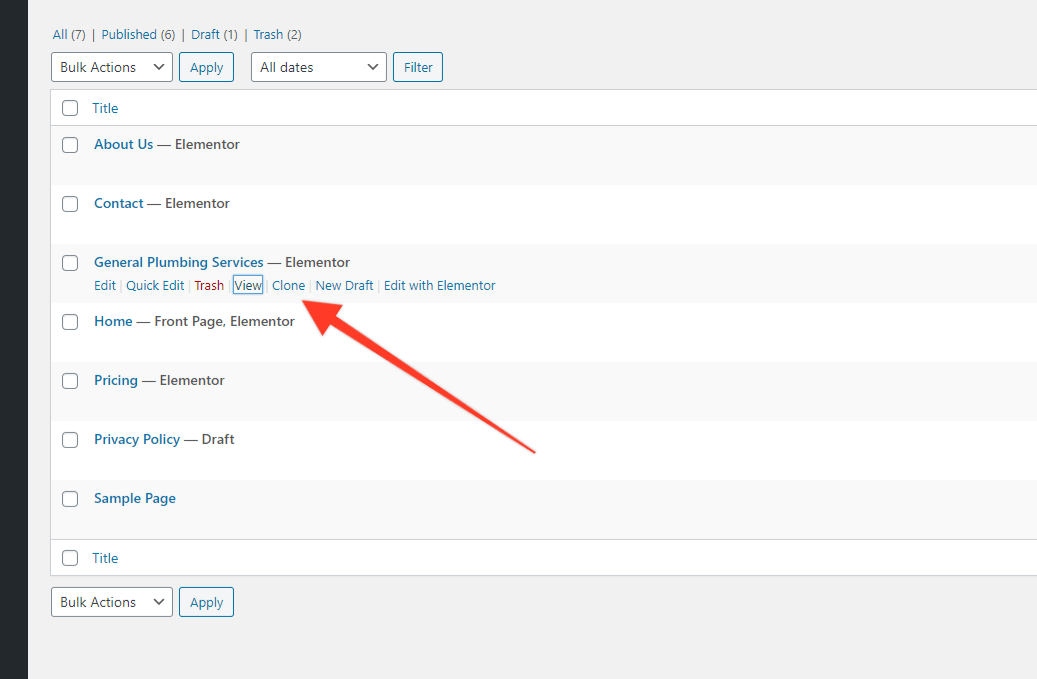
When that’s copied (should take about a second), head to the DRAFT version (which is the copied version) and hover over the title. Click on ‘Quick Edit’ and change the name of the page to whatever is appropriate for you. In our case this is ‘Heating Services’.
Open the page up in Elementor and then make whatever changes you need to make. In our case we’ll be changing the title, background image, other text, gallery images and FAQ’s. Whilst it’s a reasonable amount of updates to make it’s a lot quicker than building the page from scratch. When that’s done, make sure you hit ‘Update’ and that’s it. You now have a second services page ready to go like this one below:
That’s it for now. In Part 6 we’ll be taking what we’ve learned today and creating a ‘About’ page and a ‘Contact’ page. Stay tuned!
Start Your 14 Day Free Trial
Try our award winning WordPress Hosting!


