

One of the most flexible and useful functionalities WordPress has ever introduced is Custom Headers. It is a feature that allows you to customize the top section of your WordPress website, giving you the ability to personalize it as you see fit by using a custom header template. And, as with most WordPress functionalities, there are multiple ways to customize a header, by using theme features, custom code or a WordPress plugin.
In this article, we will walk you through these routes and give some examples. But first, let’s talk about WordPress headers and why you would bother customizing them.
Why Use a Custom WordPress Header?
The header is one of the most essential graphic aspects of a website because it is the first thing your visitors will notice. As such, it’s worth examining whether altering your website’s header could improve the user experience. For example, you can enhance the aesthetics and design of your header so that your business message is more effectively communicated to visitors.
Try our Award-Winning WordPress Hosting today!


Moreover, a well-structured header can help visitors explore your content more easily and can be used to gently push them towards products or services that you want them to focus on.
What You Can Actually Change
Technically, pretty much anything is open for change in the website header including font size, images, the color scheme, and so on. You can add a widget area, apply different styles for specific pages, position the logo as you wish, apply CTA (Call to Action) buttons, modify the navigation menu, and a whole lot more!
If at this point, you are convinced that you need a custom header template, here are the options that come with WordPress for both developers and non-coders.
How to Customize a Header in WordPress
Let’s look at some of the most popular ways of customizing the header.
Use Your Theme’s Customizer
To use the in-built WordPress customizer to edit your header you first need to find out if your theme supports this. You can look up your theme in the official theme library and use the filters to find out whether your current theme has a built-in feature for custom headers.
If you install one of the themes that come with this feature, you will notice that upon activation, some extra menu items appear under the “Appearance” menu. If you install and activate Blog Forever, for example, you will get this menu:
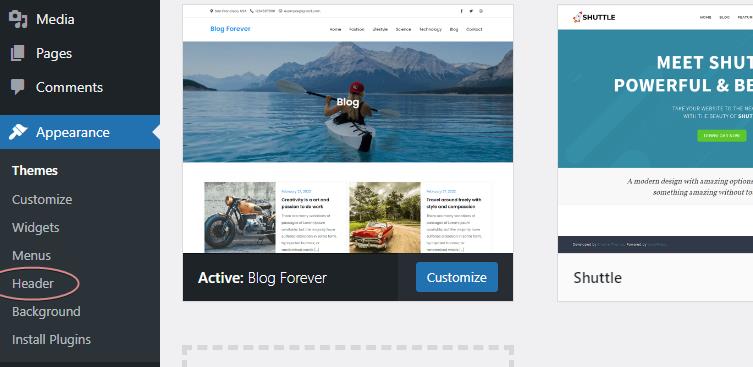
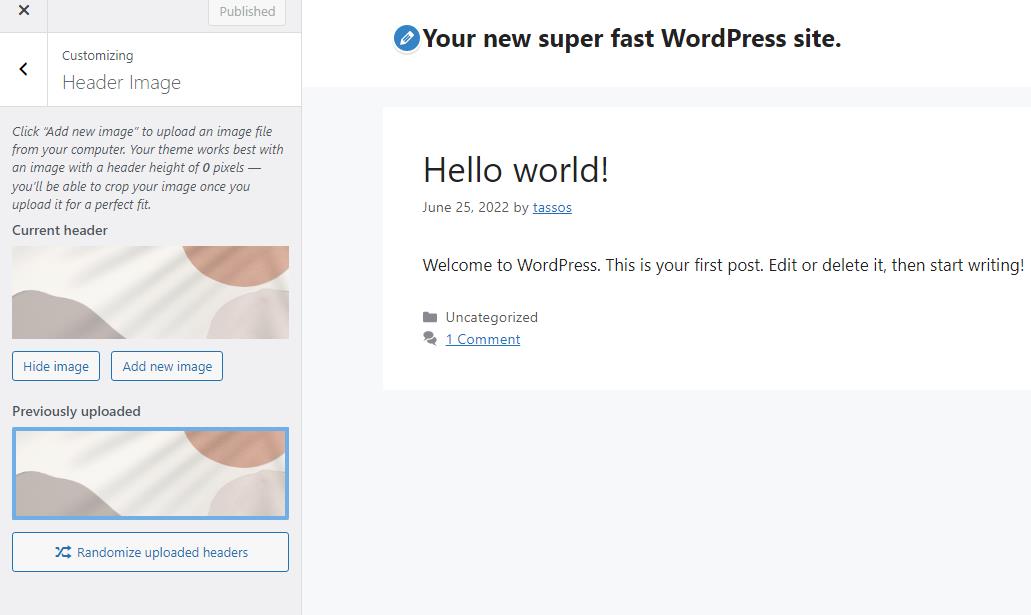
Once you click the “Header” menu item, you will be transferred to the header options.
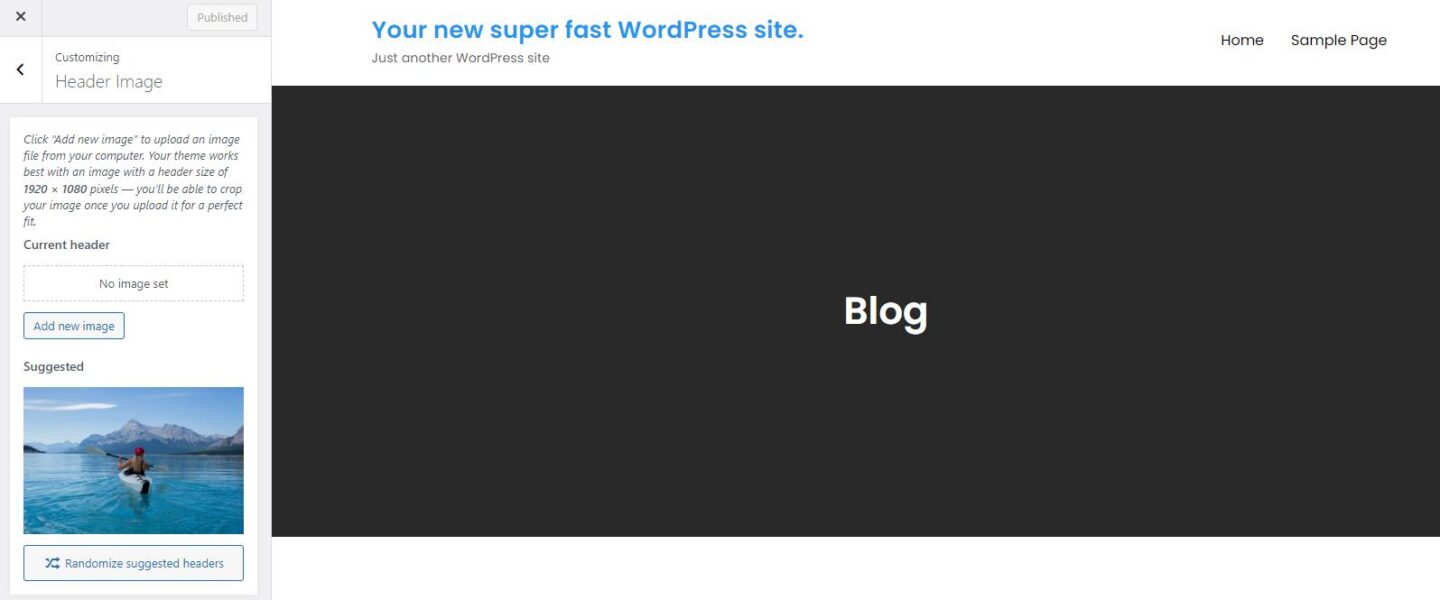
In the customizer menu, you can also find other options that help you customize the header.
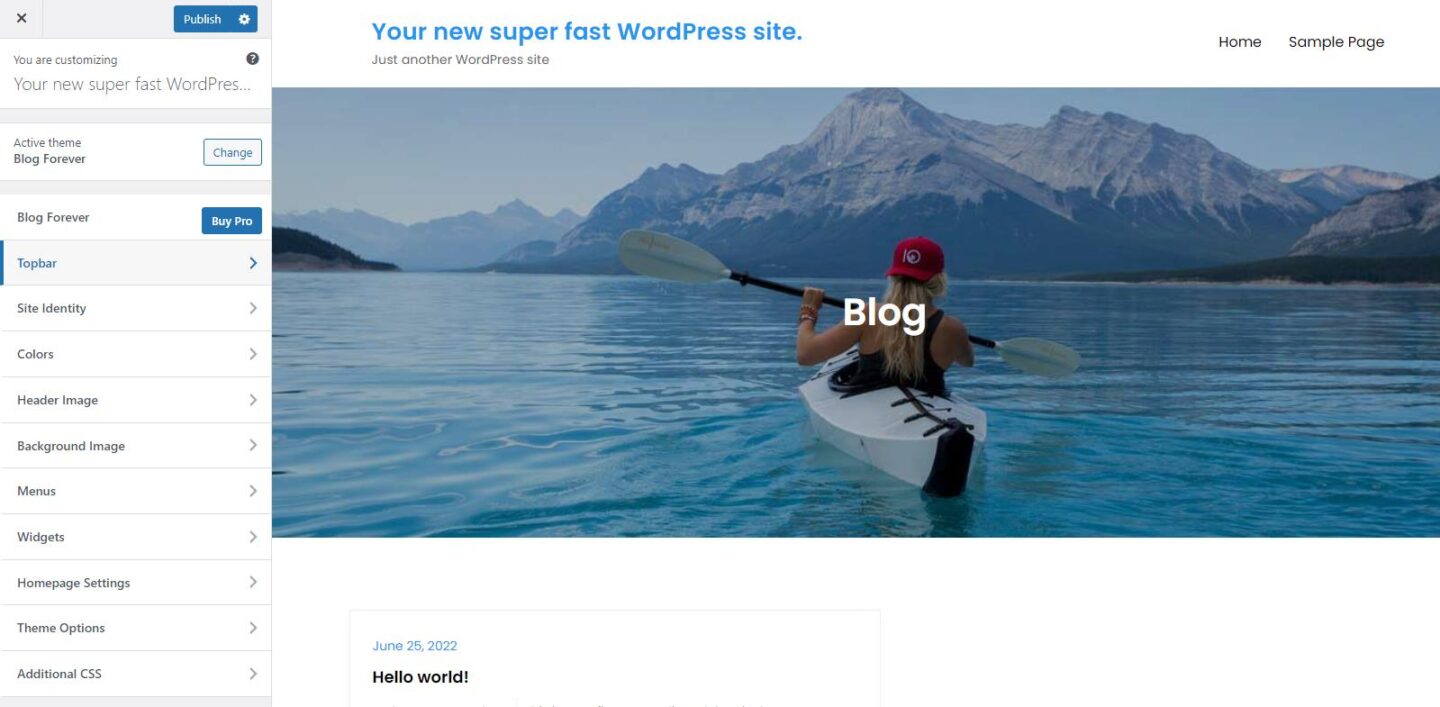
A lot of options are available here. You can change colors, add widgets in the header like social media or contact info, change the slogan etc.
But what if your theme is not one of the “header editable” themes?
How to Add Custom Header Support to Your Theme
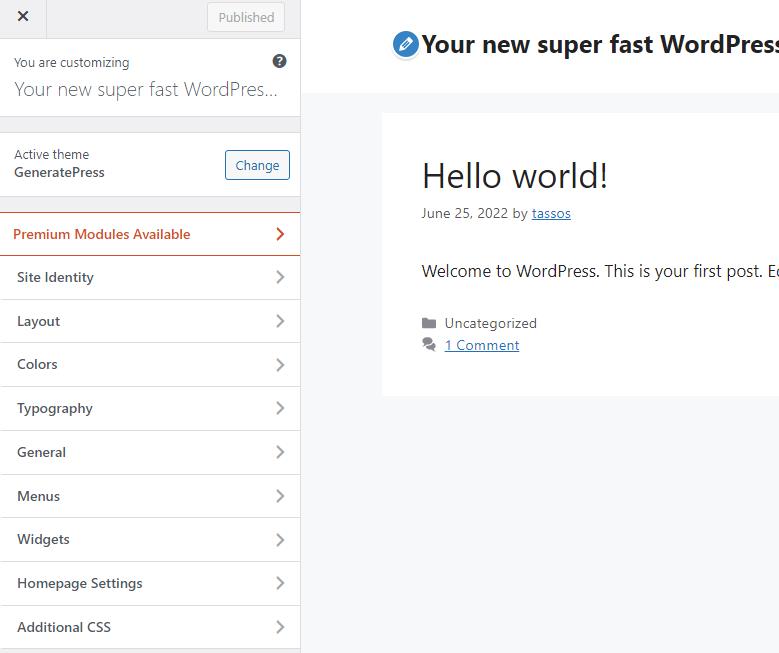
Let’s take the GeneratePress theme as an example of the themes that do not support this functionality. If you install and activate this theme, you won’t see any options to change the header image in the theme customizer.
If you possess some coding skills and use WordPress core version 3.4 or later, you can enable the custom header feature pretty easily. You can easily add it by using the add_theme_support() built-in function.
Go under your theme’s folder, find the functions.php file and open it with your favorite editor. Then add the following line:
add_theme_support( 'custom-header' );And that’s it, now you will be able to see the header image option on the customizer’s page and under the Appearance menu. You can use it and upload an image for your header.
You can also pass arguments to set any of the available options. Here is an example of how you can set the image size by adding code into functions.php:
function mytheme_custom_header_setup() {
    $args = array(
        'width'              => 1000,
        'height'             => 250,
    );
    add_theme_support( 'custom-header', $args );
}
add_action( 'after_setup_theme', 'mytheme_custom_header_setup' );
The after_setup_theme is used to register our functionality right after the theme is initialized.

However, as you may notice, no image appears on the header, which is normal, since we did nothing to display it.
How to Display the Header Image
In order to display the header image, you must use the get_header_image() WordPress function like this:
<?php if ( get_header_image() ) : ?>
    <div id="site-header">
        <a href="<?php echo esc_url( home_url( '/' ) ); ?>" rel="home">
            <img src="<?php header_image(); ?>" width="<?php echo absint( get_custom_header()->width ); ?>" height="<?php echo absint( get_custom_header()->height ); ?>" alt="<?php echo esc_attr( get_bloginfo( 'name', 'display' ) ); ?>">
        </a>
    </div>
<?php endif; ?>
You can go anywhere from here depending on your requirements and coding skills. You can add a tag or secondary head title or any of the theme’s widgets by using their hook, and of course add your own CSS to polish it.
You should insert this piece of custom code in the header template file of your WordPress installation. This file is not the same for all themes. If you do not know which one it is, you can consult the template hierarchy, or forget about what file and add the code to the header via functions.php using the wp_head() function.
function my_custom_function(){
    if ( get_header_image() ) : ?>
    <div id="site-header">
        <a href="<?php echo esc_url( home_url( '/' ) ); ?>" rel="home">
            <img src="<?php header_image(); ?>" width="<?php echo absint( get_custom_header()->width ); ?>" height="<?php echo absint( get_custom_header()->height ); ?>" alt="<?php echo esc_attr( get_bloginfo( 'name', 'display' ) ); ?>">
        </a>
    </div>
<?php endif;
};
add_action('wp_head', 'my_custom_function');
It is also important to point out that such customizations should be applied in a child theme so that the changes won’t be lost upon theme updates.
Of course, if you use a WordPress Block Theme like Twenty Twenty Two that supports a full site editor, things can get even easier for you. We will get into more details about this in a future article.
Create a Custom Header Using a WordPress Plugin
There are various popular plugins that can be used to help you customize your WordPress header. Too many in fact to go into in this article.
With that said, there is one that is well worth checking out as it can be used not only to customize your header but also as a useful tool to insert code into the ‘right’ area of your website when needed. Say hello to the ‘Insert Headers & Footers‘ plugin.
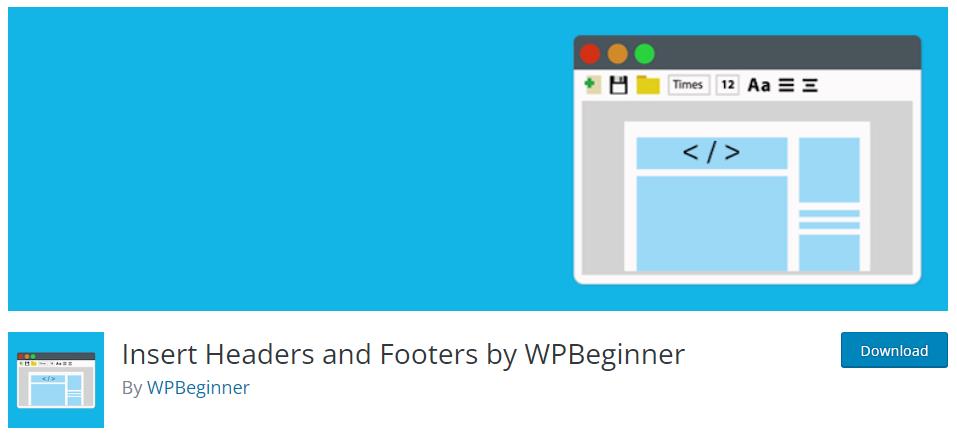
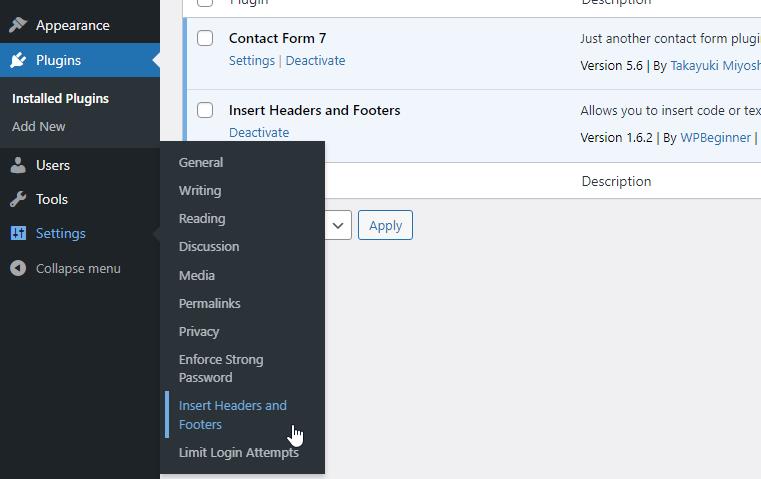
The Insert Headers & Footers Plugin is useful in so many ways. Not only does it allow you to add code to the header, footer, or body, but it also keeps all that organized in one place, under “Settings -> Insert Headers and Footers”.
It is not recommended for non-coders though as you still have to insert scripts. If you want to customize your header and avoid coding, we recommend the Add Custom Header Images plugin that WordPress provides.
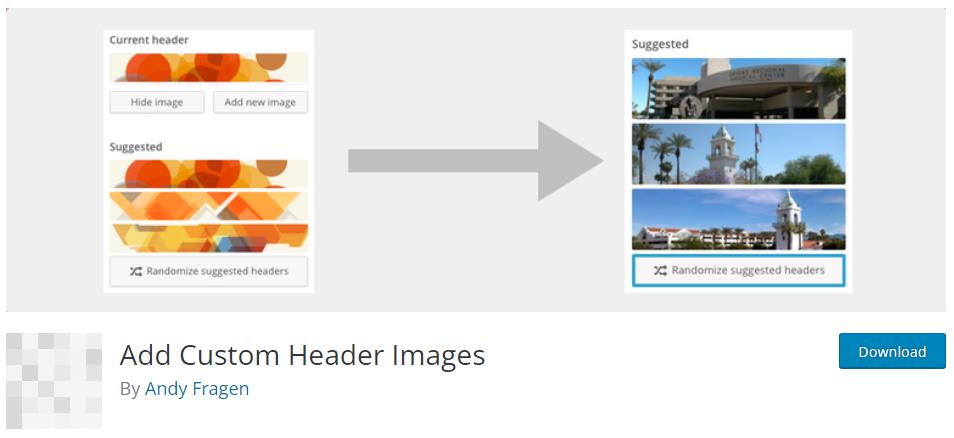
All you have to do once it is installed and activated, is to create a page (visible or private) titled “The Headers” and upload images in it.
What the plugin does is a) enable the customizer “Header” option and b) parse all the images uploaded in the “The Headers” page and provide them as suggested headers in the customizer. Pretty cool!
Conclusion
Your WordPress header is the first thing anyone will see on your website. As such, it’s well worth making sure it looks as good as possible! Hopefully the above has given you some hints and tips on how to do this whether or not you are happy to code.
Start Your 14 Day Free Trial
Try our award winning WordPress Hosting!


