

In our series on WordPress Custom Post types we’ve so far looked at creating a Custom Post Type using a Plugin and how to create a Custom Post Type manually by writing your own custom code snippets. We also looked at how you could apply some basic configuration to your post types so that you can handle them more easily from your WordPress Admin. If you’ve not checked out these articles then make sure you take a look!
In this article we’re going to move things on a step further by building on our previously created Custom Post Types to extend their functionality and usability on our website. If you want to follow along then you’ll need to create the Custom Post Types we built in our article ‘Create WordPress Custom Post Types Manually‘ so make sure you’ve done that first so the following information makes sense.
Let’s get started!
Displaying Custom Post Types Anywhere
As you’ll have seen we previously built a Custom Post Type to display Recipes on our website. This is a perfect example of a situation where Custom Post Types are an incredibly useful way of extending the functionality of our website.
In our example we were able to display our Recipes posts by adding them to our main website menu. We also setup an archive view that listed all our Recipe related posts. These are great options for displaying our new Custom Post Types but what happens when we want to display this content elsewhere on our website?
Using the WP_Query Function to Display Custom Post Types
In order to display our new Recipe posts in locations of our choosing on our website we’ll use the WP_Query function. In its arguments we can find post_types which will be used in this instance as it defines which posts types we want to query. Along with it we will use the publish and orderby parameters as we want to show the Recipes posts that have a published status and order them by descending date to display the most recent first.
Let’s imagine that we want to display a list of our Recipe posts in our website footer above above the copyright information. To do this we’ll use a snippet of code that, in our case, needs to be inserted in the singular.php file below the start of the <footer> element.
<?php
$args = array(
    'post_type'   => 'recipes',
    'post_status' => 'publish',
    'orderby'  => array( 'date' => 'DESC' ),
);

$recipes = new WP_Query( $args );
if( $recipes->have_posts() ) {
?>
<div class="recent-recipes">
<?php
    while( $recipes->have_posts() ) :
        $recipes->the_post();
        ?>
        <div class="recipe">
            <a href=""><?php get_post_permalink(); ?><h3><?php the_title(); ?></h3>
                <?php the_post_thumbnail( 'thumbnail' ) ;  ?>
            </a>
        </div>
        <?php
    endwhile;
    wp_reset_postdata();
?>
</div>
<?php } else {
    esc_html_e( 'No recipes found' );
}
?>
We are using the current default WordPress Twenty Twenty theme in this example. If you use a theme other than Twenty Twenty you should edit the file that contains the footer content for your theme.
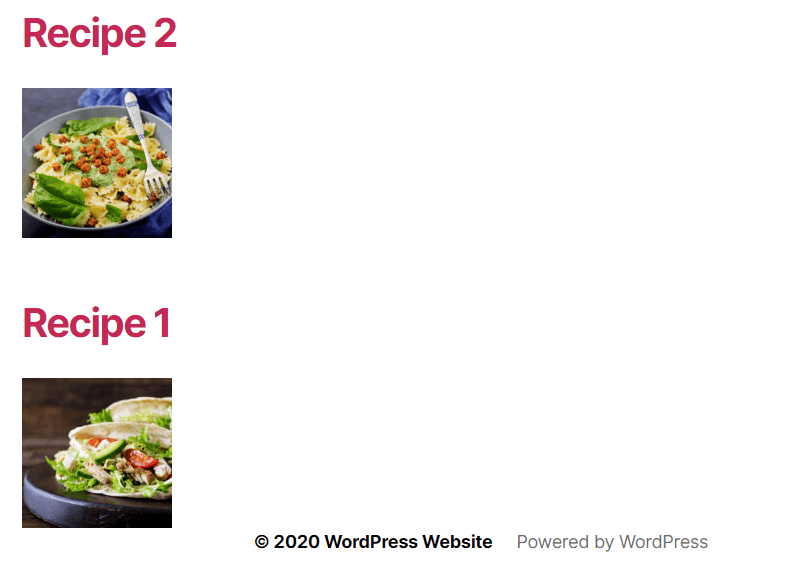
With the code added, we can open up our website and we should see our Recipe posts listed in our footer.
The layout and appearance of these posts in your footer can be styled to look how you wish using CSS. The best place to add any CSS is in the style.css file that is located under your theme’s main folder. We’ve got some possible CSS that you might want to use below.
.recent-recipes h3 {
font-size: 18px;
margin: 15px 0;
}
.recipe {
float: left;
margin: 15px;
}
.recent-recipes {
height: 240px;
margin: 0 auto;
width: 1190px;
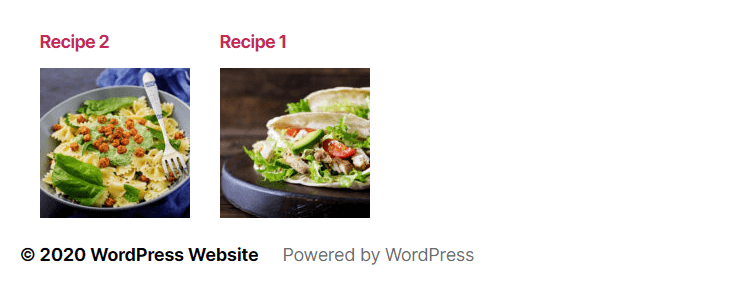
}Once this CSS has been saved and the page refreshed you should see the layout of your Recipe posts in the footer alter to look like this:
The Importance of Resetting The Loop
You may have noticed that after defining the necessary arguments in the code, a post loop starts and ends with the wp_reset_postdata() function. The use of this function is very important and here’s why.
Try our Award-Winning WordPress Hosting today!


When WordPress creates a page layout it uses a global $post variable which works fine if there is only one loop in the page. Now that we added our custom loop we basically override the global $post variable and, unless we tell WordPress that the loop resets, it will resume from there by using the custom post type we defined in our loop.
Let’s look at how this works in practice by echoing the post title under the above code like this:
<?php
$args = array(
    'post_type'   => 'recipes',
    'post_status' => 'publish',
    'orderby'  => array( 'date' => 'DESC' ),
);

$recipes = new WP_Query( $args );
if( $recipes->have_posts() ) {
?>
    <div class="recent-recipes">
    <?php
        while( $recipes->have_posts() ) :
            $recipes->the_post();
            ?>
            <div class="recipe">
                <a href=""><?php get_post_permalink(); ?><h3><?php the_title(); ?></h3>
                <?php the_post_thumbnail( 'thumbnail' ) ;  ?>
                </a>
            </div>
            <?php
        endwhile;
        wp_reset_postdata();
    ?>
    </div>
<?php } else {
    esc_html_e( 'No recipes found' );
}
?>
<?php the_title(); ?>
Now, if we refresh our page on the frontend of our website we see the ‘Post 1’ title under our recent recipes.
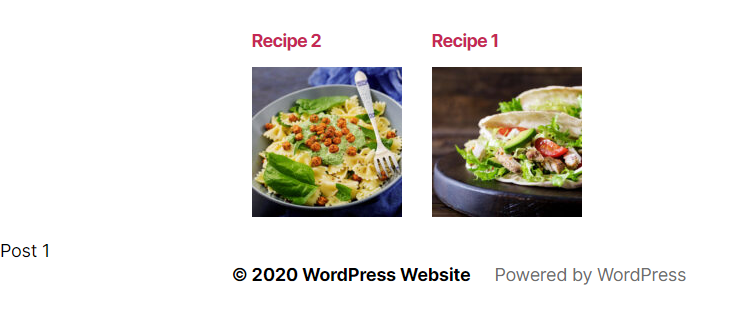
This makes sense because we reset back to the original loop with the wp_reset_postdata(); function.
Now, comment out the wp_reset_postdata(); from your code. You will notice that the the_title(); code will echo the ‘Recipe 1’ title instead of ‘Post 1’.
Custom Post Types – Further Management
In order to customize our custom posts behavior and appearance further we’ll look at some options that can be added as an extension to the code we used in our previous article to register our ‘recipes’ post type.
function recipes_post_type() {
    register_post_type( 'recipes',
        array(
            'labels' => array(
                'name' => __( 'Recipes' ),
                'singular_name' => __( 'Recipe' )
            ),
            'public' => true,
            'show_in_rest' => true,
        'supports' => array('title', 'editor', 'thumbnail'),
        'has_archive' => true,
        )
    );
}
add_action( 'init', 'recipes_post_type' );
We’re going to add some more arguments in order to:
- Change the URL slug of the recipes Custom Post Type
- Change the position of the Custom Post Type admin menu
- Change the menu icon
Changing the Custom Post Type URL Slug
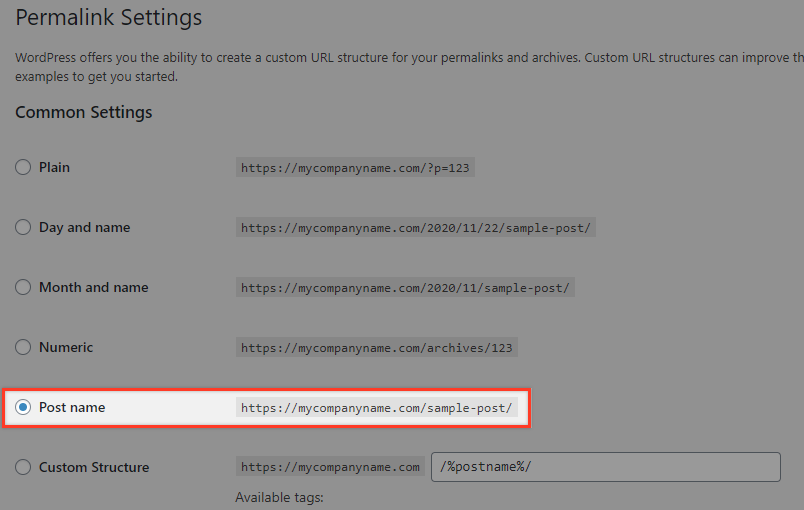
If we create a recipe post and name it ‘Recipe 1’ then the default URL of the ‘Recipe 1’ post would be something like https://mycompanyname.com/recipes/recipe-1/ provided that the permalinks are set to ‘Post name’ in our Permalink Settings.
If you want to change the way the Recipes Custom Post Type appears in the URL, you can use the rewrite argument with its slug key.
As we noticed from the URL, if this argument is skipped, the default value would be the Custom Post Type label ‘recipes’. If we want to change this to my-home-recipes for example we have to overwrite it by editing our code snippet to look like this:
function recipes_post_type() {
    register_post_type( 'recipes',
        array(
            'labels' => array(
                'name' => __( 'Recipes' ),
                'singular_name' => __( 'Recipe' )
            ),
            'public' => true,
            'show_in_rest' => true,
	    'supports' => array('title', 'editor', 'thumbnail'),
	    'has_archive' => true,
   	    'rewrite'   => array( 'slug' => 'my-home-recipes' ),
        )
    );
}
add_action( 'init', 'recipes_post_type' );
Now if you save permalinks (flush the permalinks cache) and view your recipe again your URL should be https://mycompanyname.com/my-home-recipes/recipe-1/
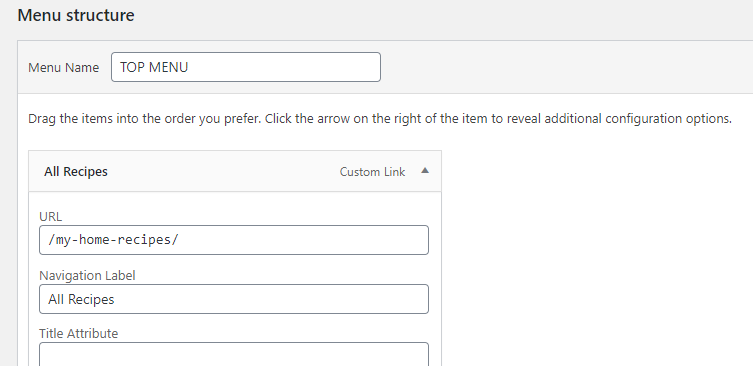
Note that if you change the slug, you will have to change the archive URL as well from /recipes/ to /my-home-recipes/ in the Main Menu page.
Changing the Custom Post Type Menu positioning
If you wish to move the Recipes menu to a different position you can use the menu_position argument like this:
function recipes_post_type() {
    register_post_type( 'recipes',
        array(
            'labels' => array(
                'name' => __( 'Recipes' ),
                'singular_name' => __( 'Recipe' )
            ),
            'public' => true,
            'show_in_rest' => true,
	    'supports' => array('title', 'editor', 'thumbnail'),
	    'has_archive' => true,
   	    'rewrite'   => array( 'slug' => 'my-home-recipes' ),
            'menu_position' => 5,
        )
    );
}
add_action( 'init', 'recipes_post_type' );
The values you can use for this argument are:
0 : at the very top
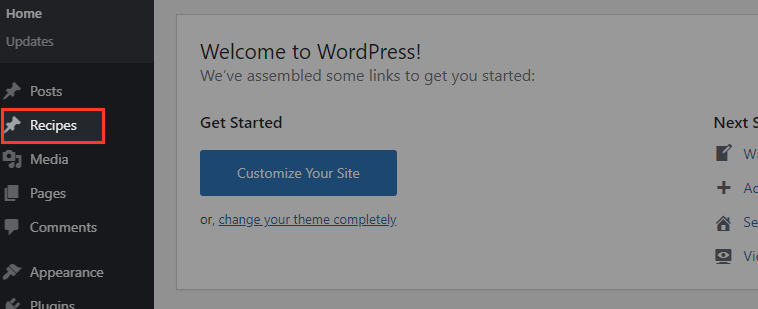
5 : below Posts
10 : below Media
15 : below Links
20 : below Pages
25 : below comments
60 : below first gap in menu
65 : below Plugins
70 : below Users
75 : below Tools
80 : below Settings
100 : below second gap in menu
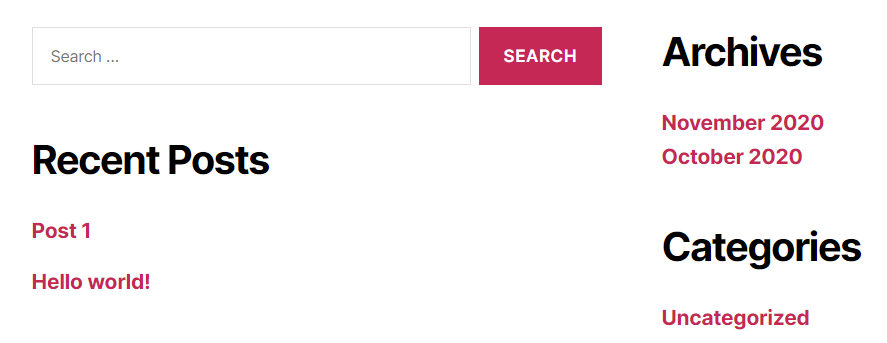
The screenshot below shows the position of the menu when the value 5 has been added to the menu_position argument.
Changing the Custom Post Type Menu Icon
Currently, the Recipes menu use the default posts icon. It would be a nice touch it had its own unique icon. To accomplish this we can use the menu_icon argument.
function recipes_post_type() {
    register_post_type( 'recipes',
        array(
            'labels' => array(
                'name' => __( 'Recipes' ),
                'singular_name' => __( 'Recipe' )
            ),
            'public' => true,
            'show_in_rest' => true,
	    'supports' => array('title', 'editor', 'thumbnail'),
	    'has_archive' => true,
   	    'rewrite'   => array( 'slug' => 'my-home-recipes' ),
            'menu_position' => 5,
	    'menu_icon' => 'https://mycompanyname.com/wp-content/uploads/2020/10/recipes.svg',
        )
    );
}
add_action( 'init', 'recipes_post_type' );
To display your own icon you can insert the full URL of your menu icon location (as shown in the code above) or use the WordPress Dashicons library by adding the class name of the icon. You can see the icons with the corresponding classes here.
If, for example, you choose the food icon, you would add it to your code like this 'menu_icon' => 'dashicons-food'.
function recipes_post_type() {
    register_post_type( 'recipes',
        array(
            'labels' => array(
                'name' => __( 'Recipes' ),
                'singular_name' => __( 'Recipe' )
            ),
            'public' => true,
            'show_in_rest' => true,
	    'supports' => array('title', 'editor', 'thumbnail'),
	    'has_archive' => true,
   	    'rewrite'   => array( 'slug' => 'my-home-recipes' ),
            'menu_position' => 5,
	    'menu_icon' => 'dashicons-food',
        )
    );
}
add_action( 'init', 'recipes_post_type' );
The end result should be that your chosen icon appears in your Custom Post Menu… helping make your Custom Post feel, well, truly custom!
Further Reading
Create WordPress Custom Post Types Using a Plugin
Create WordPress Custom Post Types Manually
Create WordPress Custom Post Types Using Your Own Plugin!
Conclusion
Hopefully these tips really help you in your quest to build your own Custom Post Types and in doing so allow you to further improve the functions and use of your WordPress website. As with all coding, it’s best to take some time to have a play and see how your new code impacts your website. Building on these foundations will then allow you to tackle even more complex projects where heavy customization is needed.
Start Your 14 Day Free Trial
Try our award winning WordPress Hosting!


