

In this article we will be discussing how you can integrate a Git repository (or a repository from a different version control system) with your Pressidium website by using an external service such as deployHQ or DeployBot (or any other similar one). We will be using deployHQ as an example (its super easy and has a free tier as well), but the steps needed are similar when using other services as well. Although we will be using GitHub due to its wide use and popularity, the configuration steps are pretty much the same for other version control systems.
Check this link if you’d like to know how to setup GitHub actions to deploy directly to Pressidium without using an intermediate service like deployHQ.
Getting Started with Git
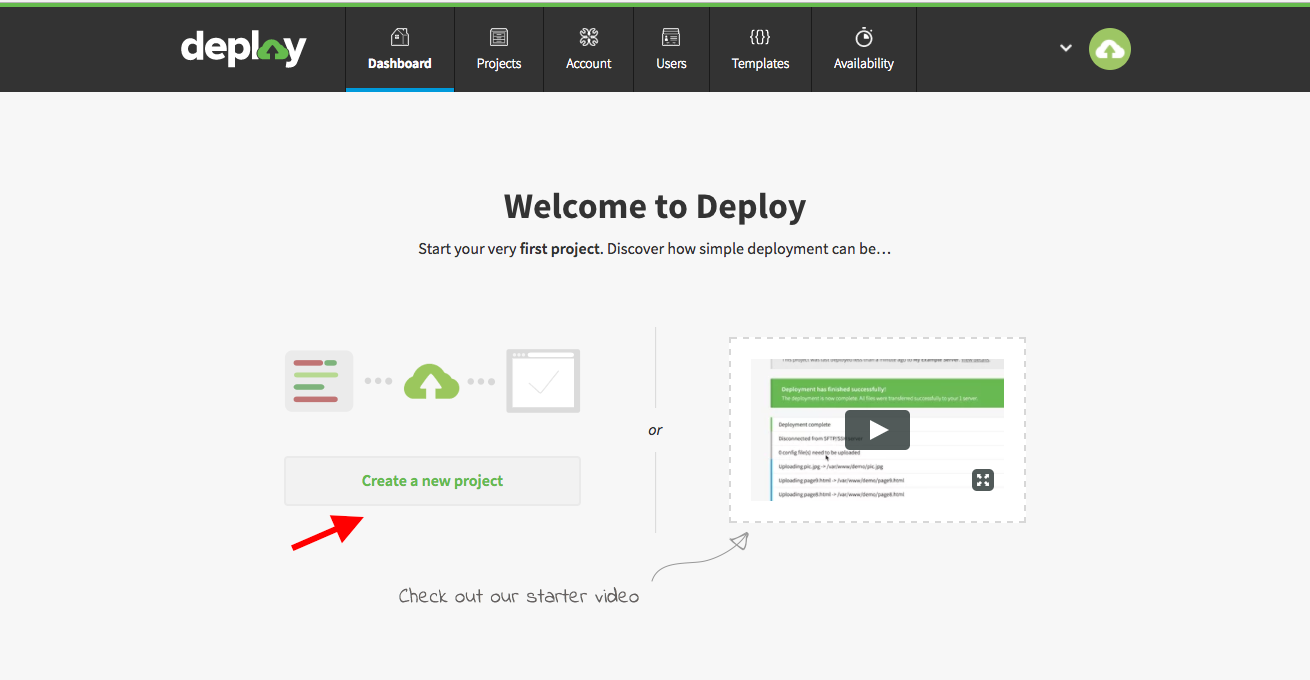
First, login to www.deployhq.com. Below is the first screen that you will encounter.
Click on the Create a new Project button to begin.
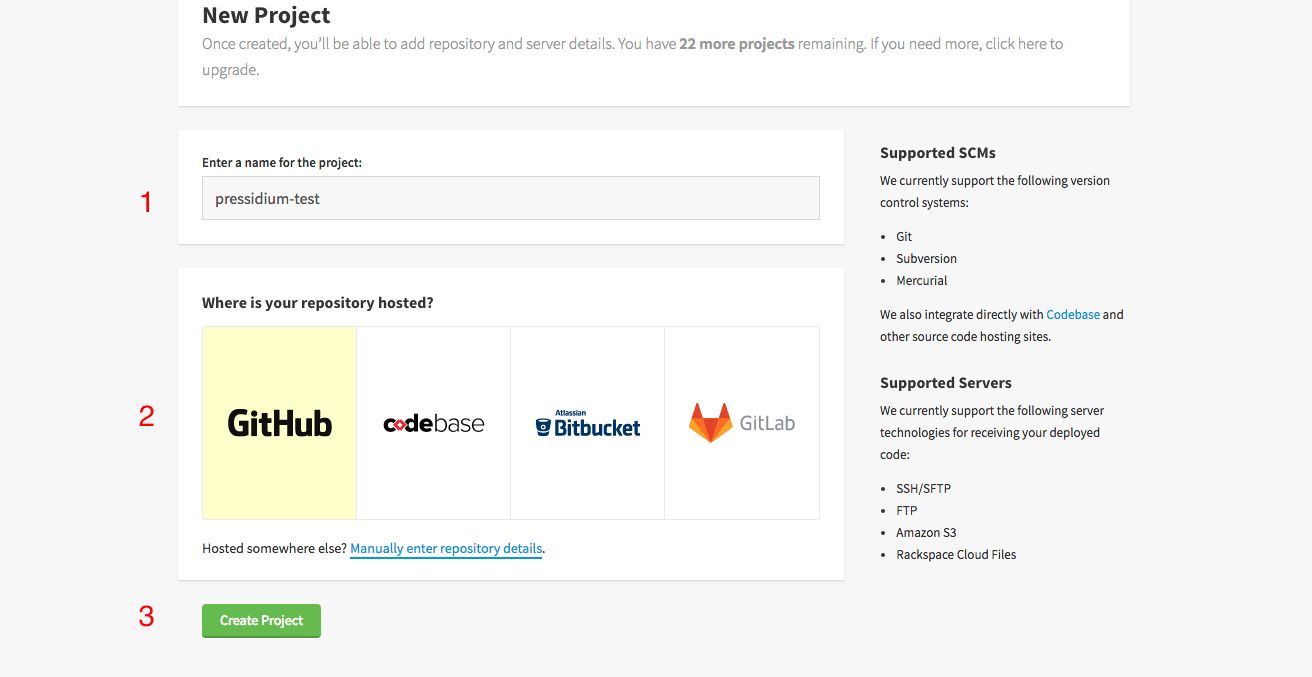
Create a New Project
- Type the name of your project.
- Select where your repository is hosted. For this example we will use GitHub.
- Press the Create Project button.
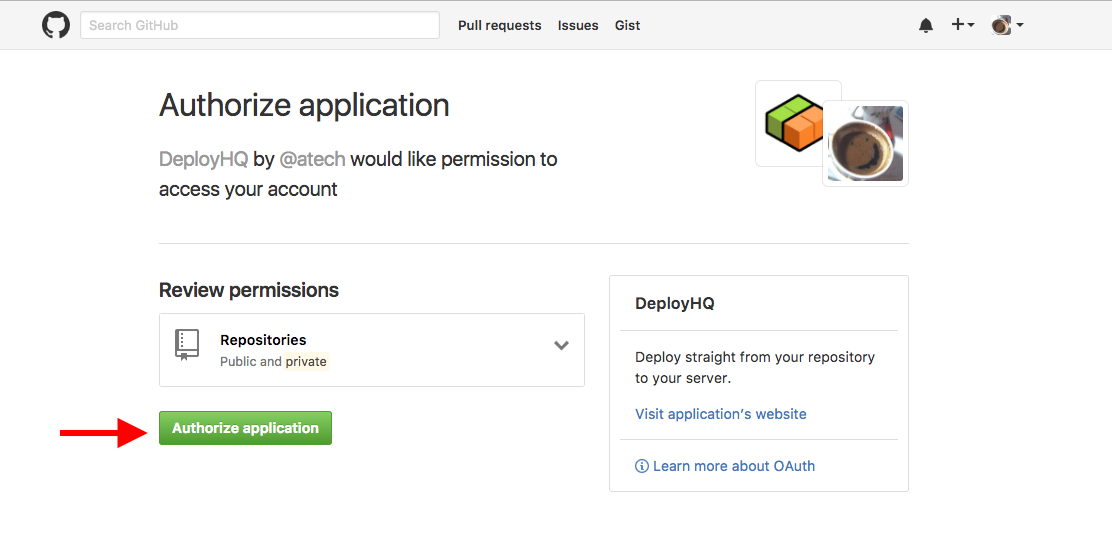
Authorise Your Repository Host
After you created your project, you will be asked to give authorisation to DeployHQ to access your repository. This is needed for all that magical integration to occur. Proceed by clicking the Authorize application button.
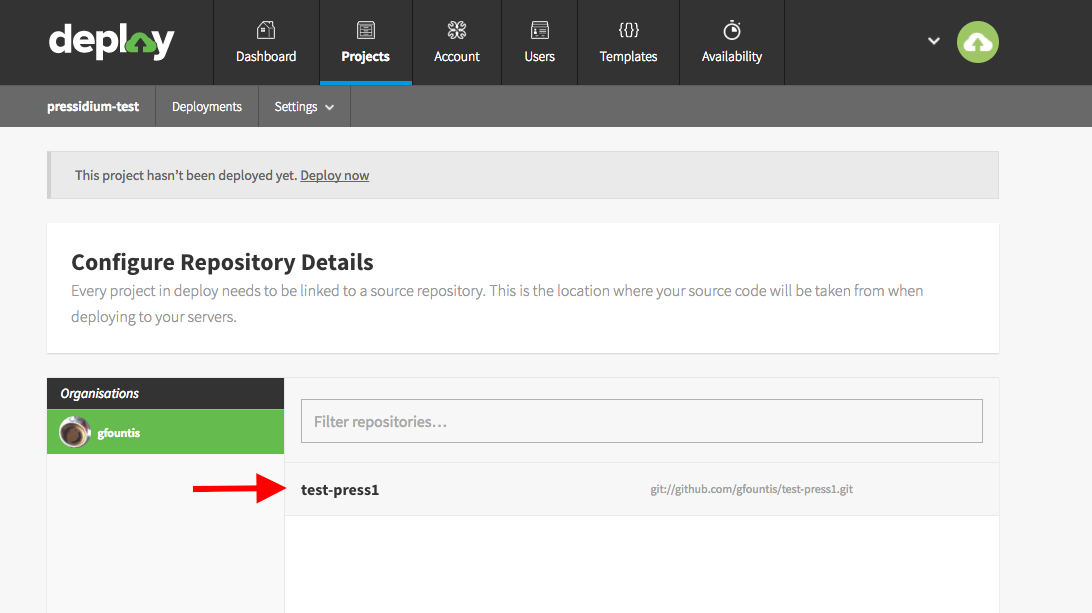
Select Your Repository
You will then be presented with a list of repositories to choose from (we’ve created one for this example). Click on the repository you want to link to your project.
Add Your Pressidium Website
After you select your repository, the time has come to link your Pressidium website!
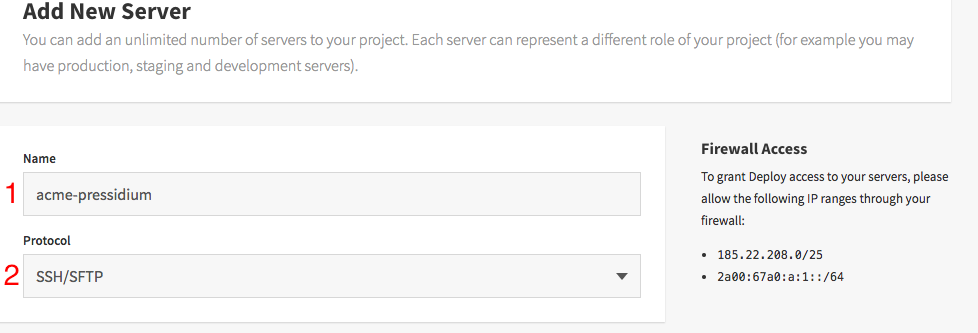
1. Enter the name of your website. This is just a descriptive name.
2. Select SSH/SFTP in the protocol drop down list.
3. Enter your Pressidium website’s SFTP server name as it is indicated in the Pressidium Portal Websites Overview tab. It should be in the form of sftp.yourwebsitename.onpressidium.com.
4. Enter the SFTP port as indicated in your Portal account.
5. Enter the username, as indicated in your Portal account.
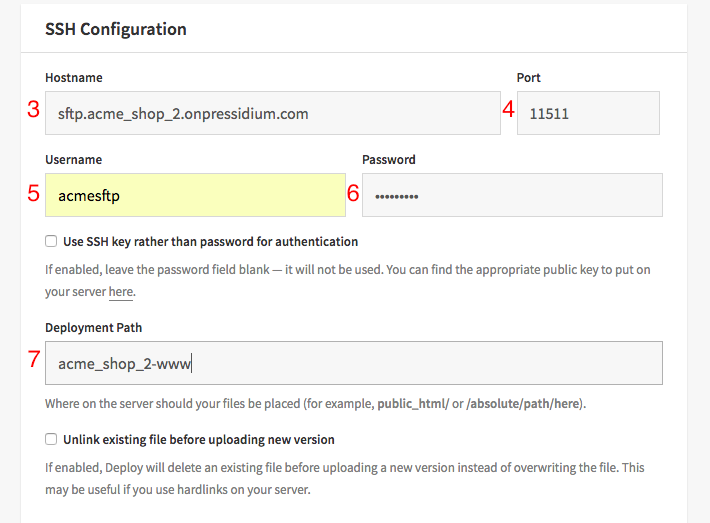
7. Enter the deployment path.
The deployment path is equivalent to your website’s webroot folder. Files in your repository will be deployed under this path. However, it depends on what you want to deploy.
Try our Award-Winning WordPress Hosting today!


For example if you are developing plugins, your deployment path should include /wp-content/plugins. Alternatively, if you are developing a theme, it’s /wp-content/themes.
In order to figure out what the full path is, you will first need to connect to your website using SFTP.
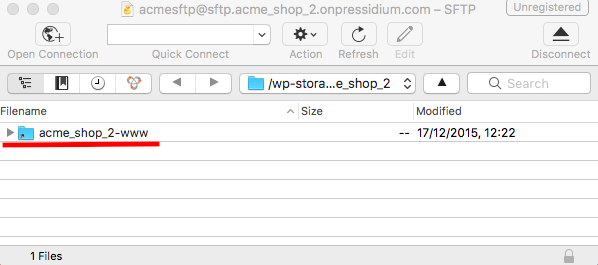
In this case, the full deployment path for plugins is : /acme_shop_2-www/wp-content/plugins
while for themes it’s /acme_shop_2-www/wp-content/themes.
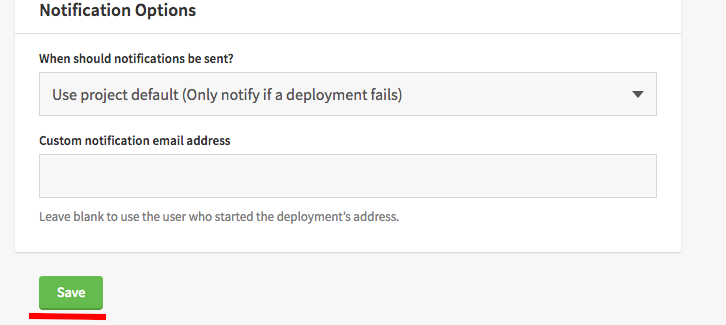
8. Click the Save button.
Deploying Files
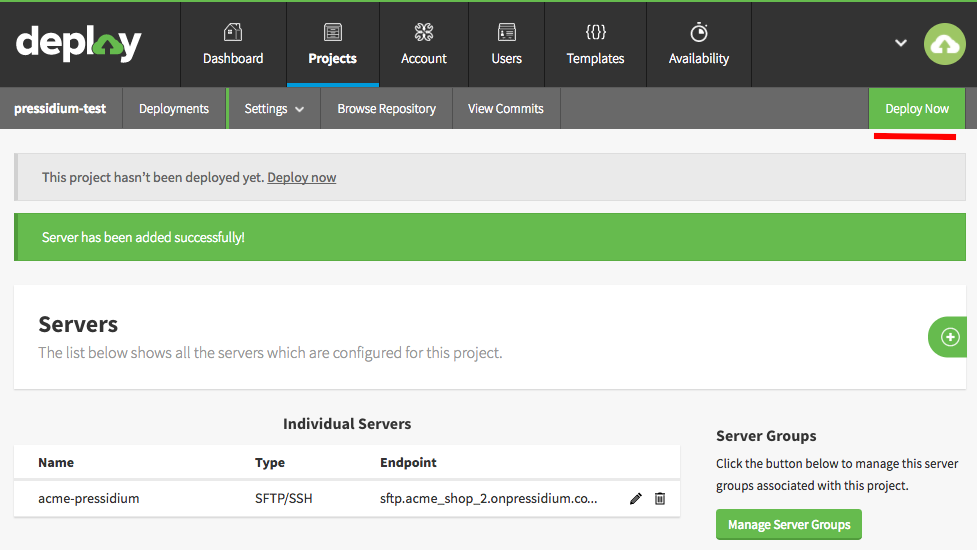
After you click the Save button, and all the information you entered was correct, you will be presented with the following page.
Click the Deploy Now button, to start the deployment of your repository files to your Pressidium website.
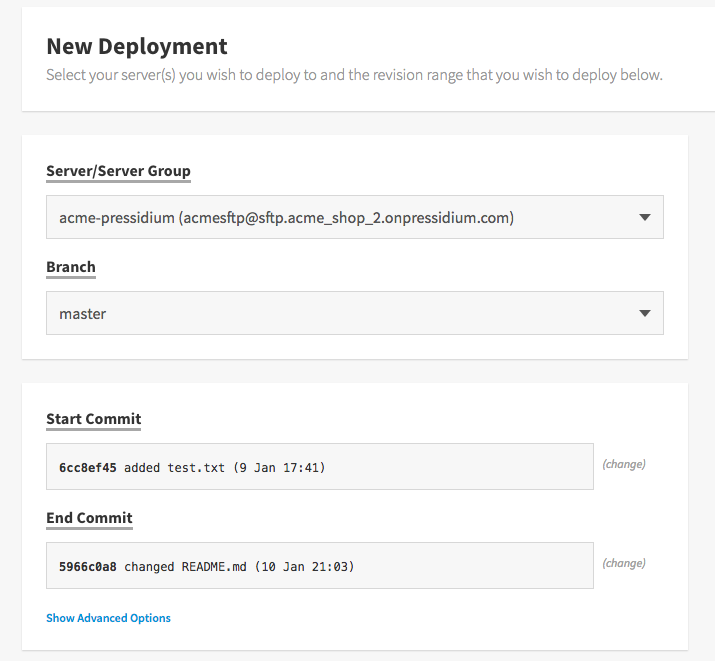
From the following page you can choose the Server and branch that you want to deploy. You can even choose different commits (by clicking on the grey change link button).
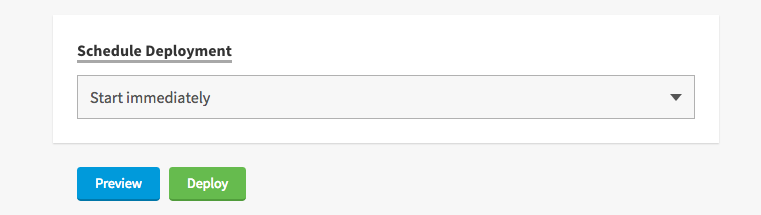
Scroll further down, and press Deploy to begin the process. You can schedule it in the future if you’d like, but there’s no time like the present, as they say.
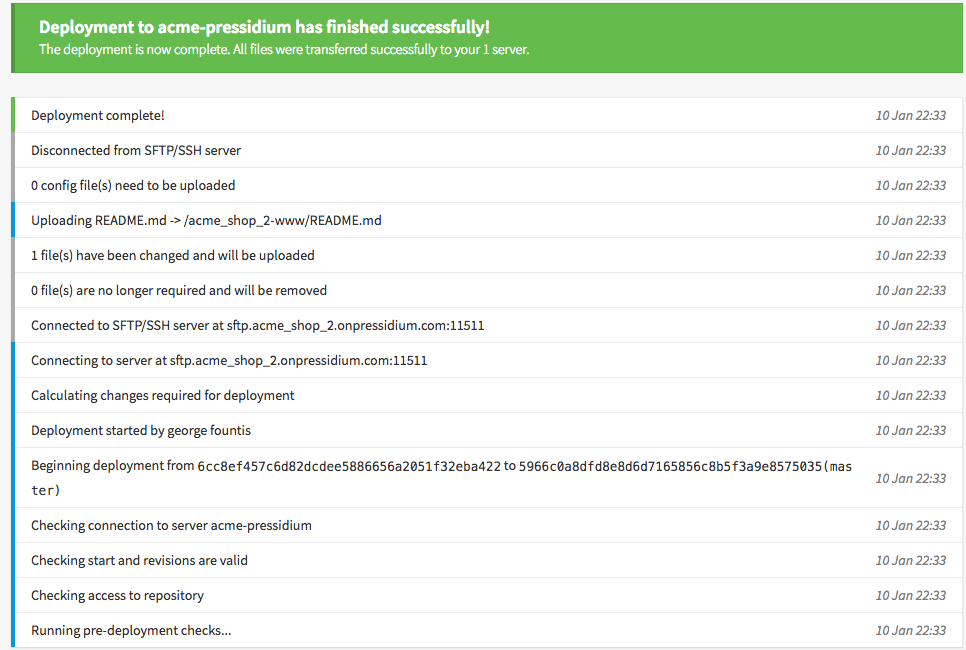
If all went well you will be presented with the following reassuring screen, detailing everything that happened.
Additional Tools and Services
DeployHQ and Git certainly isn’t the end-all-be-all. There are numerous other tools and services out there that might be better suited for your needs or preferences. Let’s list some of them:
- DeployBot
Although it doesn’t offer a free tier, its certainly one of the most popular solutions out there. It supports Amazon web services, FTP/SFTP, Heroku, and even Shopify for deployment targets! - Beanstalk
It offers Git and SVN hosting on their own data centers, multiple deployment environments, code reviews, and much more. - Ftploy
Supports GitHub and BitBucket, and has a free tier! - Jenkins.io
Possibly one of the leading automated deployment solutions out there. Jenkins can also function as a CI or CD server, supports plugins, and can be configured to operate in a distributed architecture. However you need to install and configure it on your servers by yourself!
Wrapping Up
Setting up a version control system to work with your Pressidium website through SFTP is straightforward. No matter the service, or repository you choose, its just a matter of entering the correct SFTP configuration details and then authorising the service to access your repository. As always, If you have any questions or in need of help because something broke, don’t hesitate to contact our support! We will be delving more into developer-centric topics in the near future, including the WordPress development environment itself. So start sharpening your dev tools!
Start Your 14 Day Free Trial
Try our award winning WordPress Hosting!


